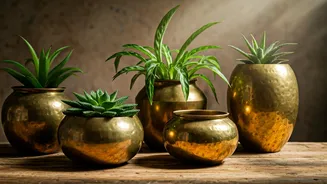


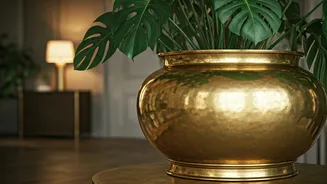


Step 1: Select the Right Vessel
The first step is finding the perfect pot. You might already have a family heirloom—a traditional ‘urli’, ‘handi’, or ‘paraat’—gathering dust in a storeroom. If not, flea markets, antique shops, and online artisan stores are treasure troves. Look for
pots with character, but check for serious damage. Minor dents and a patina of age add to the charm, but avoid anything with deep cracks or holes that can’t be repurposed. Consider the size and scale of your living room. A large, dramatic urli can be a magnificent floor planter, while smaller pots are perfect for side tables and shelves.
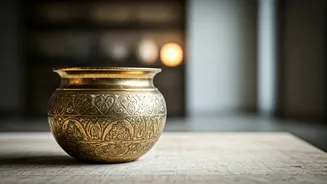
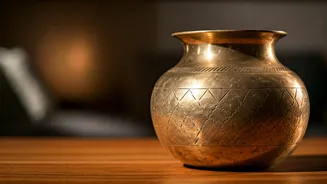
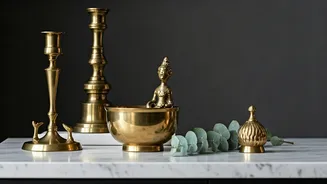
Step 2: The Deep Clean and Polish
This is where the magic begins. Transforming your old pot into a luxury item starts with a thorough cleaning. For decades of tarnish, commercial brass polishes like Brasso are highly effective. However, for a more traditional and gentle approach, you can create a paste using tamarind (imli) pulp and salt, or a mixture of lemon juice and baking soda. Apply the paste, let it sit for about 15-20 minutes, and then scrub gently with a soft cloth or a soft-bristled brush. Avoid using steel wool or abrasive scrubbers, as they will scratch the brass. Rinse thoroughly and dry immediately with a clean, soft cloth to prevent water spots. Repeat until you achieve a brilliant, warm glow.
Step 3: The Drainage Dilemma
For a plant to thrive, its roots need drainage to avoid rot. The ideal solution is to drill several small holes in the bottom of the brass pot. Brass is a relatively soft metal, but you should still proceed with caution. Use a power drill with a bit designed for metal. Start with a small pilot hole before moving to a larger bit (around 1/4 or 3/8 inch). If drilling into a cherished heirloom feels too daunting, you have another option: use the brass pot as a cachepot. A cachepot is a decorative outer container. Simply place your plant in a functional plastic pot with drainage holes, and then set that pot inside your gleaming brass vessel. This method protects both the plant and the pot.
Step 4: Lining and Protection
Whether you drill holes or not, it’s wise to protect the inside of your brass pot. Constant moisture can cause corrosion over time, and some metals can leach into the soil, potentially harming sensitive plants. You can line the inside with a thick plastic sheet (like a cut-up compost bag) or apply a waterproof sealant spray. If using it as a cachepot, place a small saucer or plastic tray at the bottom to catch any excess water that drains from the inner pot. This simple step will preserve the integrity of your brass pot for years to come.
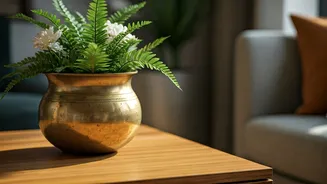
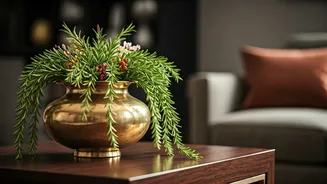
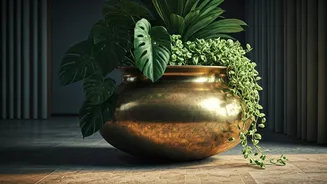
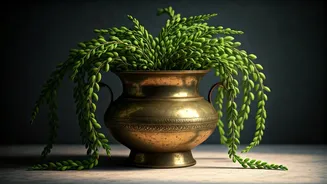
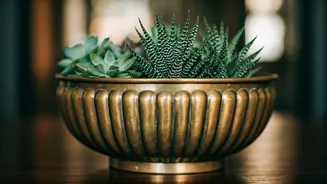
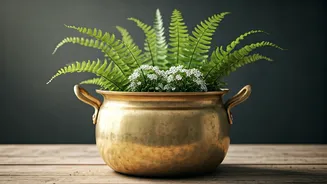
Step 5: Choosing Your Green Companion
The plant you choose is the final artistic touch. The golden warmth of brass pairs beautifully with deep green foliage. For a dramatic, architectural look, consider a Snake Plant (Sansevieria) or a ZZ Plant (Zamioculcas zamiifolia). Both are low-maintenance and tolerate a range of light conditions. For a fuller, more lush look, a Money Plant (Epipremnum aureum) or a Philodendron with its cascading vines looks stunning. If your pot is large enough to be a statement piece, a young Fiddle Leaf Fig or a Bird of Paradise can create an instant luxury tropical vibe. Ensure the plant's light and water needs match the spot you've chosen in your living room.
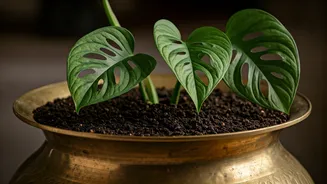
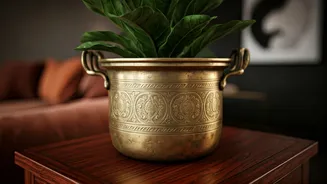
Step 6: Potting and Final Styling
If you’ve drilled holes, add a layer of broken terracotta pieces or small stones at the bottom before filling it with a quality potting mix suited to your chosen plant. Gently place your plant in the pot, fill the sides with soil, and water lightly. Now for the best part: placement. A large brass floor planter looks incredible next to a sofa, in a well-lit corner, or by an entryway. Elevate it on a short wooden stool to give it more presence. Smaller pots can adorn console tables, bookshelves, or coffee tables. Pair them with other natural textures like wood, marble, and jute to complete the sophisticated, earthy look.