


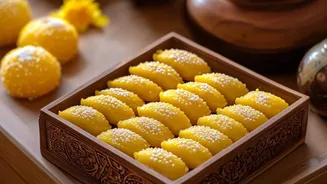
A Sweet Steeped in Legend
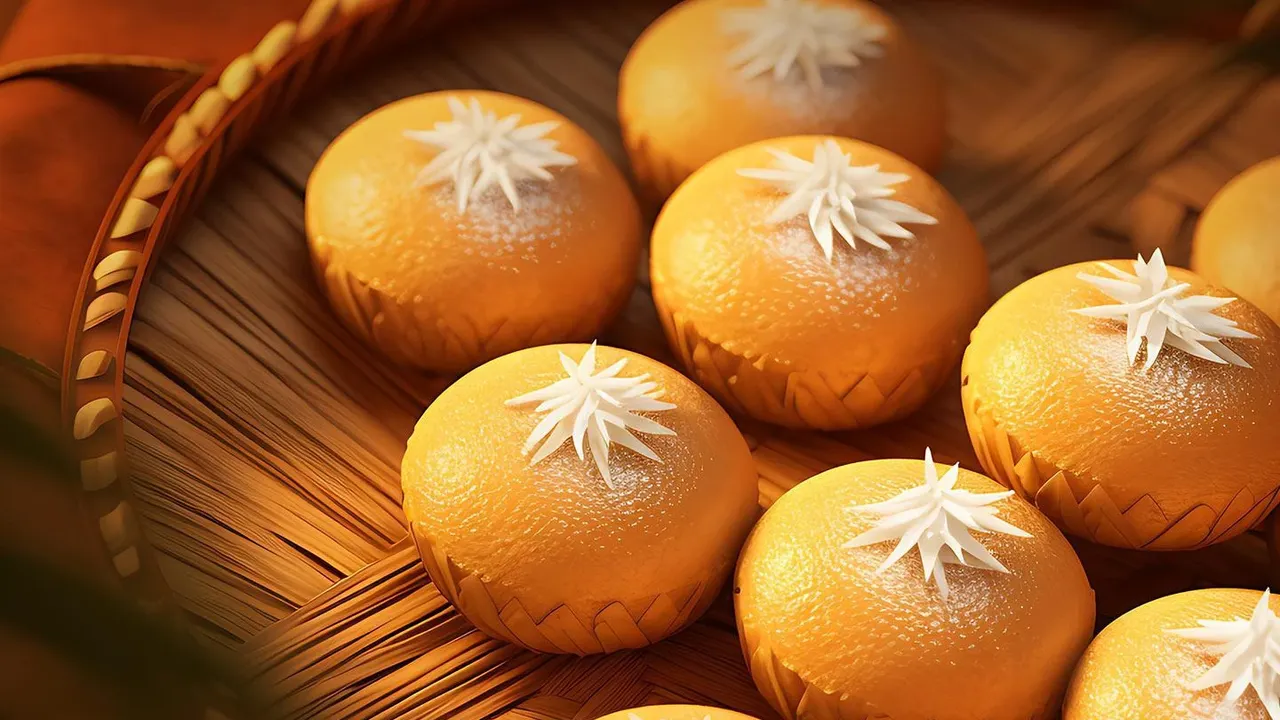
The connection between Mathura and peda is deeply woven into the stories of Lord Krishna. As his birthplace, Mathura holds a special place in the hearts of devotees, and the peda is considered one of his favourite sweets. Legend says that this milk-based
delicacy became a traditional offering, or 'prasadam', after Krishna himself first tasted and loved it. This is why, during Janmashtami celebrations, milk and dairy-based sweets are central to the festivities, symbolising Krishna's divine childhood and his love for such treats. Making pedas at home is more than just preparing a sweet; it's about connecting with a tradition that is centuries old.
The Secret of Mathura's Peda
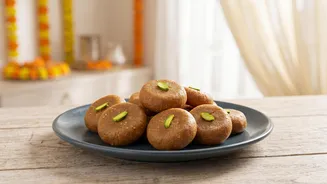
What makes the peda from Mathura so special? The secret lies in the slow-cooking process. Traditionally, milk solids (khoya or mawa) are roasted patiently over a low flame until they caramelise, developing a signature brownish colour and a rich, nutty aroma. This technique gives the peda its unique, slightly grainy texture and melt-in-the-mouth quality. While making khoya from scratch by simmering milk for hours is a long process, this easy recipe uses store-bought mawa to capture that authentic flavour in under 30 minutes, making it perfect for a modern festival celebration.
Ingredients You Will Need
This recipe is simple, requiring just a handful of common ingredients to create a truly special offering. Khoya/Mawa: 250 grams, unsweetened (grated for even cooking) Sugar: 1/2 cup, powdered (also known as boora or tagar) Ghee: 2 tablespoons Milk: 2-3 tablespoons (optional, to adjust texture) Cardamom Powder: 1/4 to 1/2 teaspoon, for fragrance Coarse Sugar: For rolling the finished pedas (optional)
Step-by-Step Instructions
Follow these simple steps to create delicious Mathura-style pedas in your own kitchen. 1. Roast the Mawa: Place the grated mawa in a heavy-bottomed, non-stick pan on low-medium heat. Stir continuously. After about 5 minutes, as it starts to change colour, add 1 tablespoon of ghee and continue to roast. 2. Develop the Colour: Keep stirring patiently. As the mawa begins to turn a light golden shade, add the remaining ghee. Continue roasting on a low flame. The goal is a rich, dark brown colour, which can take 15-20 minutes. Don't rush this step, as it's key to the flavour. 3. Adjust the Texture: If the mixture looks too dry while roasting, add a tablespoon or two of milk and continue to cook until it is absorbed. 4. Cool the Mixture: Once the mawa is a deep golden brown, remove it from the heat. Let it cool until it is just warm to the touch. It's important not to add sugar to hot mawa, as it will melt and make the mixture runny. 5. Add Sugar and Flavour: To the warm mawa, add the powdered sugar and cardamom powder. Mix everything together until well combined. The mixture should come together like a dough. 6. Shape the Pedas: Take small, equal-sized portions of the mixture and roll them into smooth balls between your palms. Gently flatten them to create the classic peda shape. 7. Coat and Serve: If you like, roll the shaped pedas in a little coarse sugar for a traditional finish. Your homemade Mathura pedas are now ready to be offered as prasadam or enjoyed with family.
Tips for Perfect Pedas
Low and Slow: The most crucial part is roasting the mawa patiently on a low flame. High heat will burn it, resulting in a bitter taste. Stir Constantly: To ensure even cooking and prevent the mawa from sticking to the pan, continuous stirring is essential. Use Grated Mawa: Grating the mawa block before you start helps it cook more evenly and prevents lumps. Cooling is Key: Make sure the roasted mawa has cooled to a warm temperature before adding the powdered sugar. This ensures the pedas have the right texture. Storage: These pedas can be stored in an airtight container in the refrigerator for up to a week.