


Choose Your Composting Method
Before you start collecting scraps, decide where you'll build your compost. You don't need a lot of space, and options range from simple piles to sophisticated bins. You can create a pile in a shady corner of your yard, build a simple enclosure with wood
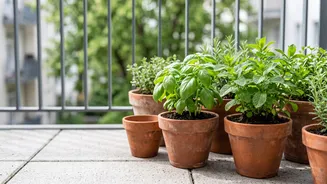
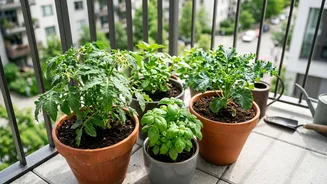
pallets, or purchase a compost tumbler or bin. Tumblers are great for smaller spaces and make turning the compost easy, while stationary bins are effective for larger volumes. If you're using a bin on the ground, placing a layer of wire mesh underneath can help keep pests out while letting beneficial worms in. For apartment dwellers, small indoor or balcony systems are also available.
Gather Your 'Greens' and 'Browns'
A healthy compost pile needs a balance of two types of materials: nitrogen-rich 'greens' and carbon-rich 'browns'. 'Greens' are the wet, fresh materials that provide nitrogen. This category includes your vegetable peels, fruit scraps, and, importantly, used coffee grounds and their paper filters. Crushed eggshells and tea bags are also excellent additions. 'Browns' are the dry, woody materials that provide carbon and create air pockets. Think of things like dried leaves, shredded cardboard, newspaper, small twigs, and straw. Collecting a bag of dry leaves in the autumn is a great way to ensure you have a steady supply.
The Ideal Compost Ratio
The key to fast, odour-free composting is getting the right mix of greens and browns. A good rule of thumb is to aim for a ratio of about two to three parts 'browns' to one part 'greens' by volume. So, for every bucket of kitchen scraps you add, you should add two or three buckets of shredded leaves or cardboard. This doesn't need to be an exact science. If your pile starts to smell bad or seems slimy, it likely has too many greens (too much nitrogen); simply mix in more browns to correct it. If the pile isn't breaking down, it may be too dry or need more greens. You'll learn to 'read' your pile over time.
What to Leave Out of the Bin
While many kitchen scraps are perfect for compost, some items should be avoided as they can create foul odours and attract pests like rodents. Do not add meat, fish, bones, dairy products, fats, grease, or oily foods to your home compost pile. It's also wise to avoid adding diseased plants, weeds that have gone to seed, and any yard trimmings treated with chemical pesticides. For produce like conventional bananas or oranges, some guides suggest skipping the peels if you're concerned about pesticide residue.
Building and Maintaining Your Pile
Start your pile by creating a base layer of bulky browns, like twigs, about four to six inches deep. This helps with aeration and drainage. Then, begin layering your greens and browns as you collect them, like making a lasagna. Always cover your fresh food scraps with a layer of browns to prevent odours and deter flies. The materials in the pile should be kept as moist as a wrung-out sponge. If it's too dry, add a little water. To speed up decomposition, turn the pile with a pitchfork or compost turner every week or two. This mixes the materials and introduces oxygen, which is crucial for the microorganisms doing the work.
Harvesting Your Finished Compost
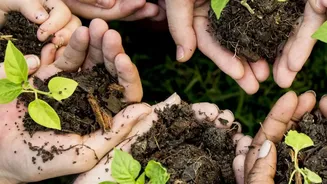
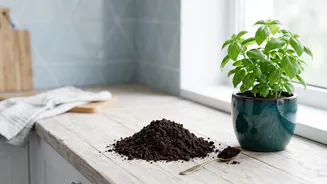
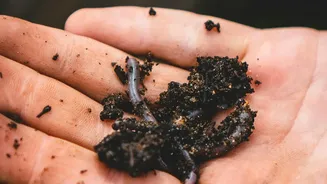
Patience is key. Composting can take anywhere from a few months to a year, depending on your method, the materials used, and how often you turn it. You'll know your compost is ready when it has transformed into a dark, crumbly material that looks and smells like rich, earthy soil. At this stage, you shouldn't be able to identify the original food scraps. To use it, you can mix two to four inches of the finished compost into the top layer of your garden beds or potting soil. It can also be used as a nutrient-rich mulch around plants.