

The Sweet Legacy of Mathura
More than just a sweet, Mathura Peda is an embodiment of devotion. Hailing from the sacred city of Mathura, the birthplace of Lord Krishna, this milk-based fudge is deeply intertwined with the region's cultural and religious identity. For centuries, it has
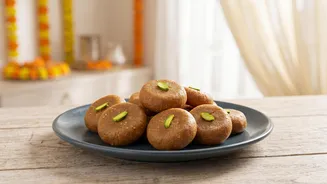
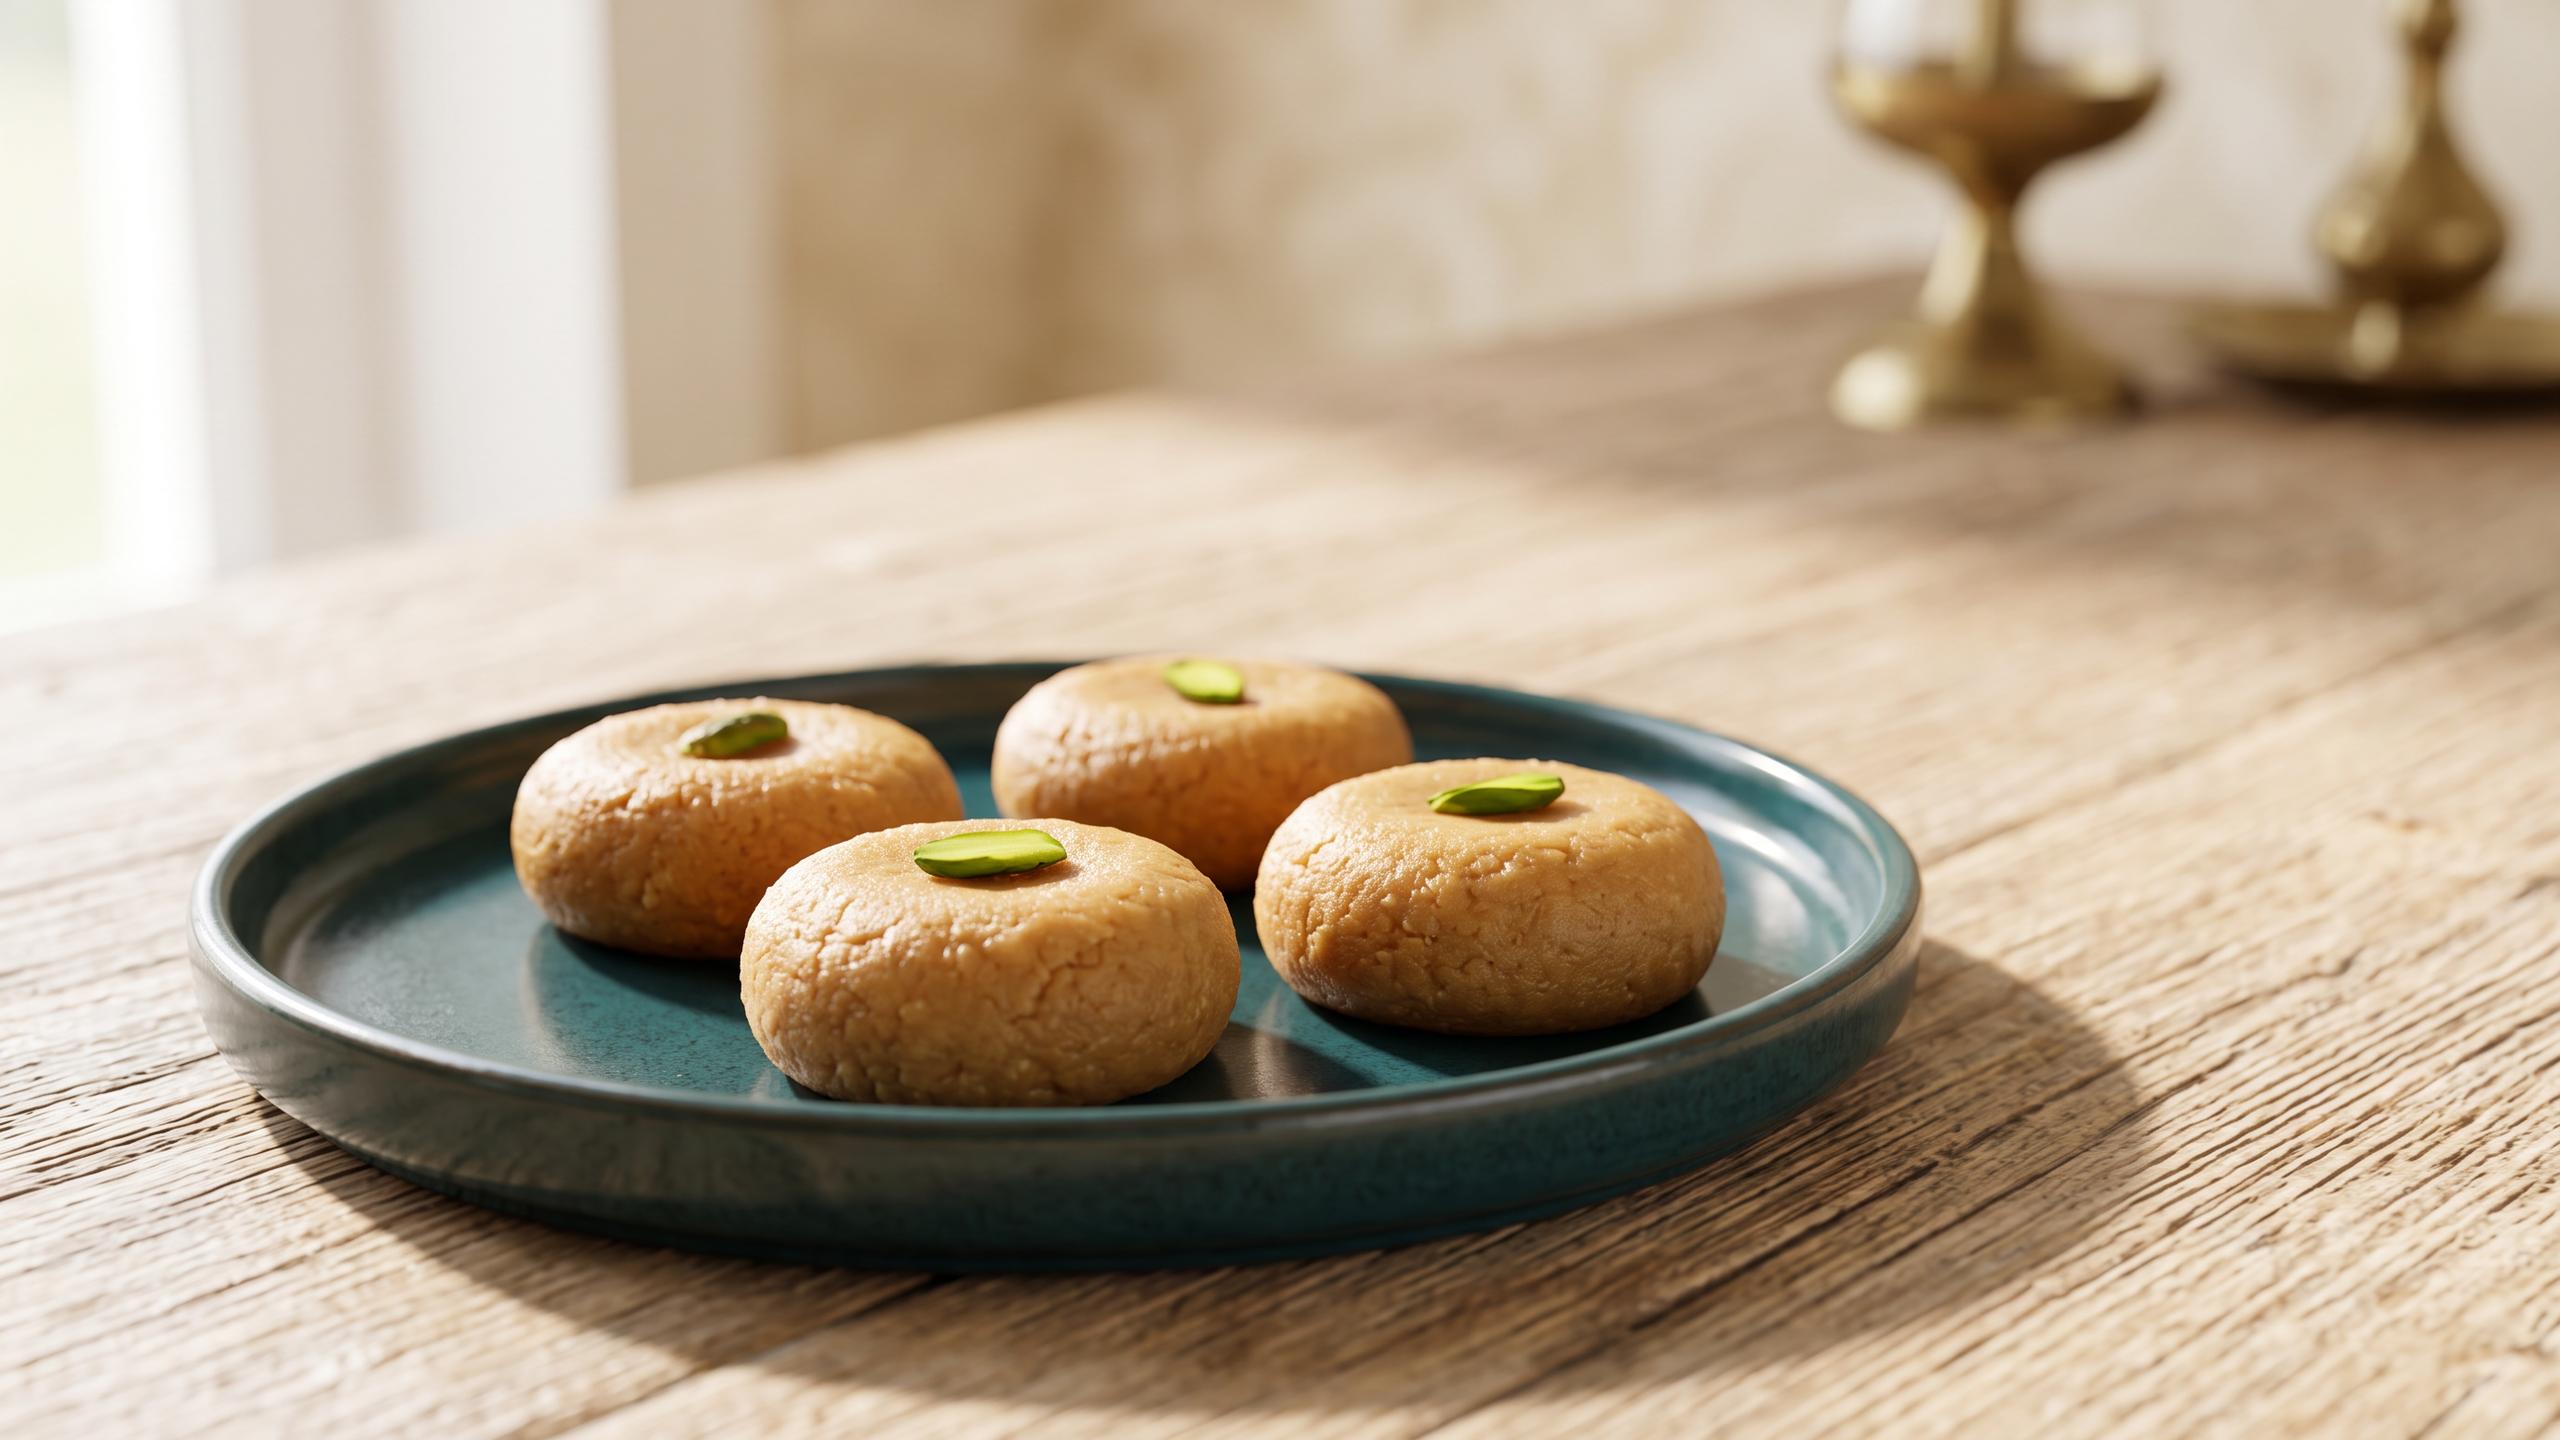
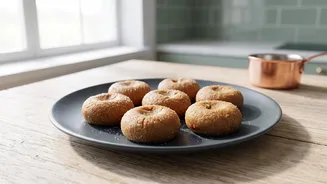
been a quintessential 'prasad' or blessed offering, especially during Janmashtami. The abundance of dairy in the Braj region, combined with Krishna's own legendary love for milk and butter, laid the foundation for this iconic sweet. Its characteristic dark, caramelized color and grainy texture come from slowly roasting milk solids, a process that fills the air with a rich, sweet aroma and turns simple ingredients into a divine offering.
Essential Ingredients for Authenticity
The beauty of Mathura Peda lies in its simplicity. You only need a few core ingredients to recreate this traditional delight. The key is quality. Khoya (Mawa): This is the heart of the peda. You'll need about 2 cups of grated unsweetened khoya. You can find this at most Indian grocery stores or even make it at home by slowly reducing full-fat milk. The texture of your khoya will define the final product. Ghee (Clarified Butter): About 2-3 tablespoons of good quality ghee are essential. It prevents the khoya from sticking, adds a rich nutty flavor, and contributes to the peda's melt-in-the-mouth feel. Sugar: Traditionally, 'bura' or 'tagar' (a type of unrefined, porous sugar) is used, which gives the peda its unique grainy texture. If you can't find it, finely powdered sugar will also work. You'll need about half a cup, plus extra for coating. Flavoring: A pinch of freshly ground cardamom powder (about half a teaspoon) is all you need to beautifully complement the caramelized milk flavor.
The Art of Roasting the Khoya
The most crucial step in making Mathura Peda is correctly roasting the khoya. This is where the magic happens, developing the signature color and flavor. Patience is key. 1. Begin by heating a heavy-bottomed pan or kadai on low heat. A non-stick pan is also a good option. 2. Add the grated khoya to the pan and begin to break it down with a spatula. Keep the flame on low to medium-low throughout this process to prevent burning. 3. As it heats, the khoya will start to melt and loosen. Keep stirring continuously. After a few minutes, add a tablespoon of ghee and continue to roast. 4. Over the next 15-20 minutes, the khoya will gradually change color, moving from off-white to a light golden and finally to a rich, dark brown. Keep scraping the sides and bottom of the pan. 5. Once you achieve a deep brown color and a fragrant, nutty aroma is released, your khoya is roasted. Turn off the heat and transfer the mixture to a separate plate to let it cool down until it's just warm to the touch.
Shaping Your Divine Offering
Once the roasted khoya mixture has cooled enough to handle, it's time to complete the process. 1. If the mixture seems lumpy, you can briefly pulse it in a blender for a more uniform, coarse powder-like texture. 2. Add the powdered sugar (bura/tagar) and cardamom powder to the warm khoya. Do not add sugar when the mixture is hot, as it will melt and make the pedas sticky. 3. Mix everything thoroughly with your hands until well combined. The warmth of the khoya will help the sugar incorporate evenly. If the mixture feels too dry, you can add a teaspoon or two of milk to help bind it. 4. Grease your palms with a little ghee. Take small portions of the mixture and roll them into smooth, crack-free balls. 5. Gently flatten each ball between your palms to create the classic disc shape. You can make a small indentation in the center with your thumb. 6. Finally, roll each peda in powdered sugar, ensuring it's lightly coated on all sides. Let the pedas sit at room temperature for an hour or two to set completely before offering them as bhog.
Tips for Perfect Pedas Every Time
Making Mathura Peda is a rewarding process. Here are a few tips to ensure success: Low and Slow is the Mantra: The key to the authentic color and flavor is roasting the khoya slowly on a low flame. Rushing this step can burn the mixture. Use a Heavy-Bottomed Pan: This ensures even heat distribution and prevents the khoya from scorching at the bottom. Don't Overcook: If the mixture is cooked for too long, the pedas can turn hard or chewy. It should be moist enough to bind together easily. Cool Before Adding Sugar: Adding sugar to hot khoya will cause it to melt and result in a sticky, difficult-to-shape mixture. The khoya should be just warm enough to touch. * Storing: These pedas stay fresh for up to a week when stored in an airtight container at room temperature.