

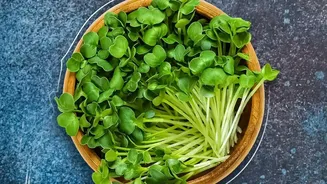
What Are Microgreens?
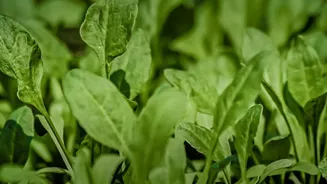
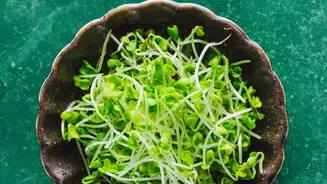
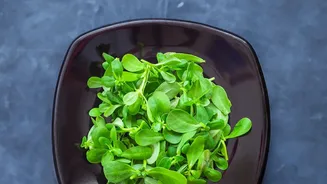
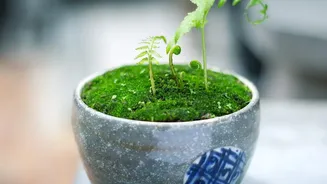
Microgreens are the young seedlings of vegetables and herbs, harvested just after their first true leaves have developed. Unlike sprouts, they are grown in soil and cut at the stem, not eaten as a whole seed. Think of them as tiny, flavour-packed versions
of plants like radishes, broccoli, kale, and basil. Their biggest advantage is their incredibly fast growth cycle; many varieties are ready to harvest in just one to two weeks, providing a quick and satisfying reward for impatient little gardeners. This rapid turnaround makes them perfect for an indoor project that holds a child's attention from start to finish.
A Tiny Garden with Big Lessons
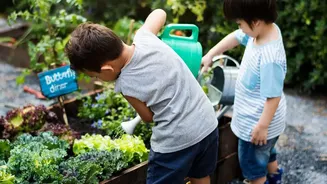
This simple project is a powerhouse of learning opportunities. Growing microgreens serves as a tangible, hands-on science lesson, bringing concepts like life cycles, germination, and photosynthesis to life. Children learn responsibility by tending to a living thing, watering it daily and ensuring it gets enough light. Studies show that children who grow their own food are more likely to try and enjoy healthy vegetables. It’s a direct way to teach them where food comes from and fosters an appreciation for fresh, nutritious ingredients. The process also builds valuable life skills such as patience, resilience, and a sense of accomplishment when they finally get to taste the fruits—or greens—of their labour.
Your Simple Setup List
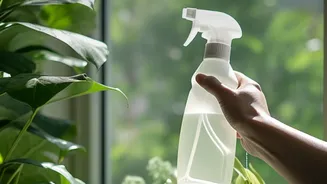
Getting started is inexpensive and requires just a few basic items, many of which you may already have at home. You don't need a dedicated garden space; a well-lit windowsill is the perfect location. Here’s what you'll need: A Shallow Tray: Recycled plastic takeout containers, foil baking trays, or even egg cartons work perfectly. If your container has holes, you can line it with paper towels. Growing Medium: A small bag of potting soil is ideal. Ensure it's moist before you start—it should feel like a wrung-out sponge. Seeds: Look for seeds specifically labeled for microgreens, or use regular vegetable and herb seeds. Radish, broccoli, kale, and peas are great, easy options for beginners. A Spray Bottle: This allows for gentle watering that won't dislodge the tiny seeds.
From Seed to Salad: A Step-by-Step Guide
Growing your own microgreens is a simple, five-step process that kids can easily follow with a little help. 1. Prepare the Tray: Fill your container with about an inch or two of pre-moistened potting soil and gently level the surface. 2. Sow the Seeds: Sprinkle the seeds generously and evenly across the soil. You want them to be close together but not piled on top of each other. Gently press them into the soil and add a very light covering of extra soil. 3. Water Gently: Use a spray bottle to mist the seeds and soil. Cover the tray with a lid or plastic wrap for the first few days to create a humid environment that encourages germination. 4. Find the Sun: Once sprouts appear, remove the cover and place the tray on a sunny windowsill. Check the soil daily and mist as needed to keep it moist but not waterlogged. Rotate the tray every day so the stems grow straight. 5. Harvest and Enjoy: In about 7 to 14 days, your microgreens will be two to three inches tall and ready to harvest. Use a pair of clean scissors to snip the stems just above the soil line. Add your delicious harvest to sandwiches, salads, or simply eat them as a fresh, crunchy snack.