


The Magic of Sandige
Before we dive in, what exactly is Sandige? Known by many names across South India—like Vadam in Tamil Nadu or Akki Sandige in Karnataka—these are sun-dried crisps made from a rice or lentil batter. Think of them as a cousin to the papad, but often smaller,
thicker, and with a unique puffed texture when fried. They are a testament to the resourcefulness of Indian kitchens, born from a desire to preserve ingredients and eliminate waste. Traditionally prepared in large batches during the hot summer months, they are stored for the rest of the year, ready to be fried into a crunchy, satisfying accompaniment for sambar, rasam, or curd rice. Making them from leftover rice isn't just a recipe; it's participating in a timeless culinary tradition.
Gathering Your Simple Ingredients
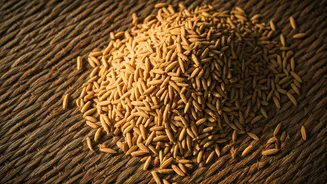
The beauty of Sandige lies in its simplicity. You don’t need a long list of fancy ingredients, just a few kitchen staples and a bit of patience. This recipe is wonderfully flexible, so feel free to adjust the spices to your liking. Here’s what you’ll need: * **Leftover Cooked Rice:** About 2 cups. Any plain white rice works, whether it’s Sona Masuri, Ponni, or Basmati. Avoid flavoured rice like biryani or pulao. * **Water:** Approximately 4-5 cups. The exact amount will depend on the consistency of your rice. * **Green Chillies:** 2-3, or to taste. This adds a gentle heat. * **Cumin Seeds (Jeera):** 1 teaspoon. For a warm, earthy flavour. * **Asafoetida (Hing):** A generous pinch. This is crucial for the authentic savoury aroma. * **Salt:** To taste. Remember that the flavour will concentrate as the Sandige dries, so don't oversalt. * **Optional:** A tablespoon of sago (sabudana) can be soaked and added for extra crispiness.
Preparing the Rice Batter
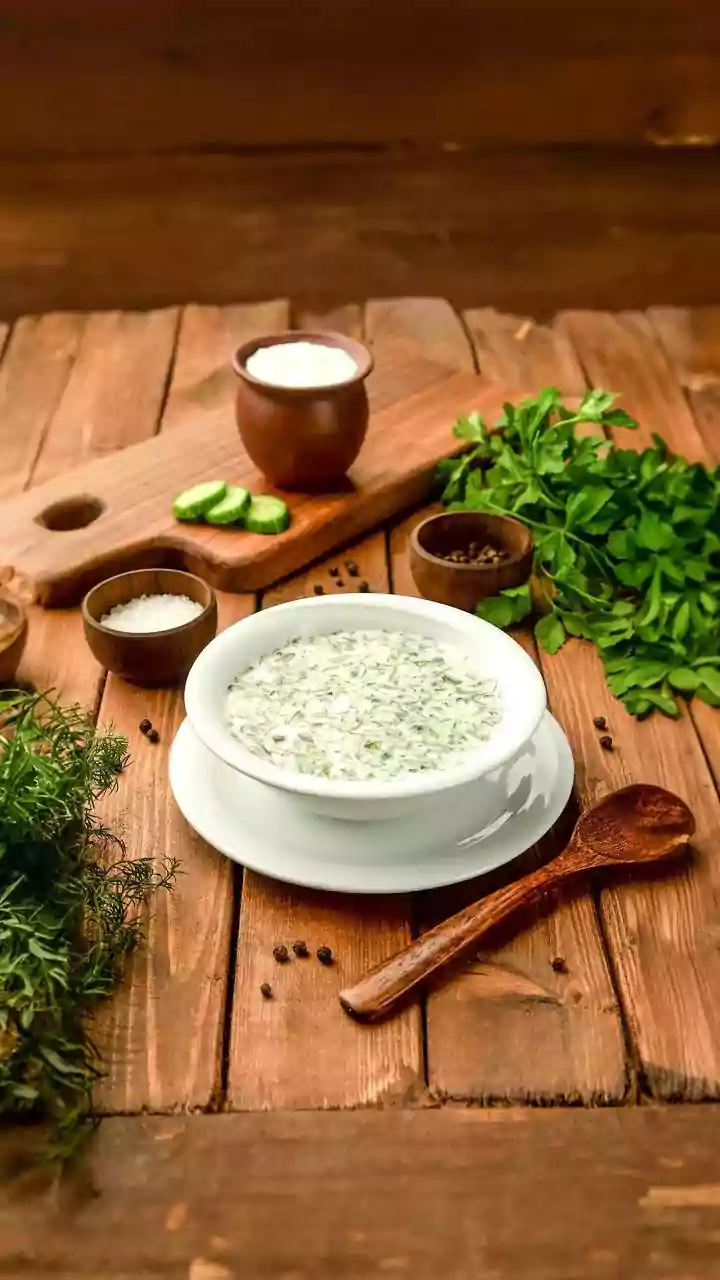
This is the most important step. The goal is to create a smooth, thick, and pourable batter. First, take your leftover cooked rice and add it to a mixer grinder. Add about 1 cup of water, the green chillies, and salt. Blend this into a completely smooth, fine paste. There should be no rice grains visible. If your mixer is struggling, add a little more water, but do it gradually. Once smooth, transfer this paste to a heavy-bottomed pot or pan. Add the remaining water, cumin seeds, and asafoetida. Whisk everything together until there are no lumps. Your mixture should have the consistency of a thin dosa batter at this stage.
Cooking to the Right Consistency
Place the pot on the stove over medium heat. Now begins the process of constant stirring. You cannot walk away from the pot, as the rice batter will stick to the bottom and burn easily. Use a sturdy whisk or a flat-edged spatula to continuously stir, making sure to scrape the bottom and sides of the pot. Within 10-15 minutes, the mixture will begin to thicken dramatically. Keep stirring until it transforms from a liquid batter into a thick, glossy, and translucent porridge-like mass. It should be thick enough to hold its shape when you drop a spoonful. A good test is to see if the batter pulls away from the sides of the pan as you stir. Once it reaches this consistency, turn off the heat.
Shaping and Sun-Drying
Now for the fun part. You’ll need clean plastic sheets, a clean white cotton cloth (like an old dhoti or saree), or non-stick baking mats. Lightly grease the surface if you’re unsure about sticking. While the batter is still warm (but cool enough to handle), take a spoonful and drop small, coin-sized dollops onto your prepared sheet, leaving a little space between each one. You can also fill the batter into a piping bag or a thick Ziploc bag with a corner snipped off to pipe out more uniform shapes. Once your sheet is filled, it’s time for sun-drying. Place the sheet in direct, harsh sunlight. This process is key and requires at least 2-3 full days of strong sun. After the first day, the tops will be dry, and you should be able to peel them off and flip them over to dry the other side. They are fully done when they are completely hard, brittle, and translucent.
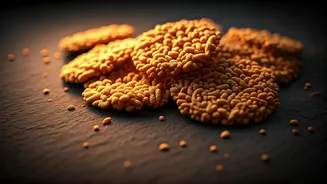
Frying to Puffy Perfection
Your patience has paid off. To enjoy your homemade Sandige, heat oil in a kadai for deep frying. The oil should be hot but not smoking. Test it by dropping a single Sandige in; it should sizzle and puff up almost immediately. Fry a small batch at a time, as they cook in seconds. Drop them into the hot oil, watch them expand and turn a pale golden colour, and then quickly remove them with a slotted spoon onto a paper towel to drain excess oil. The transformation is magical—from a tiny, hard disc to a large, airy, and incredibly crunchy crisp. Once completely cool, store your unfried Sandige in a dry, airtight container. They will last for months, a perfect, ready-to-fry snack waiting in your pantry.