


The Allure of the Mug Cake
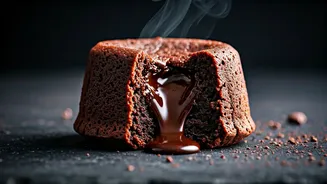
It’s hard to scroll through social media without encountering a mesmerizing food video, and the double chocolate lava mug cake is a reigning champion. Why the obsession? It’s a perfect storm of modern dessert desires. First, there's the speed. In a world
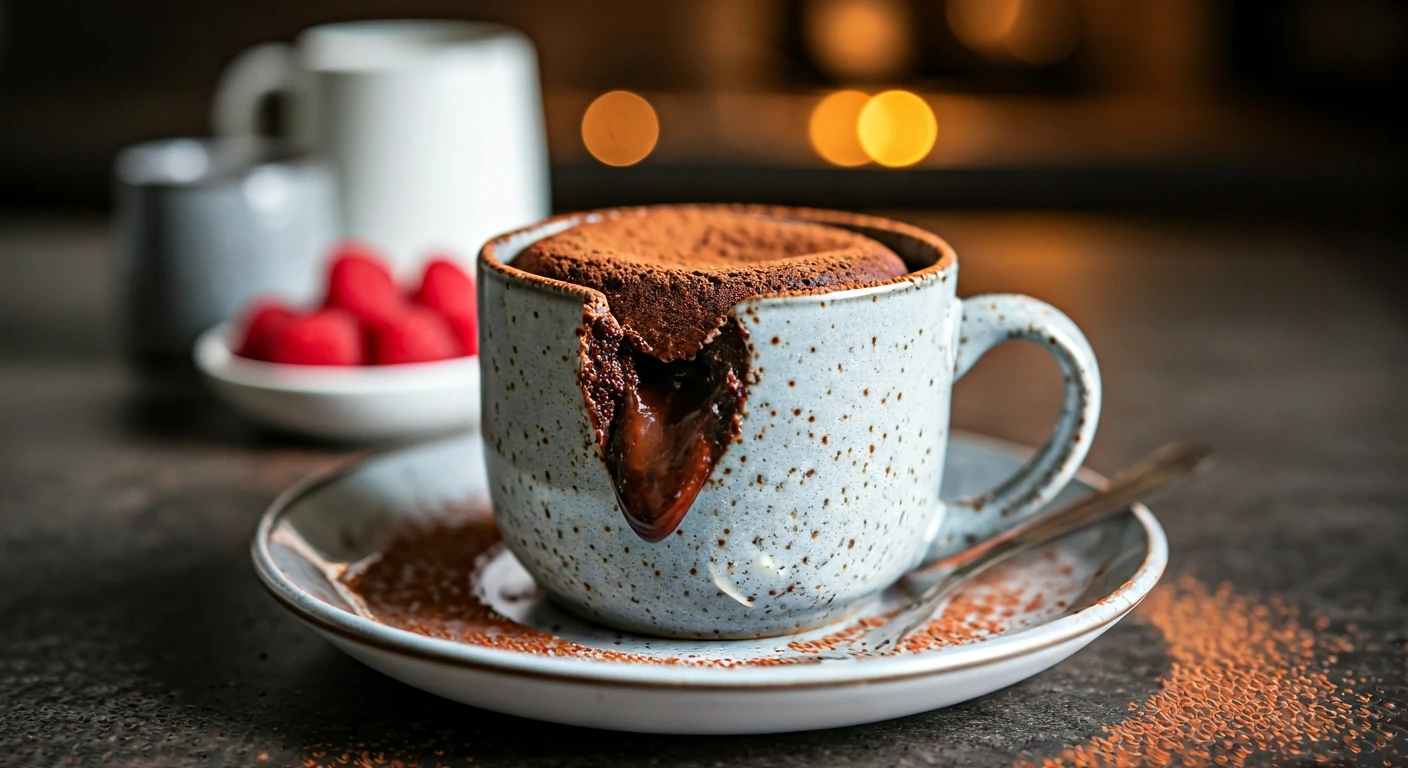
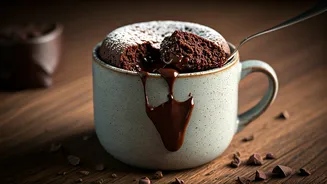
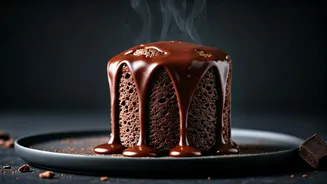
of instant gratification, a rich, warm cake that’s ready in under five minutes is a powerful concept. Second, it’s a single-serving treat, which means built-in portion control and no temptation from a lingering full-sized cake. It’s also incredibly accessible; it requires no special baking equipment, just a microwave and a mug. But the true star of the show is the visual—the moment the spoon cracks the surface and the gooey, chocolate “lava” centre spills out. This satisfying finale is practically engineered for viral sharing, offering a hit of vicarious indulgence that makes you want to immediately try it for yourself.
Gather Your Ingredients
Part of the beauty of this recipe is its simplicity. You likely have everything you need in your pantry right now. Before you start, grab a microwave-safe mug that holds at least 350ml (12 ounces) to prevent any overflow. Using a wider, shorter mug can also help the cake cook more evenly. For one perfect lava mug cake, you will need: 4 tablespoons of all-purpose flour, 4 tablespoons of granulated sugar, 2 tablespoons of unsweetened cocoa powder, and half a teaspoon of baking powder. For the wet ingredients, you'll need 3 tablespoons of milk, 3 tablespoons of melted butter or oil, and half a teaspoon of vanilla extract. For that crucial molten centre, you'll need 2-3 squares of good quality dark or semi-sweet chocolate, or about 2 tablespoons of chocolate chips. A pinch of salt is also recommended to enhance the chocolate flavour.
Step-by-Step to Molten Perfection
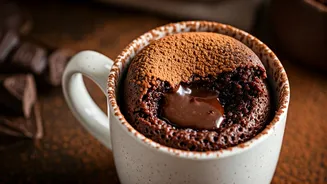
Mixing this cake is almost as fast as cooking it. Start by adding all your dry ingredients—flour, sugar, cocoa powder, baking powder, and salt—directly into your mug. Give them a good stir with a fork to combine everything and break up any lumps. Next, add the wet ingredients: the milk, melted butter (or oil), and vanilla extract. Whisk everything together with the fork until you have a smooth, lump-free batter. Be sure to scrape the bottom and sides of the mug to ensure everything is well combined, but avoid overmixing, which can make the cake tough. Finally, place your squares of chocolate or chocolate chips into the centre of the batter, pushing them down slightly so they are just covered. This concentration of chocolate is what will create the lava effect when cooked.
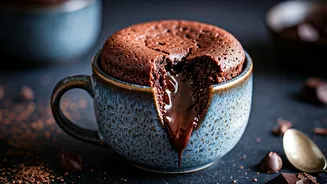
The Critical Microwave Minute
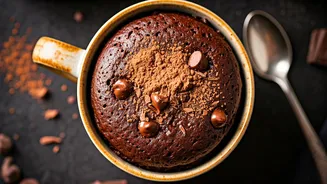
This is where the magic happens, but it’s also the easiest place to go wrong. Microwave wattages vary, so cooking times are not universal. A good starting point is 70 to 90 seconds on high power. The goal is for the edges of the cake to look set and for the top to have risen, but the very centre should still look slightly wet and shiny. If you touch it lightly, it should be soft but not raw batter. It's far better to undercook a lava cake than to overcook it. An overcooked mug cake will be dry and rubbery, losing that molten middle entirely. For your first attempt, try microwaving for 60 seconds and then checking on it. If it needs more time, add it in 10-second bursts until you get the right consistency. The cake will continue to cook from residual heat after you take it out, so let it rest for a minute or two before digging in.
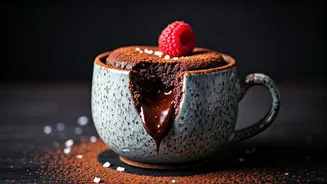
Customise Your Cake
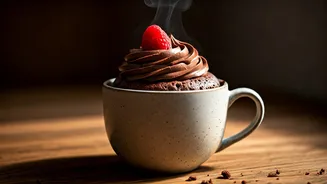
Once you've mastered the basic recipe, it’s easy to get creative. The viral nature of the cake is partly due to its endless customisability. For a different flavour profile, try adding a spoonful of peanut butter or Nutella into the centre along with the chocolate. A dash of espresso powder mixed with the dry ingredients will intensify the chocolate flavour. You can also play with the mix-ins; white chocolate chips or caramel bits work wonderfully. Once it’s out of the microwave, the possibilities continue. A dusting of powdered sugar is classic, but a small scoop of vanilla ice cream or a dollop of whipped cream turns this simple snack into a truly decadent dessert. No matter how you top it, the appeal remains the same: a warm, personal-sized cake, made just for you, in minutes.