


Gather Your Tools and Materials
Before you begin your transformation, it’s essential to gather the right equipment. Having everything on hand makes the process smoother and safer. For this project, the most reliable method involves a dedicated bottle cutting tool for clean, predictable
results. You will need: empty glass bottles (wine, beer, or liquor bottles work well), a glass bottle cutter kit, safety goggles and gloves, medium and fine-grit sandpaper, and a basin with both hot and cold water. For the decorating phase, have taper candles or battery-operated fairy lights ready. You might also want twine, ribbon, or glass paint for extra embellishment.
The Art of Safely Cutting Glass
Cutting glass is easier than it sounds, but safety is paramount. Always wear your safety goggles and gloves. Start by adjusting your bottle cutter to the desired height. Place the bottle securely in the cutter and apply firm, even pressure as you rotate it one full time to create a single, continuous score line. It’s crucial not to go over the line a second time, as this can lead to an uneven break. Once scored, the next step uses thermal shock to separate the pieces. Carefully pour hot water directly over the score line, rotating the bottle for about 20 seconds. Immediately after, douse the same line with cold water. You should hear a faint crackle. Repeat this hot-and-cold process until the bottle separates cleanly along the score line.
Perfectly Smooth and Safe Edges
You will now have two pieces of the bottle, both with sharp, unfinished edges. This next step is non-negotiable for safety. Using medium-grit sandpaper, begin sanding the cut edge to remove any large burrs or sharp points. It’s highly effective to do this under a gentle stream of water (wet sanding), which prevents glass dust from becoming airborne and results in a smoother finish. Once the edge is no longer sharp to the touch, switch to fine-grit sandpaper. Continue to sand until the rim is completely smooth and safe to handle. Run your finger carefully over the edge to check for any remaining sharpness before proceeding.
Crafting the Rustic Candelabra
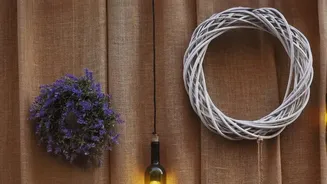
The cut bottles provide a perfect base for creating rustic candelabras. For a simple yet elegant look, you can use either half. The bottom portion of the bottle makes a sturdy holder for a small pillar or votive candle. The top, inverted portion is perfectly shaped to hold a standard taper candle in its neck. To enhance the rustic aesthetic, consider wrapping the base with jute twine or a simple ribbon, securing it with a few dots of hot glue. For a more dramatic effect, you can allow wax from a lit candle to drip down the sides, creating a vintage, aged look over time. Grouping several of these candelabras of different heights can create a stunning centerpiece for a dining table or mantelpiece.
Creating Magical Fairy Light Lamps
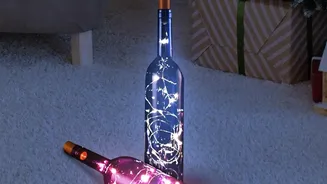
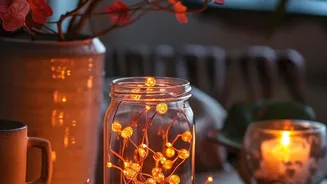
Fairy light lamps add a whimsical and cozy glow to any space. This project can be done with either cut or uncut bottles. For an uncut bottle, simply clean it thoroughly and carefully feed a strand of battery-operated fairy lights inside. Many modern fairy light sets come with a cork-shaped battery pack that fits perfectly into the bottle's opening. If using your newly cut bottle, you can place the bottom half over a coiled bundle of fairy lights to create a bell-jar effect. Another option is to fill the cut bottle base with decorative items like small pebbles, sea glass, or dried flowers before adding the lights for a more complex and personalized lamp. These lamps are perfect for nightstands, bookshelves, or as soft lighting on a patio.