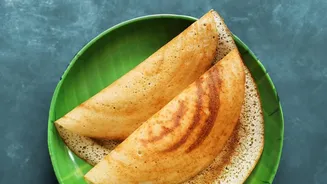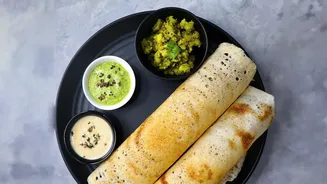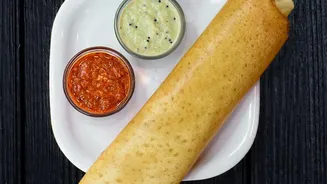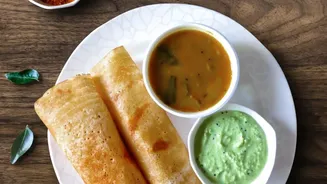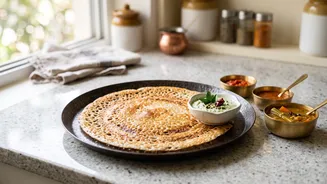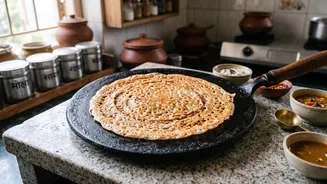
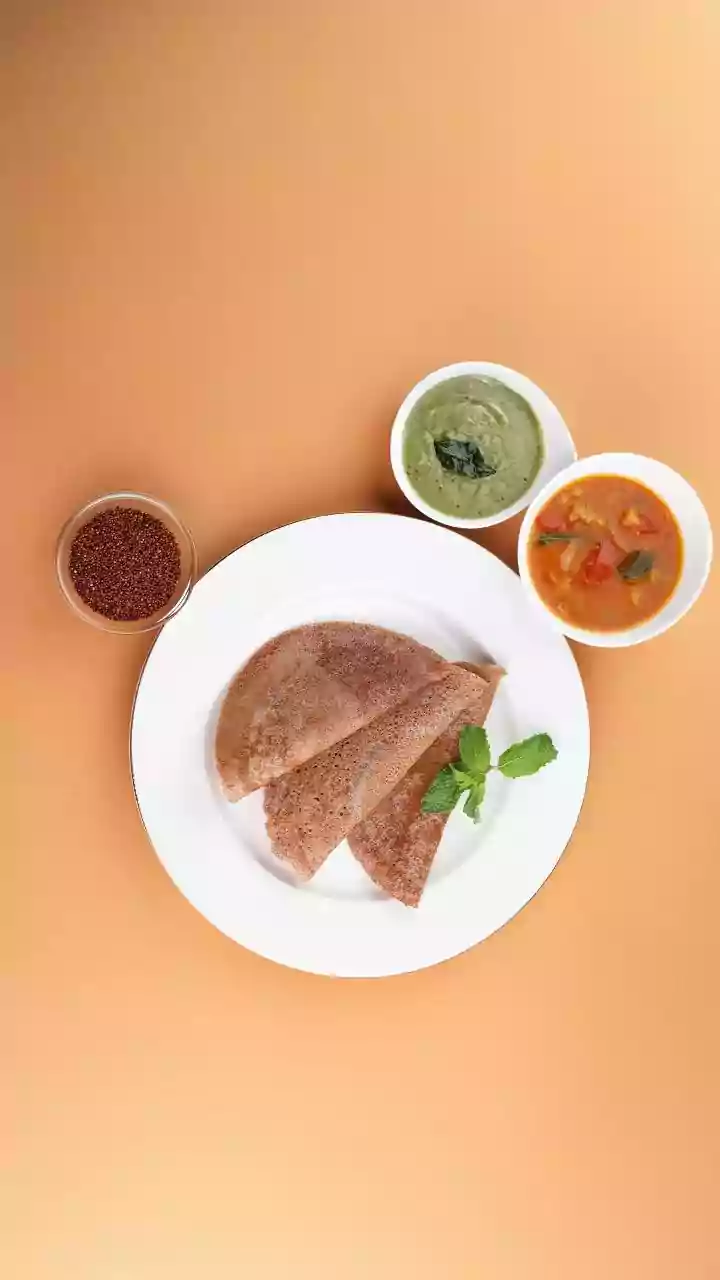
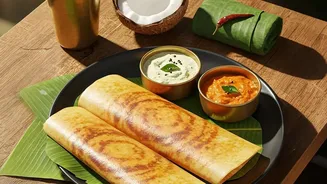
The quest for that perfect, paper-thin dosa often ends in a sticky mess. But the secret isn't more oil; it's the magic of a well-seasoned cast-iron tawa and the right technique. Let's unlock the craft of making flawless dosas together.
The Tawa is Everything
The foundation of
a great dosa is the surface it’s cooked on, and for that unbeatable crispness, nothing rivals a heavy, well-seasoned cast-iron tawa. Unlike non-stick pans, cast iron retains and distributes heat evenly, which is crucial for uniform cooking and achieving those coveted golden-brown spots without burning. Its ability to hold a stable temperature means the tawa won’t cool down significantly when you pour on the batter, a common reason for soft or sticky dosas. Over time, as you cook, the cast iron develops a natural non-stick layer, or 'patina', from polymerised oil. This surface is not only chemical-free but becomes better with every dosa you make, making it the superior choice for texture and taste.
Seasoning: The Secret to a Non-Stick Surface
Before its first use, and periodically for maintenance, a cast-iron tawa needs to be seasoned. This process creates the slick, non-stick surface that allows dosas to lift off effortlessly. Start by washing a new tawa with mild soap to remove any factory coating, then dry it completely on a low flame to ensure no moisture remains. Apply a very thin layer of a high-smoke-point oil, like sesame or vegetable oil, across the entire cooking surface. Heat the oiled tawa on a medium flame for 10-15 minutes until it starts to smoke lightly, then let it cool completely. Repeating this process two to three times builds a robust, durable seasoning layer. This initial effort pays dividends, as a perfectly seasoned pan is the primary reason you can use oil so sparingly later.
Mastering the Batter and Heat
Even the best tawa can’t save a poor batter. For optimal crispiness, your batter should be thinner than it would be for idlis, with a pourable consistency similar to thick buttermilk. If it has been refrigerated, allow it to come to room temperature before cooking to prevent it from sticking. Heat management is the other half of the equation. Preheat your tawa on a medium flame for several minutes. To check if it's ready, sprinkle a few drops of water on the surface; they should sizzle and dance before evaporating. If they vanish instantly with a crackle, the pan is too hot, which will cause the batter to set and clump before you can spread it. If the pan gets too hot, sprinkle it with water and wipe it down with a cloth to moderate the temperature before pouring the batter.
The Technique of Spreading and Cooking
This is where it all comes together. Once your tawa is at the perfect temperature, reduce the flame to low-medium. Some cooks swear by rubbing the hot surface with half an onion dipped in a little oil before the first dosa. This not only adds a subtle flavour but also helps create a temporary non-stick film. Pour a ladleful of batter into the centre of the tawa and, using the back of the ladle, immediately begin spreading it outwards in a single, continuous spiral motion. The key is to be quick and lightnded, creating a layer that’s as thin as possible. Don’t go back over areas you’ve already spread.
Using Oil Sparingly for the Perfect Crisp
With a well seasoned tawa , you don’t need to flood the pan with oil . Once the batter is spread , increase the heat back to medium . Now , drizzle just a few drops of oil or ghee around the edges of the dosa and over any small holes on its surface . This minimal amount of fat is all that’s needed to help the edges crisp up and turn golden brown . The oil will seep under the dosa , aiding in the cooking process and allowing it to release cleanly from the pan . Let the dosa cook undisturbed until the edges begin to visibly brown and lift away from the tawa on their own . This is your cue that it's ready to be folded or flipped without tearing .