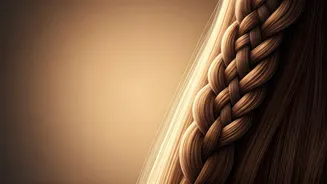


Prepare for Success
Before you even think about the first twist, setting up your hair correctly can make all the difference. This style often works best on hair that isn't freshly washed. The natural oils and slight texture of second-day hair provide more grip, preventing
the silky strands from slipping out of the braid. If your hair is clean and smooth, don't worry. A light mist of dry shampoo or a texturizing spray at the roots will give you the hold you need. Brush your hair thoroughly to remove any knots or tangles, ensuring your sections will be clean and easy to manage as you work. Consider creating a deep side part; it enhances the cascading effect that gives the braid its name.
The Foundational First Steps
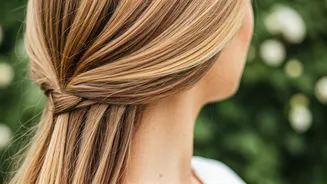
Like many complex-looking styles, the waterfall braid starts simple. Take a section of hair from the front, near your hairline, about two inches wide. Divide this into three equal strands: a top strand (closest to your part), a middle strand, and a bottom strand (closest to your ear). Begin as you would with a standard French braid. Cross the top strand over the middle one. Then, cross the bottom strand over the new middle one. This initial sequence creates the anchor for your entire braid.
Mastering the 'Waterfall' Technique
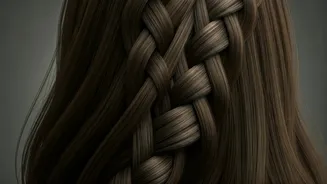
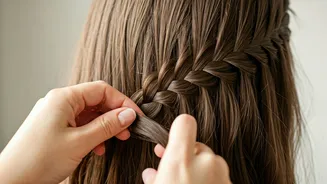
Here comes the signature move of the waterfall braid. First, you'll incorporate new hair, just like a French braid. Take a small new piece of hair from your hairline and add it to your top strand. Cross this combined top strand over the middle one. Now for the 'waterfall' part: instead of crossing the bottom strand over, you simply drop it. Let it fall down with the rest of your hair. This dropped piece is the first cascade in your waterfall. To replace it, pick up a new section of hair from directly behind where the dropped strand was. This new section becomes your new bottom strand. You then cross this new bottom strand over the middle strand. This 'add to the top, drop the bottom, pick up a new bottom' sequence is the core pattern you'll repeat.
The Sectioning Tricks That Change Everything
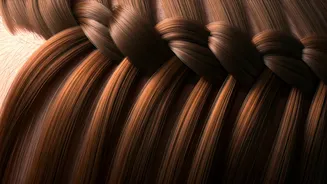
The key to a clean, beautiful waterfall braid lies in managing your sections. It’s easy to get confused about which strand to drop and which to pick up. A game-changing trick is to use a clip or even just your mouth to hold the dropped strand out of the way temporarily. This prevents it from getting tangled with the new section you're picking up. When picking up a new bottom strand, ensure it’s a similar size to the strand you just dropped for a consistent look. Likewise, when adding hair to the top strand, try to grab uniform amounts each time. Keeping an even tension is also crucial. Pulling too tight can create bumps, while braiding too loosely will cause the style to fall apart. Try to keep your hands and the braid itself close to your head for a smoother finish.
Continuing and Securing Your Braid
Continue this pattern—adding to the top, crossing over, dropping the bottom, and picking up a new bottom—across the side of your head. You can take the braid as far as you like. A popular option is to stop at the back of your head and secure the braid with a bobby pin, hiding it under a layer of hair. For a half-up look, you can create a second waterfall braid on the other side of your head and join the two in the middle with a clear elastic. To conceal the elastic, you can wrap a small strand of hair around it and pin it underneath. If you prefer, you can also continue the braid all the way around your head for a crown-like effect or simply finish the end of the braid with a regular three-strand plait once you stop adding new hair.