



First, Diagnose the Drowning
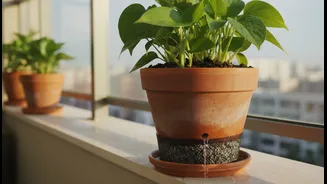
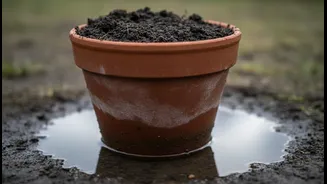
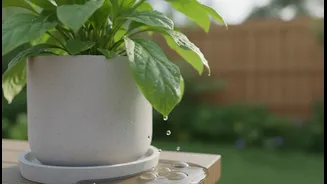
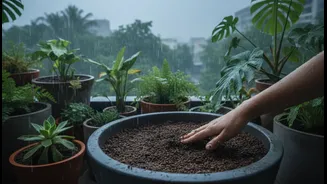
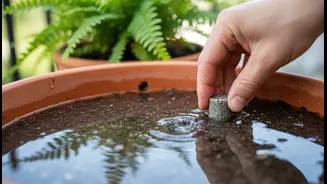
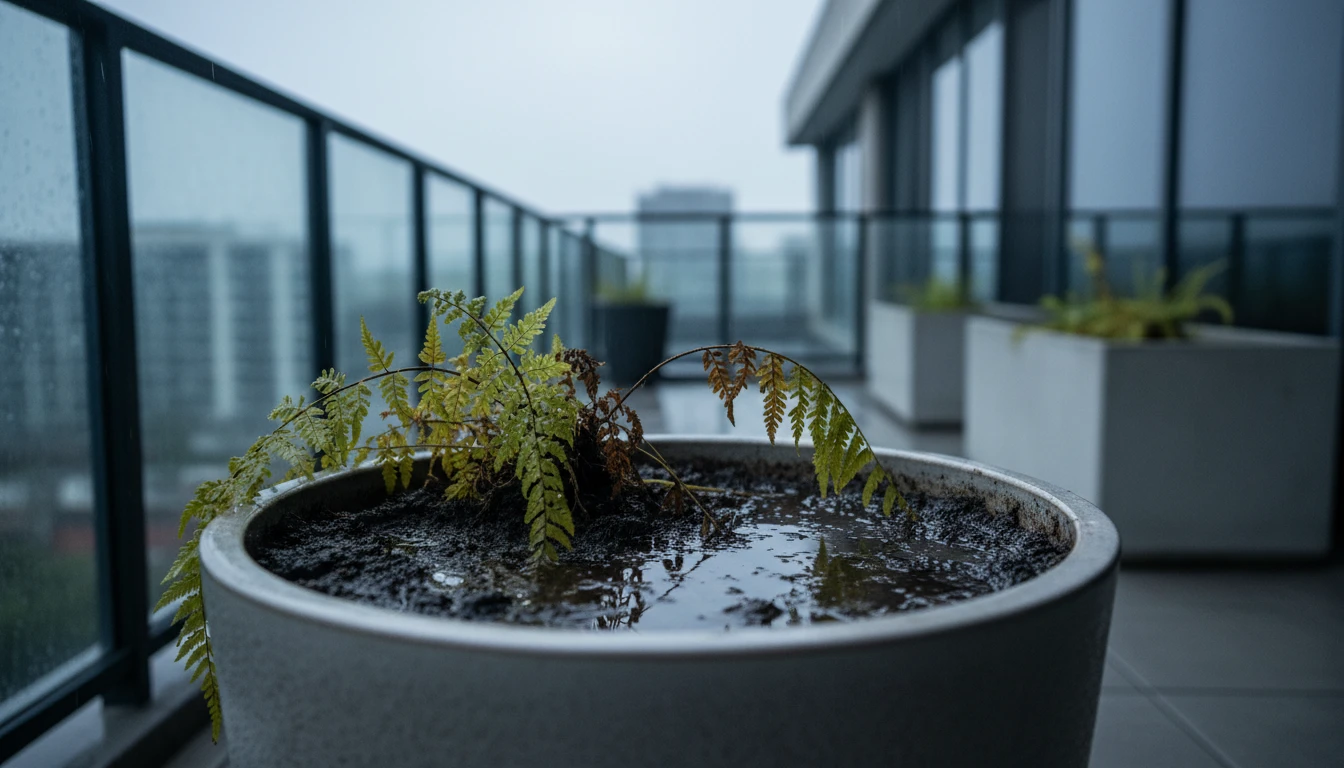
The most beautiful pot can be a death trap for a plant if water has no way to escape. The primary signs of a waterlogged container are yellowing leaves, slow or stunted growth, and soil that stays damp for days after watering. This creates an environment
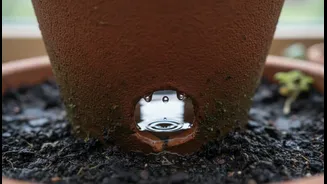
where roots can't get oxygen, leading to root rot. The usual culprits are simple: a lack of drainage holes, soil that has become too compacted, or a decorative outer pot (a cachepot) that traps water. Before you can fix the problem, you need to confirm its source. Tip the pot slightly; if water seeps out, you have a drainage issue.
The Great Escape: Adding Drainage Holes
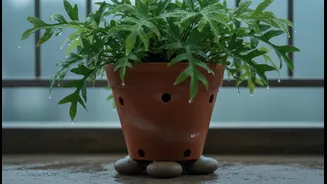
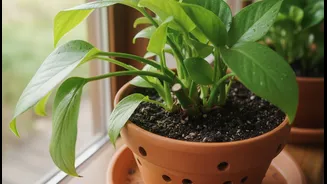
If your pot has no holes, creating them is the most crucial first step. The method depends on the pot's material. For all types, it's wise to wear safety glasses and gloves.Plastic: This is the easiest material to work with. A standard drill bit will create clean holes. If you don't have a drill, you can carefully use a heated nail or metal skewer to melt holes through the bottom, ensuring you do this in a well-ventilated area.Terracotta (Unglazed Clay): These pots are brittle. Soaking the pot in water for about 30 minutes before drilling can help reduce the risk of cracking. Use a masonry drill bit and apply slow, steady pressure without forcing it.Ceramic (Glazed): These are the trickiest. To prevent the drill bit from slipping on the slick surface, apply masking tape over the area you intend to drill. A diamond-tipped drill bit is best for this job. Keep the surface cool by spraying a little water as you drill to prevent overheating and cracking.
Rescuing a Plant Already in Place
Drilling a hole is simple with an empty pot, but what if a plant is already inside? You have two options. The first is to carefully tip the pot on its side, with a friend holding the plant and soil block in place, and drill the hole. This is risky and best for smaller pots. The safer, more effective method is to repot. Gently slide the plant and its entire root ball out of the container. Set the plant aside in the shade. Now you can safely drill your drainage holes into the empty pot. This is also the perfect opportunity to improve the soil structure, which is the next critical step in preventing future waterlogging.
Rethinking What Goes at the Bottom
For years, gardeners have put a layer of gravel or broken pot shards at the bottom of containers, believing it improves drainage. However, many horticulturalists now consider this a myth. This coarse layer can actually cause water to get trapped in the soil just above it, creating a soggy bottom that's closer to your plant's roots. Instead of adding a separate layer, focus on what can stop your soil from washing out. A single piece of a broken pot over the hole, a coffee filter, or a piece of mesh is sufficient to keep soil in while letting water out. For very large, heavy pots where you want to use less soil, lightweight fillers like recycled plastic materials or pine cones can be a good option.
Building a Better, More Breathable Soil Mix
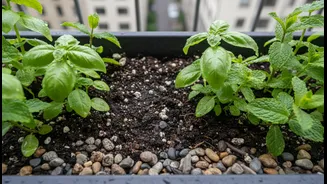
The key to long-term drainage is a well-aerated potting mix. Heavy garden soil or old, compacted potting mix holds too much water. You can drastically improve your existing soil by mixing in budget-friendly amendments. Perlite, which looks like small white foam balls, is a volcanic glass that creates air pockets and improves drainage. Coco peat (coir), made from coconut husks, also helps make soil porous while retaining just enough moisture. Mixing in some coarse sand can also improve the texture. Aim for a mix that feels light and fluffy rather than dense and muddy. This allows roots to breathe and excess water to flow through freely.
Balcony Safety and Neighbourly Etiquette
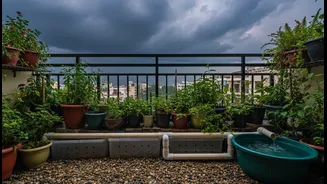
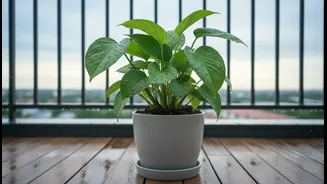
On a balcony, safety means managing water runoff. Water draining from your pots shouldn't become a nuisance for your neighbours below or create a slipping hazard on your own floor. Using saucers or drip trays under your pots is the simplest solution. However, never let your pots sit in a saucer full of water, as this defeats the purpose of drainage holes and will lead to root rot. After watering, wait about 30 minutes and then empty any excess water from the trays. For a cleaner setup, consider using pot feet to slightly elevate your containers, allowing air to circulate underneath and water to evaporate more quickly.