
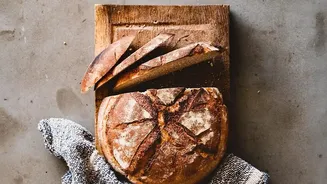
The Magic of a Sourdough Starter
Before we begin, what exactly is a sourdough starter? Think of it as a living pet that you create from just two ingredients: flour and water. It's a fermented culture that captures wild yeast and beneficial bacteria from the environment, which in turn
gives your bread its unique tangy flavour and impressive rise without any commercial yeast. The process is a fascinating journey in microbiology that happens right on your kitchen counter. While it requires patience, the rewarding experience of baking with your own homemade starter is unparalleled. The key is consistency, not complexity.
Choosing Your Indian Flour
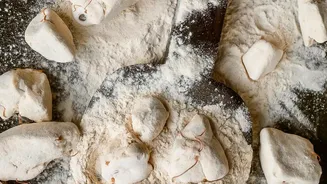
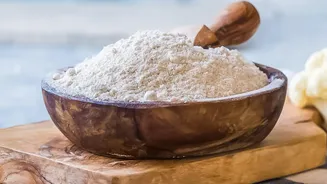
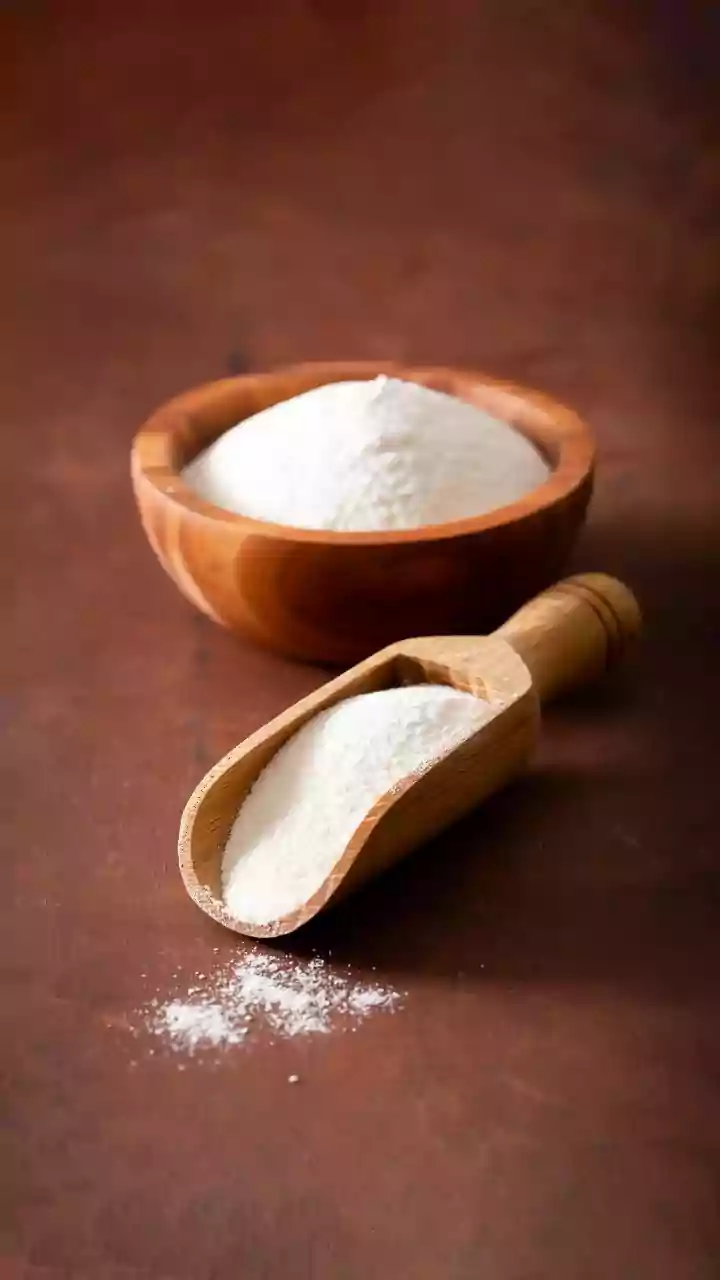
The beauty of this process is its flexibility. You don’t need imported bread flour. Common Indian flours work wonderfully. Whole wheat flour (atta) is an excellent choice to begin with. Its bran and germ are packed with the natural microorganisms needed to kickstart fermentation. Many bakers find that starters made with whole grains like atta become active more quickly. You can also use all-purpose flour (maida), or a blend of both atta and maida. A 50/50 mix is a popular choice, offering the nutrient boost of atta and the lighter texture of maida. For this guide, we will start with whole wheat atta for the best results.
Day 1-2: Creating the Culture
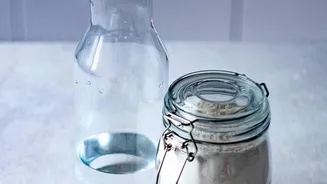
Let's begin. You will need a clean glass jar, a kitchen scale for accuracy, whole wheat atta, and non-chlorinated water. In your jar, mix 50 grams of atta with 50 grams of lukewarm water. Stir well until it forms a smooth, thick paste with no dry lumps. Cover the jar loosely—a lid placed on top without screwing it tight or a piece of cloth works well—to allow gases to escape. Place the jar in a warm spot in your kitchen, away from direct sunlight, for 24 hours. A spot on top of the refrigerator or in a turned-off oven with the light on can provide gentle warmth. You may or may not see any activity on day two, and that's perfectly normal.
Days 3-6: The Feeding Schedule
From day three, you'll begin a regular feeding routine. You'll notice some bubbles and perhaps a slightly sour or fruity smell. To feed your starter, first discard about three-quarters of the mixture. This might feel wasteful, but it's crucial for keeping the yeast population healthy and fed. Add 50 grams of fresh atta and 50 grams of water to the remaining starter in the jar, mix well, and cover loosely. Repeat this process every 24 hours. If your kitchen is very warm (above 24°C), you may need to feed it twice a day, every 12 hours, as the starter will metabolize its food faster.
Is My Starter Ready to Bake With?
Within a week or so, your starter should become lively and predictable. A healthy, mature starter will show clear signs that it’s ready for baking. It should reliably double or even triple in volume within 4-8 hours after feeding. The texture will become airy and full of bubbles, and the top may look domed at its peak. The aroma should be pleasantly tangy, yeasty, or even fruity, not unpleasantly pungent. A popular, though not always necessary, method to check for readiness is the "float test": drop a small spoonful of your active starter into a glass of water. If it floats, it's generally a good sign that it’s full of gas and ready to leaven bread.
Troubleshooting Common Issues
Don't panic if things don't go perfectly. A layer of dark liquid on top, known as "hooch," simply means your starter is hungry; just stir it in or pour it off before the next feeding. If your starter seems sluggish and isn’t bubbling much, try moving it to a warmer location or feeding it more frequently. Remember, the warm Indian climate can accelerate fermentation, so paying close attention to these signs is key. The only true signs of failure are visible mould (pink, orange, or green spots) or a genuinely foul, rotten smell. In that rare case, it's best to discard it and start again.