


The AC vs. Fern Dilemma
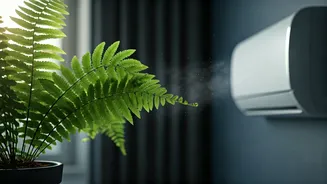
Ferns are native to shady, humid forest floors. They thrive on moisture in the air and soil. Your air conditioner, on the other hand, is designed to do the exact opposite. It cools a room by pulling warm air in, removing heat and moisture, and then pushing
cool, dry air back out. This process drastically lowers the humidity, creating an environment that is hostile to your moisture-loving fern. To make matters worse, the constant draft from an AC vent accelerates transpiration—the process where plants lose water through their leaves. For a delicate fern, this is a recipe for disaster, leading to dry, curling fronds and eventual decline.
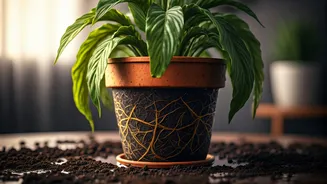
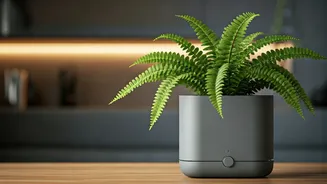
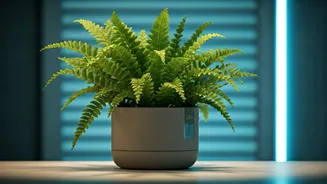
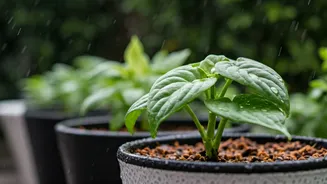
Enter the Self-Watering Pot
A self-watering pot is a game-changer for keeping thirsty plants alive in challenging indoor environments. It isn't a complex piece of tech; it’s a clever two-part container. The main pot holds the plant and soil, and it sits inside or on top of a larger outer reservoir that holds water. A wicking system, often a piece of absorbent rope or a porous section of the inner pot, connects the water in the reservoir to the soil. Through capillary action, the soil draws up exactly as much water as it needs, when it needs it. This creates a consistently moist (but not waterlogged) environment from the bottom up, directly addressing the root of the problem.
Why It's the Perfect Solution
This system directly counters the drying effects of air conditioning in several ways. While the AC is busy drying out the air and the surface of the soil, the self-watering pot ensures the plant's roots have a constant, stable supply of moisture. It helps maintain soil hydration even when the air is arid. This reduces the stress on the plant, allowing it to better cope with the lower ambient humidity. It also frees you from the tricky task of daily watering checks. Instead of guessing if the soil is too dry or too wet, you simply have to keep the reservoir topped up, turning a high-maintenance plant into a low-effort joy.
How to Make the Switch
Transitioning your fern to a self-watering pot is straightforward. First, choose a pot that is slightly larger than your fern’s current container. Most self-watering pots come with instructions, but the process is generally the same. Add a layer of soil to the bottom of the inner pot. Gently remove the fern from its old pot, loosen the root ball slightly, and place it inside. Fill the surrounding space with a well-draining potting mix suitable for ferns—a mix containing peat moss or coco coir is ideal as it helps with moisture retention. Do not pack the soil too tightly. Once potted, give the plant a thorough watering from the top to settle the soil and activate the wicking system. Then, fill the reservoir to the recommended level.
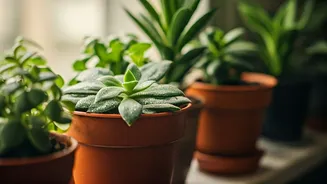
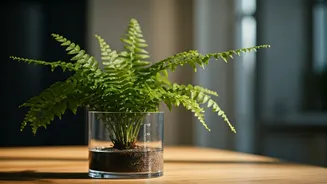
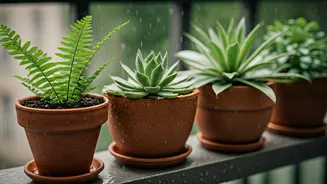
Best Ferns and Long-Term Care
While this method works for most indoor ferns, some are particularly good candidates. The Boston fern (Nephrolepis exaltata), with its classic arching fronds, and the Bird's Nest fern (Asplenium nidus), with its solid, wavy leaves, both respond beautifully to the consistent moisture of a self-watering system. For long-term success, monitor the water level in the reservoir, refilling it as needed—typically every one to two weeks, depending on the pot size and room conditions. About once a month, it’s a good idea to water the plant from the top to flush out any mineral salts that may have accumulated in the soil. Keep the fern in a spot with bright, indirect light, and it will be well-equipped to survive, and even thrive, in your comfortably air-conditioned home.