

The Tiny Titans of Nutrition
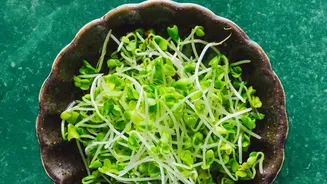
So, what exactly are microgreens? They are young vegetable greens harvested just after the first true leaves have developed. Don't confuse them with sprouts, which are germinated seeds grown in water. Microgreens are grown in soil or a growing mat, and
it's this process that gives them a significant nutritional edge. Studies have shown that microgreens can have anywhere from four to 40 times more nutrients like vitamins C, E, and K than their mature counterparts. Their concentrated nutrient content makes them a true superfood, packed with vitamins, minerals like potassium and iron, and beneficial antioxidants.
Your Windowsill, Your Urban Farm
You don't need a sprawling garden to grow your own food. A sunny windowsill is the perfect real estate for a micro-farm. The primary requirement is light. Most microgreens thrive with at least four to six hours of direct sunlight each day. A south-facing window is ideal, especially from spring through autumn. Not sure if your window gets enough light? Try a simple shadow test: on a sunny day, if your hand casts a sharp, clear shadow on the sill, you have excellent light for growing. Beyond the convenience, growing your own greens means you control the entire process, ensuring your food is as fresh and clean as possible, harvested moments before it lands on your plate.
The Essential Toolkit for Beginners
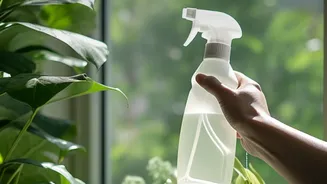
Getting started is surprisingly simple and doesn't require a hefty investment. You can easily begin with items you might already have at home. You'll need a shallow tray—a plastic takeout container or foil baking tray will work perfectly. If it has holes, line it with a paper towel to keep the growing medium in place. Next, you need a growing medium. A sterile seed-starting mix, potting soil, or a coconut coir mat are all excellent choices. Finally, you'll need seeds of your choice and a spray bottle for gentle watering. That's it. This basic setup is all you need to go from seed to superfood in about a week or two.
From Seed to Superfood in a Week
The growing process is quick and rewarding. First, fill your tray with your chosen growing medium, dampening it so it's moist but not soggy. Sprinkle your seeds evenly and densely across the surface, but try not to let them overlap. Gently press them into the soil and cover them with a very thin layer of the medium. Mist the surface with water and cover the tray to create a humid environment for germination. Place it in a warm spot, away from direct light. After a few days, once you see sprouts, remove the cover and move the tray to your sunny windowsill. Keep the soil moist, and your greens will be ready to harvest in as little as 7 to 14 days.
Five Fail-Proof Greens to Try First
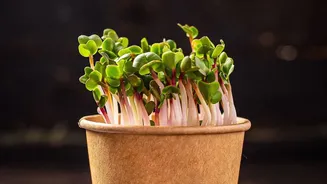
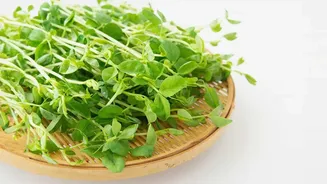
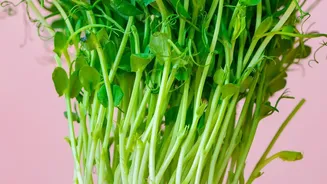
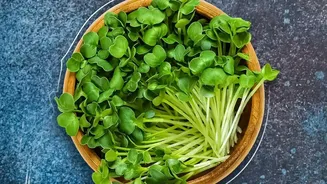
For your first foray into micro-farming, it's best to start with varieties known for being fast and forgiving. Radish microgreens are a top choice for beginners, often ready to harvest in under a week and offering a peppery kick. Pea shoots are another stalwart, with a sweet, fresh flavour that's universally loved. Broccoli microgreens are nutritionally dense and have a mild taste, making them very versatile. Kale is similarly easy to grow and offers a much gentler flavour than its mature version. Finally, other brassicas like mustard greens can add a spicy, wasabi-like flavour to your meals and grow just as quickly.
Reaping Your Delicious Rewards
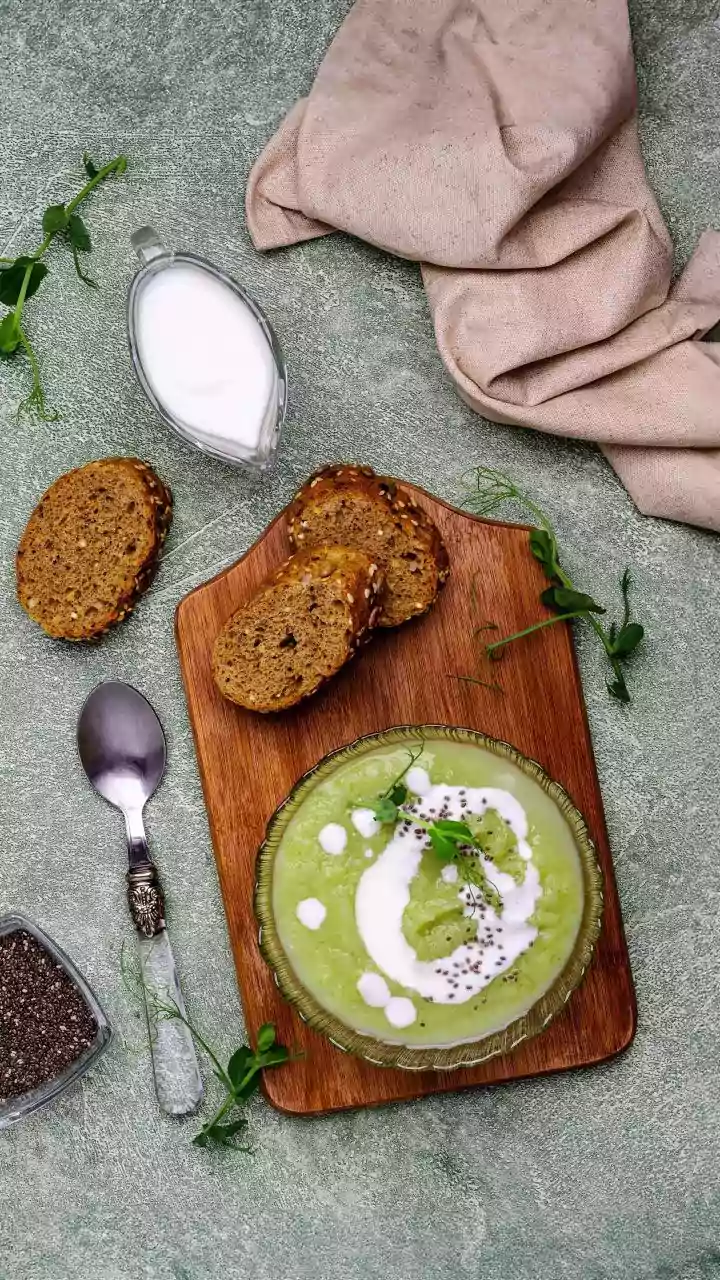
Harvesting is the most satisfying step. Once your microgreens are about two to three inches tall and have developed their first set of 'true leaves', they're ready. These true leaves will look different from the initial pair of seed leaves (cotyledons) that first appeared. To harvest, simply take a pair of clean kitchen scissors and snip the greens about an inch above the soil line. It’s best to harvest them right before you plan to eat them to get the maximum flavour and nutritional benefit. Add them to salads, toss them on top of pizzas, pile them into sandwiches, or use them as a beautiful and flavourful garnish for any dish.