


Why Make the Switch?
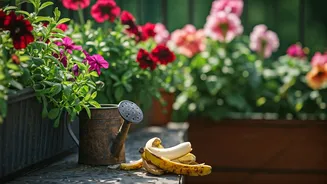
For many home gardeners in India, from those with sprawling backyards to those tending to a few pots on a balcony, chemical fertilizers can seem like a quick fix. However, they come with downsides. They can be expensive, harsh on the delicate soil biome
of a potted plant, and run-off can harm the environment. Overuse can lead to chemical build-up in the soil, ultimately weakening your plants over time. Making a shift to organic alternatives like kitchen-scrap fertilizers is not just about being trendy; it's about building a healthier, more resilient, and self-sufficient garden. It’s a sustainable practice that reduces kitchen waste and nourishes your plants gently and effectively, without the risk of 'fertilizer burn' that can scorch delicate roots.
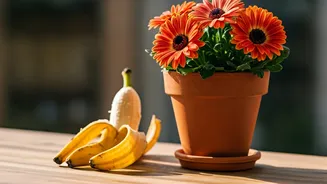
The Power in the Peel
So, what makes a simple banana peel so special? It’s a powerhouse of potassium (K), a vital macronutrient for plant health. Potassium plays a crucial role in nearly every aspect of a plant's life. It strengthens stems, helps move water and nutrients between cells, activates enzymes that trigger growth, and significantly improves a plant’s ability to flower and produce fruit. Think of it as the plant's immune booster, enhancing its resistance to pests, diseases, and environmental stress like drought. While not a 'complete' fertilizer (it’s low in nitrogen), banana peels also provide smaller amounts of calcium, magnesium, and phosphorus. This makes banana peel spray an excellent supplemental feed, especially for flowering and fruiting plants that have high potassium needs.
DIY Banana Peel Fertilizer: A Simple Recipe
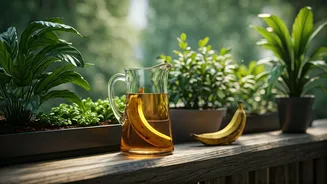
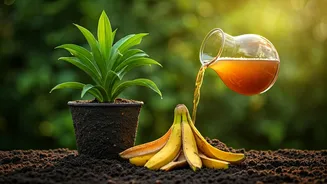
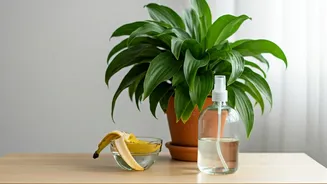
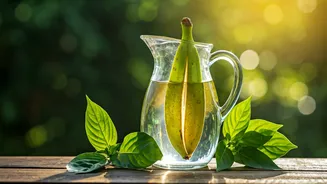
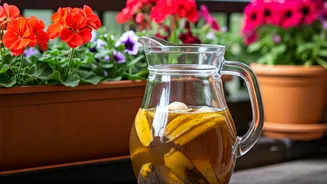
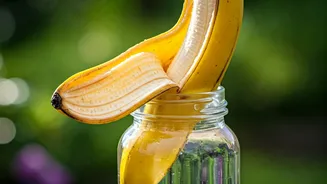
Making your own liquid fertilizer is incredibly simple and requires no special equipment. You can turn your kitchen scraps into 'liquid gold' for your plants in just a few steps. 1. **Collect & Chop:** After enjoying your bananas, don't discard the peels. Collect 3-4 fresh peels. Chop them into small, one-inch pieces. Chopping increases the surface area, allowing nutrients to leach into the water more quickly. 2. **Soak:** Place the chopped peels into a clean glass jar (like a one-litre pickle or jam jar). Fill the jar with water, leaving an inch of space at the top. Seal the jar tightly. 3. **Steep:** Let the jar sit in a cool, dark place for about three to five days. You will notice the water turning a pale, brownish colour as the nutrients infuse into it. A slight odour is normal, but if it smells strongly fermented or foul, it may have been left for too long. 4. **Strain & Dilute:** After a few days, strain the liquid into another container, separating it from the soggy peels. The peels themselves can be directly buried in your garden soil or added to your compost pile. Your concentrate is now ready. For application, it's best to dilute this liquid. A good rule of thumb is to mix one part banana peel liquid with four parts plain water.
How to Use Your Homemade Spray
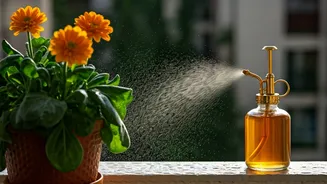
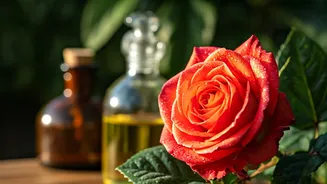
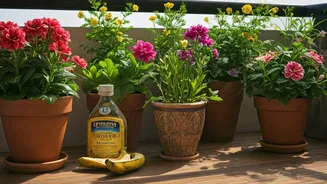
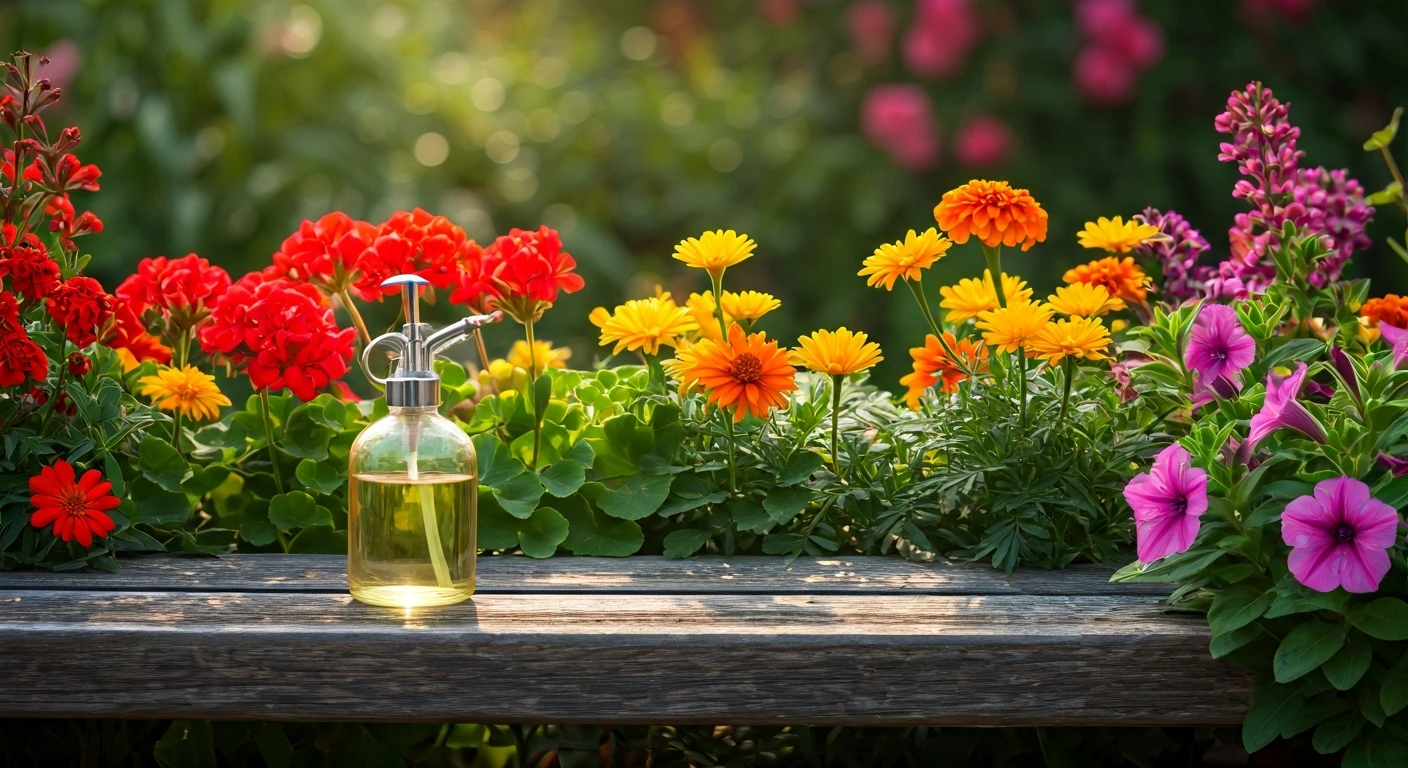
You now have a gentle, nutrient-rich fertilizer ready for your garden. The best plants to use it on are those that love potassium, such as roses, hibiscus, bougainvillaea, tomatoes, peppers, chillies, and brinjal. There are two primary ways to apply it: * **As a Soil Drench:** Simply pour the diluted solution directly onto the soil around the base of your plants. This allows the roots to absorb the nutrients directly. Water your plants as you normally would, using the banana peel tea once every 15-20 days during the growing season. * **As a Foliar Spray:** For a more immediate boost, you can use the diluted liquid as a foliar spray. Pour it into a clean spray bottle and lightly mist the leaves of your plants in the early morning or late evening. This allows for rapid nutrient absorption through the leaves. Avoid spraying in direct, harsh sunlight as it can burn the foliage.
A Note on Expectations
While banana peel fertilizer is a fantastic organic supplement, it's important to have realistic expectations. It is not a miracle cure or a complete fertilizer that provides everything your plant needs. It is low in nitrogen (N), which is essential for leafy green growth. Therefore, it should be used as part of a broader soil health strategy that includes good quality soil and compost. Think of it as a vitamin boost rather than a full meal. Also, be mindful not to leave the soaking jar for too long, as it can attract fruit flies or develop mould. Using the mixture within a week of making it is ideal. By integrating this simple DIY spray into your routine, you’re taking a positive step toward a more sustainable gardening practice.