



Understanding 'Greens' and 'Browns'
The secret to great compost lies in balancing two types of materials: 'greens' and 'browns'. 'Greens' are rich in nitrogen, which provides the protein for microorganisms to thrive and generate heat for decomposition. Think of these as your wet, fresh
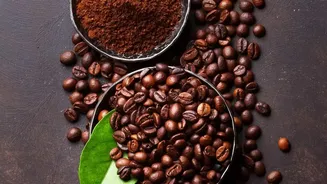
ingredients. 'Browns' are rich in carbon, providing energy for those same microbes and giving your compost pile structure and airflow. Your three key ingredients fit perfectly into this model. Used coffee grounds, despite their colour, are a potent 'green' material. Most of your kitchen scraps, like fruit and vegetable peels, also fall into this category. Your dried leaves are the essential 'brown' material, providing the carbon to balance the nitrogen from the coffee and scraps.
Gathering Your Kitchen Scraps
Not all kitchen waste is created equal when it comes to composting. You can safely add most fruit and vegetable trimmings, crushed eggshells, and even paper tea bags and coffee filters. These materials break down efficiently and add valuable nutrients. However, you should avoid adding certain items to your home compost pile. Meat, fish, bones, dairy products, and oily or greasy foods should be left out. These can create foul odours, attract pests like rodents, and slow down the decomposition process. Also, avoid adding any plants from your yard that were diseased, as the composting process may not get hot enough to kill the pathogens.
Getting the Ratio Right
Balance is everything. The ideal carbon-to-nitrogen ratio for a fast, healthy compost pile is around 25 or 30 parts carbon to 1 part nitrogen. Translating that to volume is much simpler: a good rule of thumb is to aim for two to three parts 'browns' (dried leaves) for every one part 'greens' (coffee grounds and kitchen scraps). Don't worry about being perfectly precise. If your pile starts to smell like ammonia, it has too much nitrogen, so simply mix in more 'browns' like dried leaves, shredded cardboard, or straw. If the pile seems cold and decomposition is slow, it likely needs more nitrogen, so add more 'greens' like kitchen scraps or fresh grass clippings.
Building Your Compost Pile, Step-by-Step
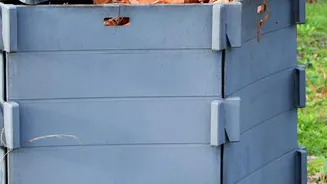
You can use a dedicated compost bin or simply start a pile in a suitable corner of your yard. To begin, create a base layer of bulky 'browns' like twigs and several inches of your dried leaves. This helps with aeration from the bottom. Next, add a layer of your 'greens'—the coffee grounds and kitchen scraps. It helps to chop larger scraps into smaller pieces to speed up decomposition. Lightly water the layers as you go; the goal is for the pile to be as moist as a wrung-out sponge, not soaking wet. Tossing in a handful of garden soil or finished compost on each green layer can introduce beneficial microorganisms to kickstart the process. Finish by topping the pile with a final layer of 'browns' to help retain moisture and deter pests.
Maintaining Your Pile for Best Results
Once built, your compost pile needs a little attention. The key is providing moisture and oxygen. Check the moisture level regularly. If it feels dry, add some water. To provide oxygen, you need to turn the pile every week or two with a pitchfork or shovel. This mixes the materials, prevents compaction, and keeps the decomposition aerobic (using oxygen), which is faster and avoids bad smells like rotten eggs. If the pile is working correctly, it will heat up in the centre. This heat is a sign that the microbes are hard at work breaking everything down. If it's not heating up, it may be too dry or need more 'green' materials.
How to Know When Your Compost Is Ready
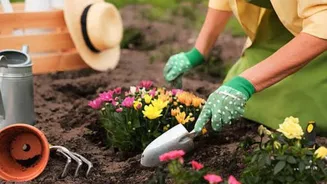
Patience is a virtue in composting. Depending on the conditions, it can take anywhere from a few months to a year for your compost to be ready. You'll know it's finished when it has several key characteristics. The finished compost will be dark, rich, and crumbly, much like good soil. It should have a pleasant, earthy smell, like a forest floor after it rains. You should no longer be able to identify the original ingredients like banana peels or coffee grounds. Finally, a finished pile will have cooled down, as the intense microbial activity has subsided. Once it meets these criteria, your homemade compost is ready to enrich your garden beds and potted plants.