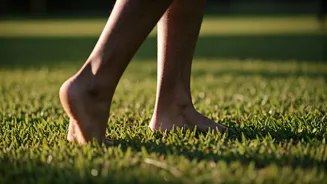


Why Sand Is a Game-Changer
Training on a hard, flat surface is predictable. Your foot lands, your muscles fire in a familiar pattern, and you move on. Sand, however, is a dynamic and unstable surface. With every step, the ground shifts beneath you, forcing your body to constantly
adapt. This isn't a bug; it's the main feature. The soft, yielding nature of sand provides both resistance and a cushion. It makes your muscles work harder to stabilise each movement, but it also reduces the jarring impact on your joints, particularly your knees, hips, and lower back. This combination of increased muscular demand and decreased joint stress is what makes sand training a uniquely effective workout environment.
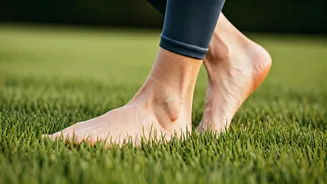
The Science of Ankle Stability
Your ankle is a complex structure of bones, ligaments, and tendons designed for movement in multiple planes. Superior mobility isn't just about flexibility; it’s about having strength and control through a full range of motion. This is where barefoot sand training truly shines. The unstable surface forces the small, intrinsic muscles in your feet and around your ankle joint to fire constantly to maintain balance. This process, known as improving proprioception (your body's awareness of its position in space), is critical for preventing injuries like sprains. By training barefoot, you allow the thousands of nerve endings in your feet to provide direct feedback to your brain, creating a stronger neuromuscular connection. Over time, this builds what is known as 'functional stability'—strong, responsive ankles that can handle uneven terrain and sudden changes in direction, whether on the sports field or during daily life.
Getting Started Safely
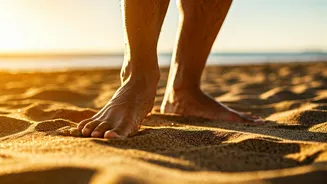
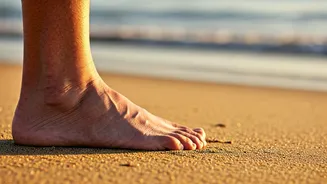
Enthusiasm is great, but starting too fast can lead to strain. Your feet and lower legs are not used to this kind of work, so gradual progression is key. Begin by simply walking barefoot on the sand for 10-15 minutes. Pay attention to how your feet, ankles, and calves feel. If this feels good, you can slowly introduce some light drills. Choose your sand wisely: wet, compact sand near the waterline is more stable and a good starting point. Dry, loose sand offers a much greater challenge and is best saved for when you’re more conditioned. The goal is to challenge your muscles, not strain them. Listen to your body and don’t be afraid to take rest days.
Three Essential Sand Drills
Once you're comfortable walking, incorporate these simple drills to start building strength and mobility.
1. Barefoot Walking Lunges: The instability of the sand will challenge your balance, forcing your core and ankle stabilisers to work overtime. Focus on a controlled, smooth motion rather than speed or depth.
2. Slow Jogs or Hops: Start with short intervals of 30 seconds of jogging, followed by a minute of walking. This builds explosive power and endurance in the lower legs. You can also try small, controlled hops in place, focusing on a soft landing.
3. Ankle Rotations and Draws: Stand on one leg and slowly draw circles in the air with the other foot, moving only from the ankle. After a set of rotations, try 'writing' the alphabet in the air. This directly targets the ankle's range of motion in a controlled, non-impact way.
Potential Risks and How to Avoid Them
While sand training is lower-impact, it's not without risk. The most common issues are overuse injuries like Achilles tendinitis or calf strain from doing too much, too soon. The soft tissue in your feet needs time to adapt. Another point of caution is the risk of blisters or cuts from shells or debris hidden in the sand, so always be aware of your surroundings. The key takeaway is to treat sand training like any new strength program: start with a low volume and intensity, and increase it gradually over several weeks. If you have a history of significant ankle injuries or instability, it's wise to consult with a physiotherapist before starting.