



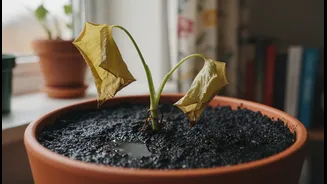


The Sneaky Nature of Root Rot
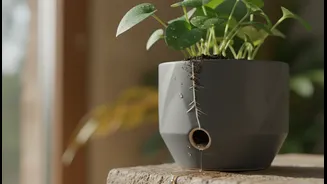
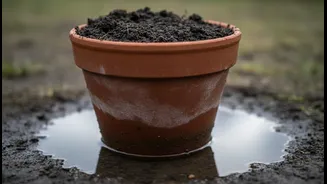
Root rot is a disease that attacks a plant's root system, and it is most commonly caused by overwatering or soil that doesn't drain properly. While many plant owners associate root rot with dramatic wilting, its first symptom is often much more subtle:
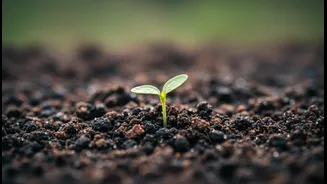
a simple lack of growth. When soil is waterlogged, it cuts off the oxygen supply to the roots. This oxygen-deprived environment becomes a breeding ground for fungi and bacteria that cause the roots to decay. As the roots break down, they lose their ability to absorb the water and nutrients the plant needs to grow, leading to the stunted appearance you see above ground.
Decoding Above-Ground Symptoms
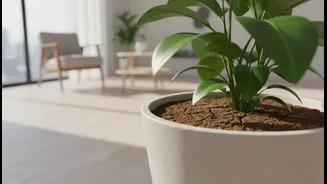
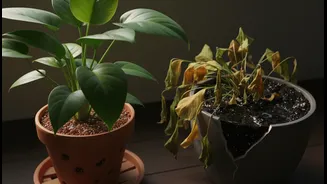
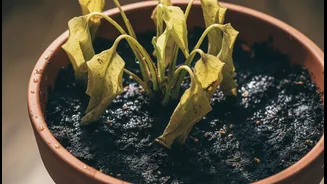
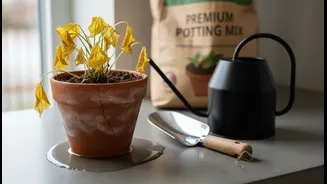
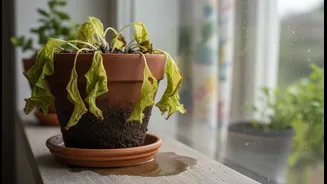
Since you can’t see the roots, you have to look for other clues. One of the most telling signs is when a plant appears wilted or thirsty even though the soil is moist. This happens because the damaged roots can no longer pull water up into the plant. Another key indicator is yellowing leaves, often starting with the lower ones closest to the soil. This isn't the occasional old leaf dying off; it's a more persistent yellowing that signals a nutrient deficiency caused by failing roots. In addition to stunted growth, you might notice weak or mushy stems, a general lack of vigor, and no new leaves or buds forming during the growing season.
Confirming Your Suspicions
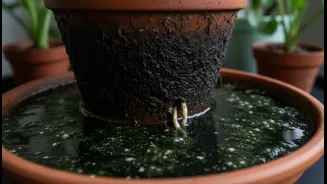
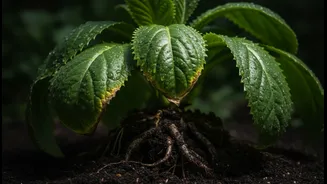
The only way to be certain about root rot is to inspect the roots themselves. Gently remove the plant from its pot. Healthy roots should be firm and appear white, cream, or a light tan color. Roots suffering from rot will be brown or black, feel soft and mushy, and may even fall apart when you touch them. Another giveaway is the smell. Healthy soil has a fresh, earthy scent, whereas soil with root rot will often have a foul, swampy, or decaying odour. If the soil is soaking wet and you see dark, mushy roots, you have a confirmed case.
A Rescue Mission for Your Plant
If you catch it early and some healthy, white roots remain, your plant can be saved. First, gently wash the old soil from the roots to get a clear view. Using a pair of clean, sterilised scissors, carefully trim away all the brown, mushy, and dead roots. Be thorough and cut slightly into the healthy tissue to ensure you’ve removed all the rot. If you have to remove a significant portion of the roots, you should also prune back about one-third of the plant's leaves. This reduces the stress on the smaller root system, as it won't have to support as much foliage. Some gardeners opt to then treat the remaining healthy roots with a fungicide or a diluted hydrogen peroxide solution to kill any lingering pathogens.
Repotting for a Fresh Start
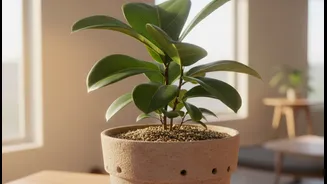
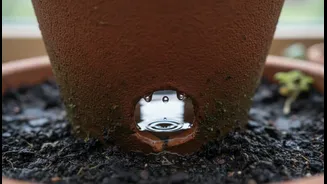
Do not reuse the old soil, as it can contain the fungal spores that caused the problem in the first place. Repot your plant in a clean container with fresh, well-draining potting mix. Ensure the new pot has adequate drainage holes; this is non-negotiable for preventing future issues. You can improve aeration and drainage by mixing perlite or orchid bark into your potting soil. After repotting, wait a few days before watering to allow the cut roots to heal, and then water sparingly until you see signs of new growth.