





Gather Your Gear
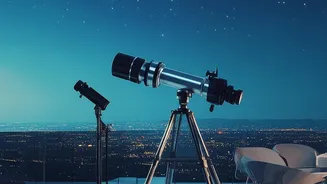
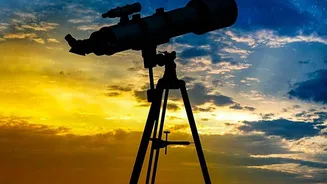
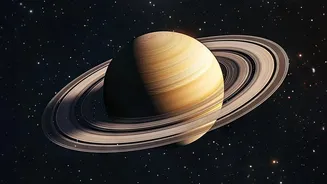
Before you head out, you'll need three key items. First, a telescope. Even a basic model with a 60mm to 70mm aperture can reveal Saturn's rings as a distinct shape. Second, your smartphone. Most modern phones with a decent camera will work. Third, and
most importantly, a universal smartphone adapter. This affordable clamp holds your phone's camera lens securely over the telescope's eyepiece, solving the impossible task of holding it steady by hand. Trying to align the phone and eyepiece manually almost never produces good results. The adapter is the key to getting a clear view on your screen.
Plan Your Night
Success in astrophotography is all about timing and location. Find a spot with as little city light pollution as possible. Use a stargazing app like Stellarium or SkySafari to know exactly where Saturn will be in the sky and when it will be highest. Planets are brightest and appear largest when they are at 'opposition', the point in their orbit where Earth is directly between them and the Sun. Also, check the weather forecast for a clear, calm night. Atmospheric turbulence, or 'bad seeing', can make planets look like they are shimmering in water, blurring any detail.
Set Up and Find Your Target
First, set up your telescope and let it acclimate to the outdoor temperature. Begin with a low-power eyepiece (like a 25mm) to get a wide field of view, making it easier to find Saturn. Once you have the planet centred, carefully focus the telescope until the image is as sharp as possible. You should be able to distinguish the planet from its rings. After you've found and focused on Saturn with your eye, it's time to attach the phone. Secure your phone in the adapter and carefully clamp the adapter onto the eyepiece, aligning the camera lens with the centre of the eyepiece view.
Dial in Your Camera Settings
Don't use your camera's standard point-and-shoot mode. Open your camera app and switch to 'Pro' or 'Manual' mode, which gives you control over crucial settings. First, set the focus to manual and adjust it to infinity; you'll use the telescope's focuser for the actual focusing. Next, set the ISO as low as you can (e.g., 100 or 200) to minimize graininess or 'noise'. Saturn is bright, so you don't need a high ISO. Finally, adjust the shutter speed. You may need to experiment, but something around 1/20s can be a good starting point. The goal is to get an image that isn't a blown-out, overly bright blob.
Capture the Image (or Video)
A single photo can work, but the secret to planetary imaging is a technique called 'lucky imaging'. Atmospheric turbulence means that moments of clarity are fleeting. Instead of taking single photos, record a short video of Saturn—around one or two minutes is plenty. Shoot at the highest frame rate your phone allows, such as 60 frames per second. This video file contains thousands of individual frames. Later, you can use free software to analyse this video, automatically pick out the clearest frames (your 'lucky' shots), and stack them into a single, more detailed image. This method dramatically improves results compared to a single snapshot.
A Little Processing Goes a Long Way
While you can just pick the best frame from your video, stacking will yield a much better result. It might sound intimidating, but it's manageable with free software. Programs like PIPP, AutoStakkert!, and Registax are the standard for amateur planetary imagers. First, you would run your phone's video file through PIPP to stabilize and centre the planet in every frame. Then, AutoStakkert! analyses the stabilized video, grades each frame by quality, and stacks the best percentage into one image. Finally, Registax can be used to sharpen the final stacked image using its 'wavelet' functions. There are many online tutorials that walk you through this exact workflow.