


Why You Need to Apply Sooner Than You Think
The official processing time for a Japan visa is about five to ten working days after your application reaches the embassy. However, this doesn't account for the entire end-to-end process. Factoring in the time to get a mandatory appointment at a VFS
Global centre, gather documents, and have your passport returned can extend the real-world timeline to between two and five weeks. During peak travel seasons like the cherry blossom (March-April) or autumn foliage (October-November) periods, appointment slots can fill up weeks in advance. Increased tourism from India has put pressure on the system, making early application essential to avoid derailing your travel plans. It's recommended to start the process at least four to six weeks before your intended departure date.
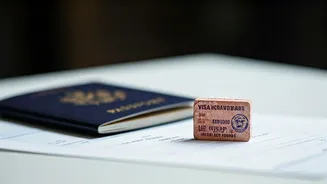
The E-Visa Explained for Indian Applicants
Yes, Japan now offers an e-visa for Indian citizens, which simplifies the process significantly. Introduced in April 2024, this option is for single-entry short-term tourist visas of up to 90 days. Instead of a traditional sticker in your passport, you receive a digital 'Visa Issuance Notice'. However, it's crucial to note that you still need to submit your application through a VFS Global centre. Upon arrival in Japan, you must display this notice on your mobile device with an active internet connection; screenshots or printouts are not accepted. For multiple-entry visas or other travel purposes, the traditional paper application route is still required.
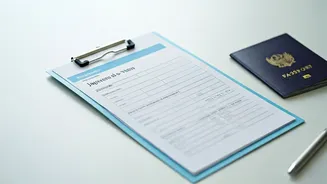
Your Essential Document Checklist
Japan's visa process is meticulous, and incomplete documentation is a primary reason for rejection. Before you begin, gather these key documents: a valid passport with at least six months of validity and two blank pages; a completed visa application form; recent passport-sized photographs (typically 45mm x 45mm or 2x2 inches) with a white background; a detailed cover letter explaining your purpose of travel; a day-by-day itinerary including confirmed flight and hotel bookings; your last six months of personal bank statements; and your Income Tax Returns (ITR) for the last two to three years. While there is no official minimum balance, a consistent account history showing INR 1,50,000 to 2,00,000 is often recommended as sufficient proof of funds.
Navigating the Application Process Step-by-Step
First, determine your jurisdiction and find the correct VFS Global centre that handles applications for your state. You will then need to book an appointment online, which is now mandatory for most centres in India. Download the latest visa application form from the VFS or embassy website and fill it out carefully. Once you have your appointment and all your documents are in order, visit the VFS centre to submit your file and pay the visa fee and service charges. After submission, you can track your application's status online. Once a decision is made, you will be notified to collect your passport or will receive it via courier if you opted for that service.
Common Pitfalls and How to Avoid Them
Many applications are rejected for avoidable mistakes. A vague or generic travel itinerary is a major red flag; be specific about your daily plans. Insufficient financial proof is another common issue. Avoid large, unexplained cash deposits just before applying, as this can raise doubts. Ensure your bank statements are recent and officially stamped. For the e-visa, technical errors like incorrect photo file size or poor scan quality can lead to rejection, so follow digital specifications precisely. Finally, double-check that all information on your application form matches your supporting documents, as even minor inconsistencies can cause problems.