




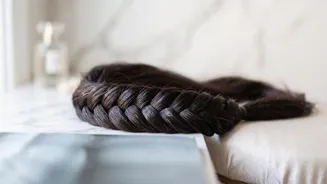

Getting Started: Hair Preparation
The foundation of a great braid is proper preparation. Before you start, thoroughly brush your hair to remove any knots or tangles. A smooth canvas is much easier to work with and will prevent snags as you weave. While you can braid freshly washed hair,
many stylists find that second-day hair has more grip and texture, which helps the braid hold its shape better. If your hair is very fine or slippery, a light spritz of texturizing spray or dry shampoo can add some helpful grit. For those with wavier or curlier hair, a leave-in conditioner can help manage frizz and keep the strands smooth.
Step 1: Divide and Conquer
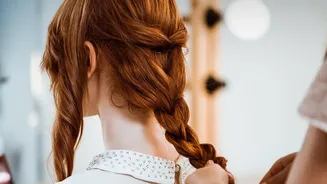
First, gather all of your hair. For beginners, it's often easiest to start by securing your hair in a low side ponytail with a disposable elastic. This keeps everything contained and lets you see your work. Once secured, split the ponytail into two large, equal sections. Unlike a traditional three-strand braid, a fishtail only requires two main sections to create its signature herringbone pattern. As you get more comfortable, you can skip the initial ponytail and simply divide your hair at the nape of your neck or over your shoulder for a looser, more bohemian style.
Step 2: The Weaving Motion
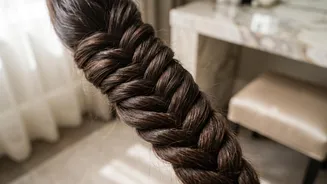
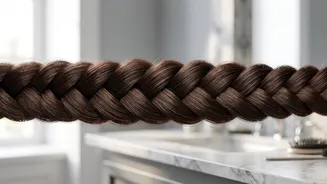
Here comes the core technique, which is a simple, repetitive motion. Hold both large sections firmly. Take a small, thin piece of hair from the outer edge of the left section. Cross this small piece over the top of the left section and join it with the inside of the right section. Now, repeat the process on the other side: take a small piece from the outer edge of the right section, cross it over the top of the right section, and merge it with the inside of the left section. The key is consistency. Try to take pieces that are similar in size each time to create a uniform, neat pattern. Thinner strands create a more intricate, detailed braid, while thicker strands result in a chunkier look.
Step 3: Continue and Secure
Continue this back-and-forth weaving pattern—outside-left piece to inside-right, then outside-right piece to inside-left—all the way down the length of your hair. As you work, try to maintain a gentle but firm tension to keep the braid from becoming too loose or falling apart. Once you reach the end, secure the braid with a hair elastic. If you started with a placeholder elastic at the top of your ponytail, you can now carefully cut it out to release the base of the braid.
Tips for a Flawless Finish
To tame flyaways and achieve a sleek finish, you can work a small amount of styling gel or pomade through your hair before you begin, or lightly mist the sections with water. For a fuller, more romantic look, gently pull on the sides of the finished braid. This technique, often called 'pancaking', creates volume and texture. Just be sure to pull gently so you don't dismantle your hard work. If you have layered hair, you may have some shorter pieces stick out; a few strategically placed bobby pins can easily tuck them back into the braid.
Creative Fishtail Variations
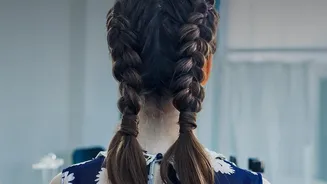
Once you've mastered the basic side fishtail, you can explore many creative variations. Try a French fishtail, where you begin braiding at the crown of your head and gradually add more hair to each section as you work your way down, similar to a traditional French braid. Another option is the Dutch fishtail, where you cross the strands under instead of over, making the braid pop for a 3D effect. You can also create two fishtail braids for a pigtail style or even wrap a finished braid into an elegant updo or crown.