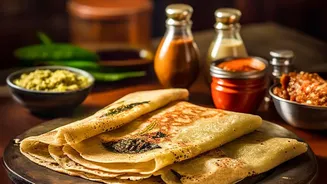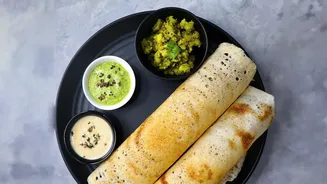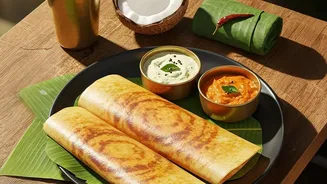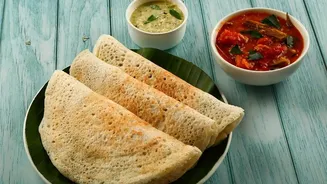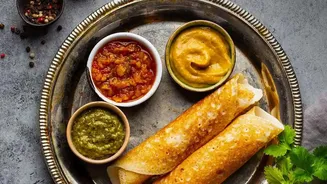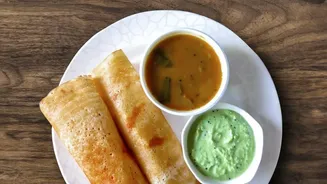

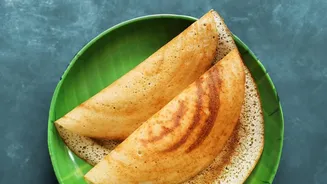
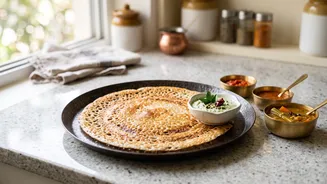
The golden, paper-thin, shatteringly crisp dosa is a culinary masterpiece. Yet, recreating it at home on a traditional cast-iron tawa can feel daunting. This guide demystifies the process, turning the challenge into a rewarding kitchen skill.
Why Cast Iron Is Worth the Effort
A heavy cast-iron
tawa is the gold standard for dosa making for one key reason: heat retention. Unlike lighter pans, cast iron holds a steady, even temperature across its entire surface. This ensures the dosa cooks uniformly, developing that signature golden-brown colour without burnt spots or pale, undercooked patches. The journey to a perfect dosa begins with understanding and respecting your pan. While non-stick might seem easier, a well-maintained cast-iron tawa builds a natural non-stick layer, called a patina, that improves with every use, offering superior crisping and flavour.
The Foundation: Seasoning Your Tawa
Before you even think about batter, your tawa needs to be properly seasoned. Seasoning is the process of baking a thin layer of oil onto the iron, creating a polymerised, non-stick surface. If your tawa is new, wash it with mild soap and water to remove any factory coating, then dry it completely. Apply a very thin, even layer of a high-smoke-point oil like sesame or vegetable oil. Heat the tawa on a medium flame until it begins to smoke lightly, then let it cool completely. Repeating this process 2-3 times builds a robust, slick foundation that prevents the batter from sticking.
Perfecting the Batter Consistency
The secret to a thin, crispy dosa lies in a batter that has a smooth, flowing consistency—neither too thick nor too thin. A thick batter will be difficult to spread and result in a heavy, soft dosa. A watery batter may not hold its shape. Aim for the consistency of a thin cream or crepe batter. If your batter has been refrigerated, allow it to come to room temperature before use, as cold batter is harder to spread. If needed, adjust the consistency by adding a small amount of water at a time until it pours in a steady, even stream.
Mastering the Art of Temperature Control
Getting the tawa temperature right is perhaps the most critical step. Heat your tawa on a medium flame for several minutes. To check if it's ready, sprinkle a few drops of water on the surface. If they sizzle and dance across the pan before evaporating, the temperature is perfect. If they disappear instantly with a loud hiss, the pan is too hot and the batter will stick and set before you can spread it. If the water just sits and boils slowly, the pan is too cold, leading to a pale, soft dosa. If the tawa gets too hot between dosas, reduce the flame and splash a little water on it, wiping it dry before pouring the next one.
The Spreading Technique
With a seasoned tawa at the right temperature, you're ready to spread. Before the first dosa, and every few after, wipe the hot tawa with a half-cut onion dipped in oil. This not only greases the pan lightly but also helps with the nonstick quality. Pour a ladleful of batter into the center of the tawa. Immediately, using the flat back of the ladle, begin spreading the batter in a continuous, outward spiral motion. Use a light hand and don't apply pressure; let the ladle glide over the surface. The goal is a quick, single, fluid motion from the center to the edges to create a uniformly thin layer.
Cooking to a Golden Crisp
Once spread, drizzle a teaspoon of oil or ghee around the edges and a few drops over the surface. This helps the dosa crisp up and develop its golden colour. Now, be patient. As it cooks, you will see the top surface change from wet to dry. The edges will begin to brown and slightly curl away from the pan, which is your cue that it’s nearly ready. A perfectly cooked crisp dosa does not need to be flipped. Wait until the base is a beautiful golden brown, then use a thin spatula to gently lift it from the edge, fold it over, and serve immediately for the best texture.