


What Is Japandi, Anyway?
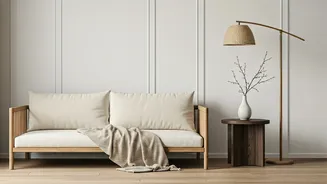
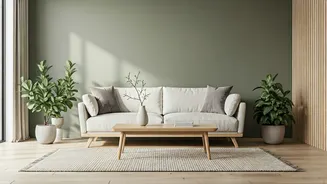
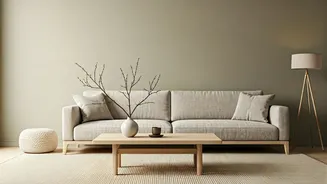
Before you start, let's understand the look we're aiming for. Japandi is the beautiful child of two design philosophies. From Japan, it takes 'wabi-sabi'—the appreciation of imperfection and natural simplicity. From Scandinavia, it borrows 'hygge'—the
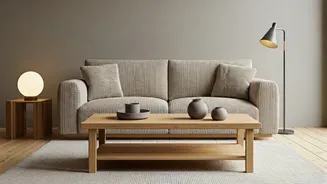
focus on cosiness, comfort, and functionality. Together, they create spaces that are uncluttered, calm, and deeply connected to nature. Think clean lines, neutral colour palettes (beige, cream, charcoal, muted greens), and an emphasis on natural materials like wood, rattan, and linen. It’s less about stark emptiness and more about intentional, soulful simplicity.
The Hunt for the Perfect Box
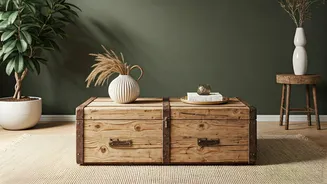
The star of your project is the vintage wooden box. You’re looking for something with character—a bit of history etched into its grain. Old fruit crates, tea chests, or ammunition boxes work wonderfully. Where to find them? Your local flea market or 'kabadiwala' is a goldmine. Don’t dismiss a box just because it’s dusty or has a few scuffs; that’s part of the charm. Check for structural integrity. Is the wood solid? Are the joints reasonably tight? Avoid anything with signs of active termites or significant rot that can't be easily repaired. The size and shape will determine its future function, so keep an open mind.
Prep and Prime Your Wood
This is the most crucial step for a professional-looking finish. First, give your box a thorough cleaning. Use a stiff brush to remove all the loose dirt and dust. Then, wash it with a solution of mild soap and warm water, and let it dry completely, preferably in the sun. Once dry, it’s time to sand. Start with a medium-grit sandpaper (around 120-grit) to smooth out any major rough spots and old finish. Then, move to a fine-grit sandpaper (220-grit) for a silky-smooth surface. Always sand in the direction of the wood grain. Wipe away all the sanding dust with a clean, damp cloth before moving on.
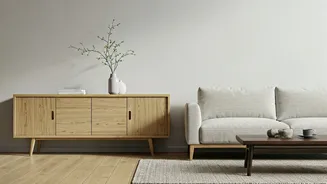
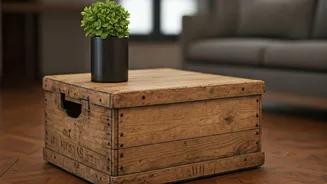
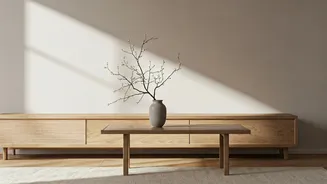
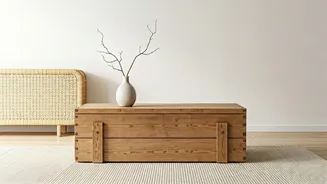
Project 1: The Wabi-Sabi Side Table
This is the easiest transformation. For a sturdy crate, the only thing you might need to add is legs. You can buy short, tapered wooden legs or sleek metal hairpin legs online or from a hardware store. Simply screw them securely into the base of the box. For a lower, more grounded look, you can place the box on its side. If your box has a lid, you can create hidden storage. If not, the open side can face forward to hold a few curated books. The top surface is perfect for a small lamp, a ceramic vase with a single stem, or your evening cup of chai.
Project 2: The Floating Bookshelf
A smaller wooden box can be transformed into a unique wall-mounted shelf. This adds visual interest and storage without taking up floor space—a key Japandi principle. After cleaning and sanding, you can either leave the wood raw or apply a light, matte-finish stain. To mount it, you’ll need heavy-duty wall brackets or a French cleat system for a true 'floating' look. Ensure it’s securely fastened to the wall, especially if you plan to store heavy items. Group two or three boxes of different sizes together on a wall for a more dynamic and artistic display. These are perfect for holding small plants, photo frames, or your favourite collectibles.
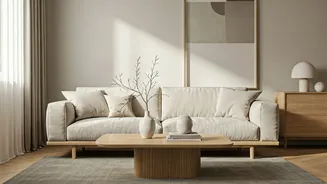
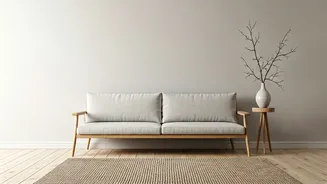
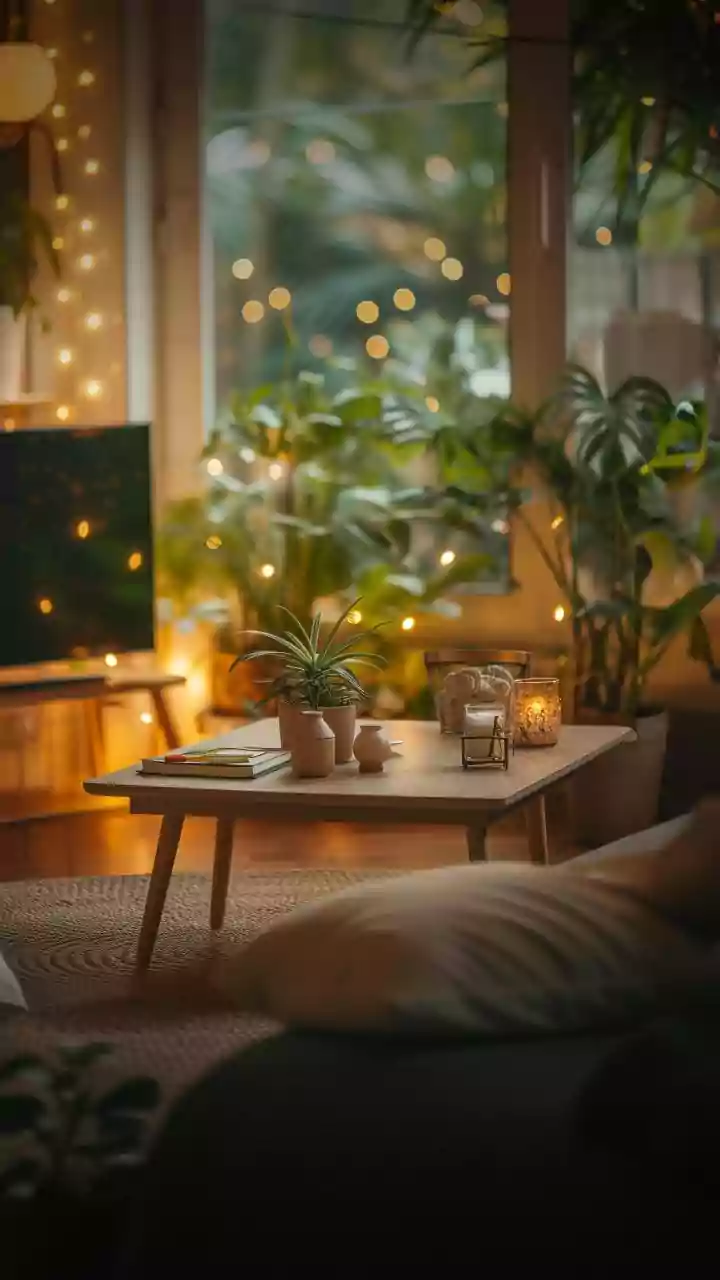
The Japandi Finishing Touches
The finish protects your piece and ties it into the Japandi aesthetic. Avoid high-gloss varnishes. Instead, opt for a matte or satin polyurethane sealant to protect the wood while keeping its natural look. A clear wax finish is also an excellent choice, as it gives the wood a soft, subtle lustre. If you prefer to stain, choose a light, natural tone like pine or a muted grey-wash to enhance the grain without overpowering it. The goal is to celebrate the wood, not cover it up. Once your piece is finished, style it minimally. A single ceramic piece, a stack of two books, or a small, leafy plant is all you need to complete the look.