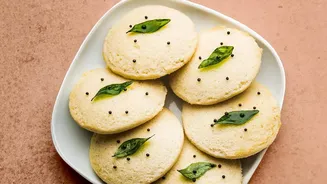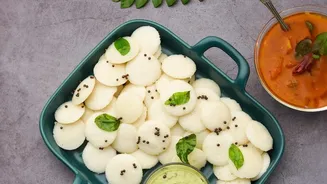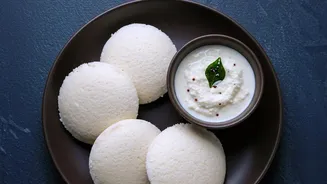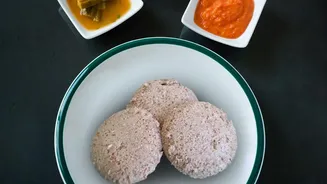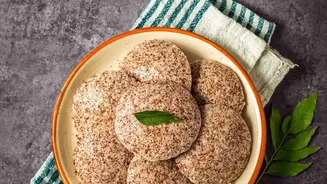



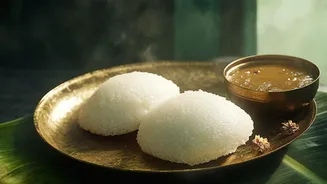
Swapping rice for foxtail millet is a great way to make idlis healthier, but getting that soft, fluffy texture can be tricky. This simple guide breaks down the process, explaining how to achieve perfect, pillowy foxtail millet idlis every time.
A Healthier Twist on a Classic
Foxtail
millet, known as 'thinai' or 'kangni' in different parts of India, is an ancient grain making a well-deserved comeback. It's a nutritional powerhouse, packed with protein, fibre, and essential minerals like iron and magnesium. Unlike polished rice, foxtail millet has a low glycemic index, which means it releases energy slowly and helps keep blood sugar levels stable, making it a fantastic choice for a balanced diet. By substituting it for rice, you transform the beloved idli into a more nourishing, gluten-free meal without compromising on the comfort-food factor.
The Science of Softness: Your Ingredients
The secret to soft millet idlis lies in the right ingredients and their ratios. While recipes vary slightly, a common starting point is a 2:1 or 3:1 ratio of foxtail millet to urad dal (split black gram). Here’s what you’ll need:
Foxtail Millet: The star of the show. It provides the base and a subtly nutty flavour.
Urad Dal (Whole or Split): This is non-negotiable for texture. When ground, urad dal incorporates air and provides the fermentation magic that makes idlis fluffy.
Fenugreek Seeds (Methi): Just a teaspoon of these tiny seeds aids fermentation and contributes to a soft, porous texture.
Poha (Flattened Rice) or Sabudana (Tapioca Pearls): Many recipes include a small amount of poha or sabudana. These ingredients help in achieving a softer crumb and a lighter idli.
The Method for Fluffy Idlis
Perfection is a process, and it begins with proper preparation. First, wash the millet and dal thoroughly in separate bowls until the water runs clear. Soak the millet in one bowl, and the urad dal with fenugreek seeds in another. A good soak of 4 to 6 hours is crucial for both. Some recipes even recommend an 8-hour soak.
When it's time to grind, tackle the urad dal first. Grind it with a little cold water until it is incredibly smooth and fluffy—almost like whipped butter. This step is vital for aeration. Next, grind the soaked millet. The millet batter can be slightly coarse, like fine rava (semolina), which gives the idlis a pleasant bite. Be careful not to add too much water while grinding, as millet batters can become watery after fermentation. Combine both batters in a large bowl, mix well with your hands to incorporate air, and set it aside to ferment in a warm place for 8 to 12 hours, or until it has doubled in volume and has a pleasant, sour aroma.
Troubleshooting Common Texture Issues
Even with a great recipe, things can sometimes go awry. If your idlis turn out hard or dense, the issue is often related to the batter. A dense idli might be the result of underfermentation or a batter that was not ground properly. The urad dal must be ground to a very fine, fluffy consistency to hold the air needed for a light idli. Another common mistake is adding salt before fermentation. Salt can hinder the activity of the natural yeasts, so it's best to add it just before steaming.
If your batter is too watery, the idlis may come out flat and sticky. This happens because millet doesn't absorb as much water as rice, and it's easy to add too much during grinding. Always start with less water and add it sparingly. If the batter seems too thin after fermentation, you can try adding a spoonful of millet flour or rice flour to thicken it slightly.
Steaming to Perfection
Once your batter is perfectly fermented and seasoned with salt, you're ready for the final step. Lightly grease your idli moulds with a bit of oil or ghee. Pour the batter into the moulds, filling them about three quarters full to leave room for them to expand. Steam the idlis on high heat for $10$-$12$ minutes.$ To check if they are done,$ you can insert a toothpick;$ if it comes out clean,$ they are ready.$ Let the idlis rest for a couple of minutes before de-$moulding$ them.$ This allows them to firm up slightly and makes them easier to remove.$ Serve them hot with your favourite chutney and sambar for a truly satisfying and healthy meal.