




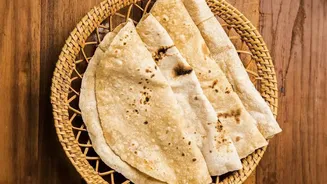
It All Starts with the Dough
The journey to a soft roti begins long before it hits the heat. The foundation is the dough, and small mistakes here can lead to disappointing results. For the best texture, always use high-quality whole wheat flour (atta). The ratio of water to flour is critical;
too little water results in a stiff dough and hard rotis, while too much makes it sticky and difficult to handle. A good starting point is approximately one part water to two parts flour, but this can vary based on the flour's quality. Using lukewarm water can help create a softer, more pliable dough. Kneading is not just about mixing; it’s about developing gluten, which gives the roti its structure and elasticity. Knead for a solid 8-10 minutes until the dough is smooth and springs back slowly when you press it.
The Crucial Resting Period
One of the most common yet overlooked steps is resting the dough. Rolling out freshly kneaded dough can result in tough rotis because the gluten is too tight. After kneading, cover the dough with a damp cloth or a lid and let it rest for at least 20 to 30 minutes. This resting period allows the gluten to relax, making the dough easier to roll and ensuring the final rotis are soft and supple. It also helps distribute the moisture evenly throughout the dough. Some cooks even add a few drops of oil to the dough before resting to prevent a dry skin from forming.
The Art of Rolling Evenly
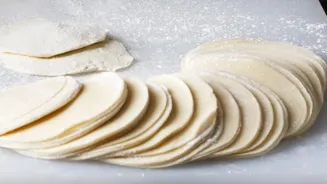
How you roll the roti (chapati) significantly impacts whether it puffs up. Unevenly rolled dough cooks unevenly, with thin spots burning while thicker spots remain doughy. The goal is a uniform, thin circle. To achieve this, start with a smooth, crack-free dough ball (peda). Dust it lightly with dry flour, but be careful not to use too much. Excess flour can make the roti dry and prevent it from cooking properly on the tawa. As you roll, rotate the dough frequently to ensure an even thickness all around. Aim for a disc that is thin but not translucent.
Your Pan and the Perfect Temperature
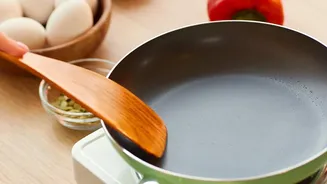
The pan, or tawa, and its temperature are just as important as the dough. While non-stick pans are convenient, traditional iron or cast-iron tawas are often preferred because they retain and distribute heat evenly, which is crucial for getting a good puff. Before placing the first roti, you must preheat the tawa properly over medium-high heat for a few minutes. A simple test is to sprinkle a few drops of water; if they sizzle and evaporate immediately, the tawa is ready. If the pan is too cold, the roti will cook slowly, lose moisture, and become hard. If it's scorchingly hot, the outside will burn before the inside cooks through. Finding that perfect heat level is key.
Timing the Flips for a Perfect Puff
The final stage is the cooking process itself, which is a quick dance of flips. Place the rolled roti on the hot tawa. Let it cook for about 15-20 seconds, or until you see small bubbles start to form, then flip it. Cook the second side for a slightly longer duration, around 30 seconds. The final step to achieve that dramatic puff can be done in two ways. You can flip it back onto the tawa and gently press down with a folded, clean cloth to encourage it to inflate. Alternatively, using tongs, you can place the roti directly on an open flame for a few seconds until it puffs up like a balloon. This method gives the roti a distinct, slightly charred flavour. Don't overcook it, as that will draw out moisture and make it stiff.