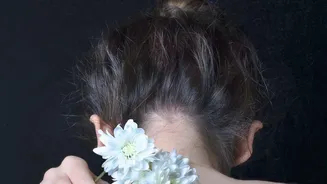





The messy bun is a true hairstyle hero—effortlessly chic and endlessly versatile. But the secret to elevating it from simply casual to intentionally stylish lies in one key detail: the soft, face-framing strands that fall just right.
The Art of 'Effortless'
The messy bun has
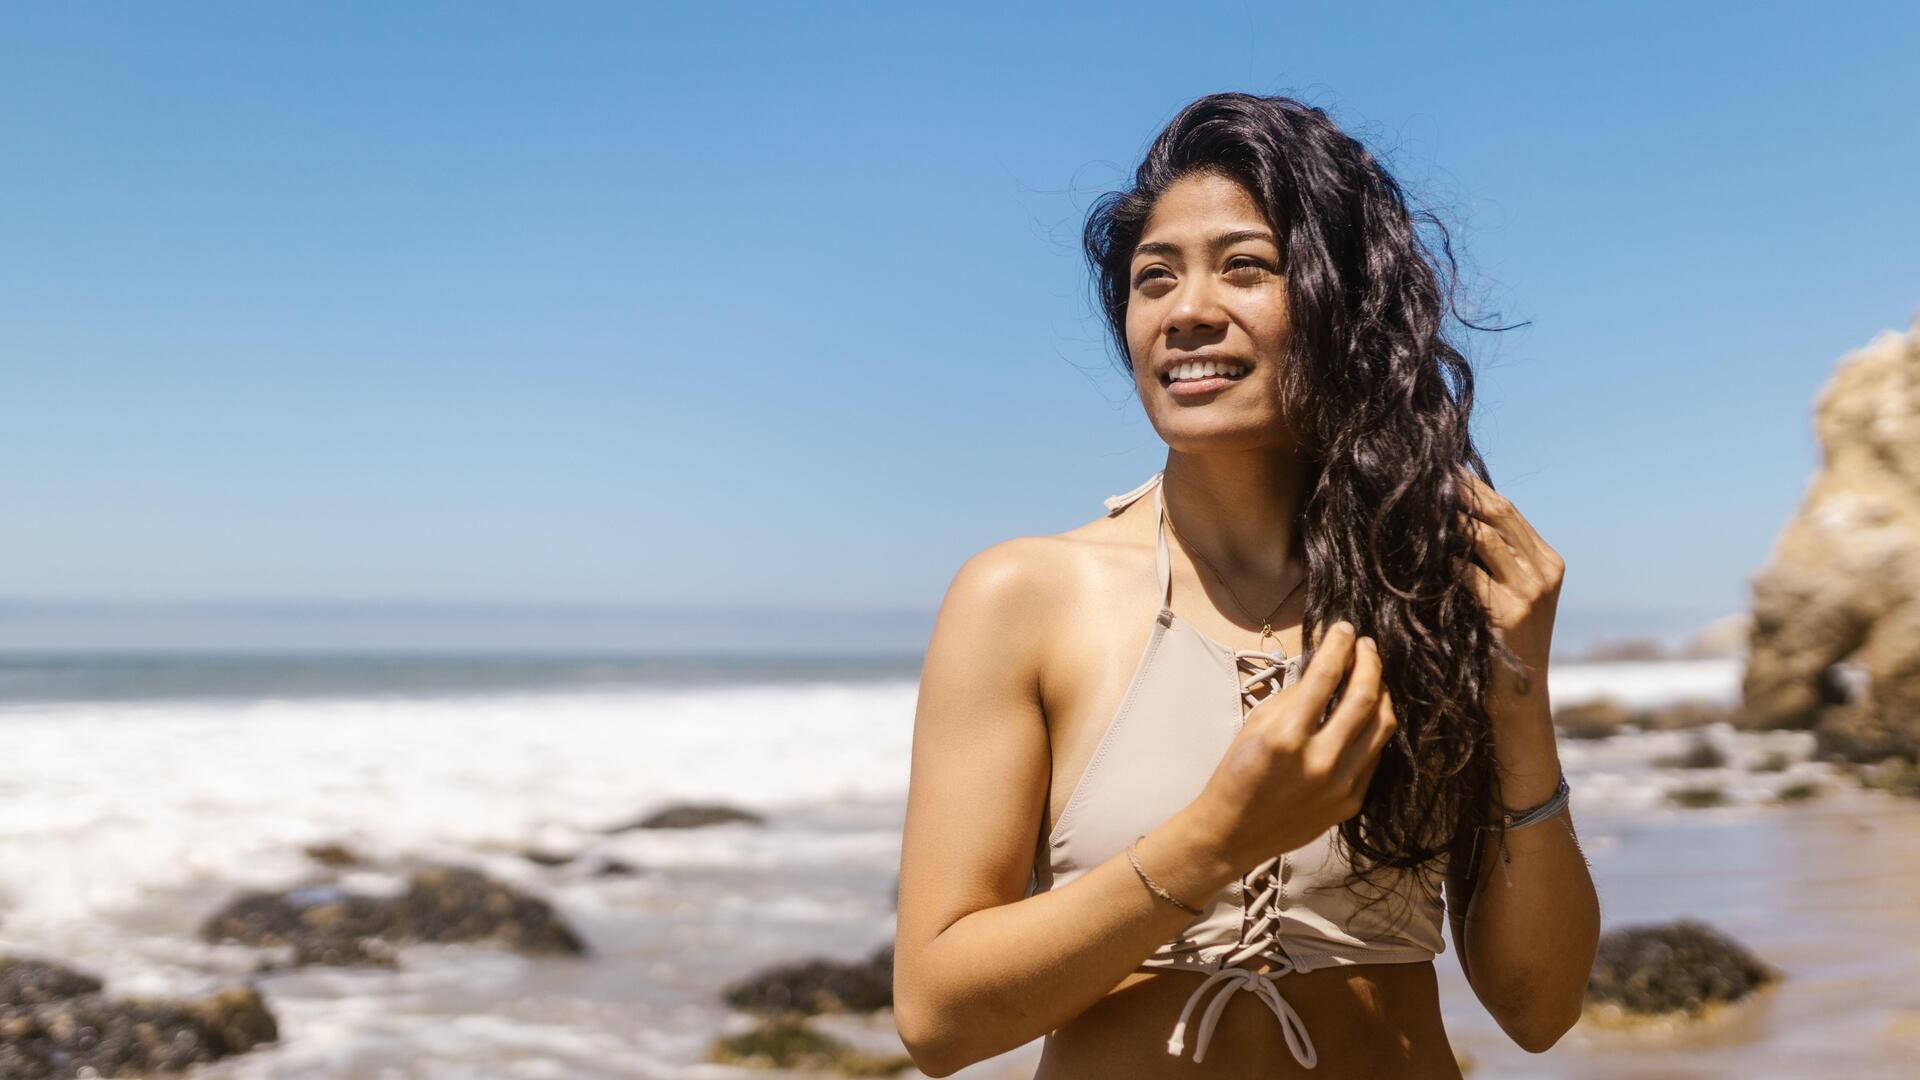
an enduring appeal that few hairstyles can match. It’s the go-to for work-from-home days, weekend errands, and can even be dressed up for a night out. The magic of the look is in its paradox: it appears thrown-together, yet perfectly stylish. While it was once seen as an ultra-casual look, it has become a style staple that projects a relaxed, confident vibe. The key difference between a bun that looks unintentionally messy and one that looks chic is the details. Achieving that perfect balance of artfully tousled and neatly put-together is a skill, and it often starts before your hair even goes up. Those loose, face-framing pieces are not an accident; they are a crucial element that softens the look and adds a touch of purposeful polish.
Your Foundation: Prep Work is Key
The best messy buns are rarely made with freshly washed, silky hair. Stylists agree that second or third-day hair provides the ideal natural texture and grip for this style to hold. If your roots feel a bit oily, a spritz of dry shampoo will absorb excess oil while adding valuable volume and texture. Before you begin, gently brush through your hair to remove any major knots or tangles to prevent damage. For those with fine or straight hair that tends to lie flat, a texturizing spray can be a game-changer. Applying a texturizing product from the roots to the ends will give your hair the grit it needs to hold the bun's shape and prevent it from looking too small or slipping out during the day.
Creating the Bun: A Simple Technique
First, decide on the placement. A high bun on the crown of your head creates a lifted, energetic look, while a low bun at the nape of your neck offers a softer, more elegant feel. Once you've chosen, gather your hair into a loose ponytail. On the final pull-through of your elastic, don't pull the ponytail all the way through. Instead, create a loop, leaving the ends of your hair out. Now, take the leftover ends and wrap them around the base of the loop. You can secure these ends with a couple of bobby pins. The trick is not to make it too perfect. Gently tug and pull on sections of the bun to create more volume and achieve that 'undone' shape.
The Face-Framing Finish
This is the step that truly defines the look. Before even starting your bun, you can section out the pieces you want to leave loose. Typically, these are thin strands from your hairline and around your temples. If you have existing bangs or layers, they will often fall out naturally. Once your bun is secure, you can refine these pieces. Don't just leave them hanging; give them a bit of style. Using a curling iron or straightener, add a gentle bend or wave away from your face. This small action makes the strands look intentional and polished, rather than like forgotten hairs. The goal is softness, so avoid tight curls. A slight C_shaped curve is all you need to beautifully frame and flatter your features.
Customise for Your Face Shape
While the messy bun is universally flattering, small adjustments can make it even better suited to you. For rounder face shapes, a high messy bun can add height and elongate your features. Pairing this with slightly longer face_framing strands can be particularly flattering. For heart_shaped or square faces, a lower bun can soften angles and create balance. Those with long or oval faces have the versatility to play with any placement, from a high top_knot to a low chignon. The key is to experiment and see what placement makes you feel most confident, using the face_framing pieces to draw attention to your best features.