



The Foundation: Prepping for a Flawless Finish
Before you even open a clip, proper preparation is key to ensuring your extensions look natural and stay secure. Start with clean, dry, and thoroughly brushed hair. If your hair is fine or silky, the clips may need extra grip. Lightly teasing the roots
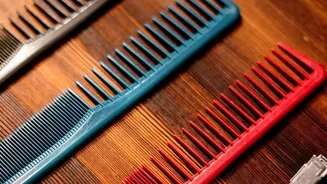
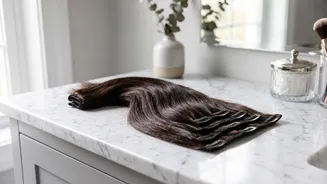
of each section where a weft will be placed creates a small cushion for the clips to hold onto, preventing slippage throughout the day. A light mist of texturizing spray or dry shampoo at the roots can also provide excellent hold. When applying, always work from the bottom up. Use a tail comb to create clean, horizontal parts, clipping the rest of your hair out of the way. This methodical approach ensures each layer is hidden and the wefts lie flat.
Placement for Maximum Length
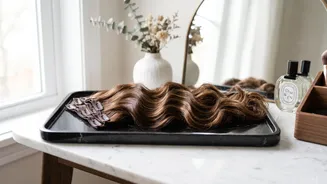
For those dreaming of mermaid-like length, the goal is to create a seamless downward flow. Start by applying your widest wefts (typically with 3 or 4 clips) at the back of your head, beginning about an inch or two above the nape of your neck. This area is the widest part of your head and has the most natural hair to provide coverage. Work your way up, creating new horizontal sections about an inch or two apart for each new weft. As you move higher, you can use slightly narrower wefts. To avoid a visible 'shelf' where your natural hair ends, it is crucial to blend the layers. One trick for those with shorter hair is to braid and pin the very bottom layer of your natural hair against your scalp before starting. This hides the blunt ends and creates a smoother transition.
Placement for Natural-Looking Volume
When volume is the main objective, placement strategy shifts from length to fullness. Instead of concentrating wefts low, you’ll distribute them to add body where it’s needed most—often at the sides and crown. Start with a weft low at the back for a base, but focus your remaining wefts higher up and around the head. Use the smaller, 2-clip wefts for the sides, placing them about two fingers' width above your ears. Angling these side pieces slightly downwards towards your face can help them follow the natural fall of your hair and sit flatter. For crown volume, you can use a technique called 'staggering', where wefts are not placed in perfectly parallel rows. This mimics hair's natural density variations. However, always keep the highest weft at least two inches below your part line to ensure the clips remain completely hidden.
Creative Placements for Ponytails and Updos
Clip-ins are fantastic for adding bulk and drama to ponytails and updos. For a high ponytail, one effective method involves clipping wefts upside down. Gather your hair into a high pony. Then, around the base of the ponytail, clip in your wefts with the clips facing downward. When you let your hair fall over, the extensions will flow seamlessly into the ponytail. Another approach is to create a small anchor ponytail first, then clip the wefts directly onto its base before wrapping your natural hair around it. For elegant low buns or chignons, focus the extensions on the lower half of your scalp to add volume where the bun will sit. You can even clip smaller wefts vertically and diagonally to support braids, ensuring the clips follow the direction of the style to remain hidden.
Blending and Finishing Touches
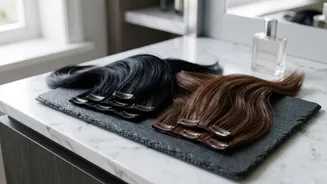
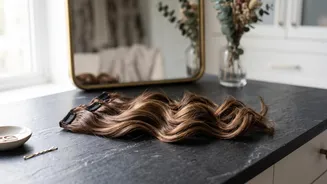
Proper placement is only half the battle; the final blend is what makes the look truly believable. Once all clips are in place, gently brush through your hair and the extensions with a wide-tooth comb or a special extension brush to merge the layers. Styling is the most effective blending tool. Adding waves or curls to both your natural hair and the extensions is the best way to disguise any difference in texture or length, making the transition virtually invisible. When choosing your extensions, always match the color to your mid-lengths and ends, not your roots, as this is where the hair will blend. Finally, use a hand mirror to check the back and sides, ensuring no clips or weft tracks are visible when you move your head.