

First, Does Your Plant Need a New Pot?
Before you get your hands dirty, it’s important to confirm your plant is actually ready for a move. Repotting a plant that doesn’t need it can cause unnecessary stress. Spring and early summer are generally the best times for this task, as plants are in an active
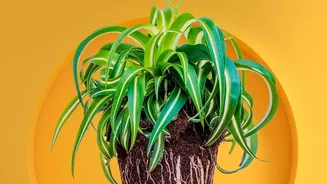
growth phase. Look for these clear signs that your plant has outgrown its current home: roots are growing out of the drainage holes at the bottom of the pot; when you water the plant, the water runs straight through without seeming to soak in; or growth has slowed or stopped entirely during the growing season. You might also notice that the plant has become 'rootbound', meaning the roots have formed a dense, tangled mass inside the pot with very little soil visible. If you see several of these signs, it's time to repot.
Gathering Your Supplies
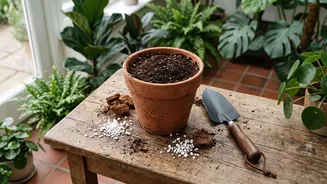
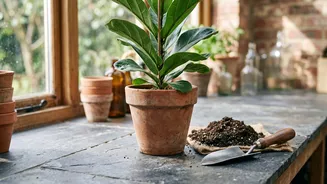
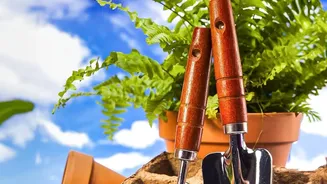
A little preparation makes the entire process smoother. You don't need much, but having the right tools on hand is key. First, you'll need a new pot. Choose one that is only about 1-2 inches wider in diameter than the old one. Selecting a pot that's too large can lead to problems like root rot, as the excess soil will hold too much moisture. Ensure the new pot has a drainage hole. Next, you'll need fresh potting mix. It's best to avoid using soil from your garden, which can be too dense and may contain pests. Choose a quality potting mix suited to your specific plant's needs; for example, succulents require a different mix than tropical foliage plants. You may also want a small trowel and a surface like newspaper to contain the mess.
The Repotting Process: A Step-by-Step Guide
With your supplies ready, you can begin. First, carefully remove the plant from its current pot. If it’s in a flexible plastic pot, you can gently squeeze the sides to loosen the soil. Tip the pot sideways, support the base of the plant's stems with one hand, and gently slide it out. Once it's out, inspect the root ball. This is the crucial step for avoiding damage. If the roots are tightly wound in a circle, gently tease them apart with your fingers. You don’t need to remove all the old soil; the goal is simply to loosen the roots so they can grow into the new soil. Don't be too alarmed if a few small roots break, as the plant can recover. Place a layer of fresh potting mix in the bottom of the new pot, set the plant on top, and check the height. The top of the root ball should sit about an inch below the rim of the new pot. Fill in the space around the root ball with more potting mix, gently firming it down.
Minimizing Root Damage and Transplant Shock
The main concern for beginners is 'transplant shock', a period of stress a plant experiences after being moved. Symptoms can include wilting, yellowing leaves, or leaf drop. The key to prevention is being gentle. When you loosen the root ball, avoid aggressively tearing or cutting healthy roots. Work patiently to untangle them. If you encounter any mushy, dark, or dead-looking roots, you can trim those away with clean scissors. After repotting, water the plant thoroughly until water runs from the drainage hole. This helps settle the new soil around the roots. Then, place the plant back in a location with the same light conditions it was used to; a sudden change in environment can add to the stress. Avoid the temptation to overwater in the following days, as the plant needs time to adjust.
Aftercare: Helping Your Plant Settle In
Your job isn't quite done once the plant is in its new pot. Proper aftercare is essential for a speedy recovery. After the initial watering, wait until the soil begins to dry out before watering again. The plant’s water uptake might slow down for a bit as it adjusts. Hold off on fertilizing for at least a few weeks to a month. The fresh potting mix contains plenty of nutrients, and adding fertilizer too soon can burn the sensitive, recovering roots. It’s normal for a plant to look a little sad for a few days after repotting. Give it some time and consistent care, and soon you should be rewarded with signs of new growth, an indication that your plant is happy in its spacious new home.