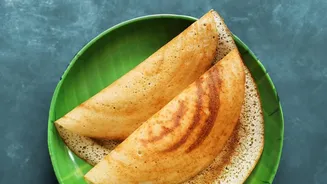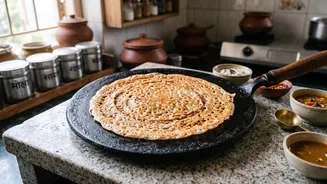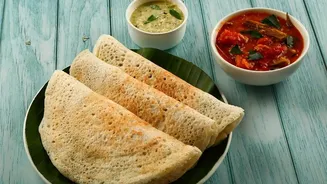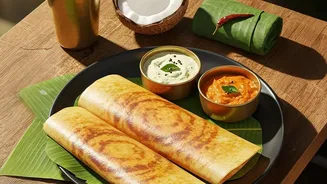



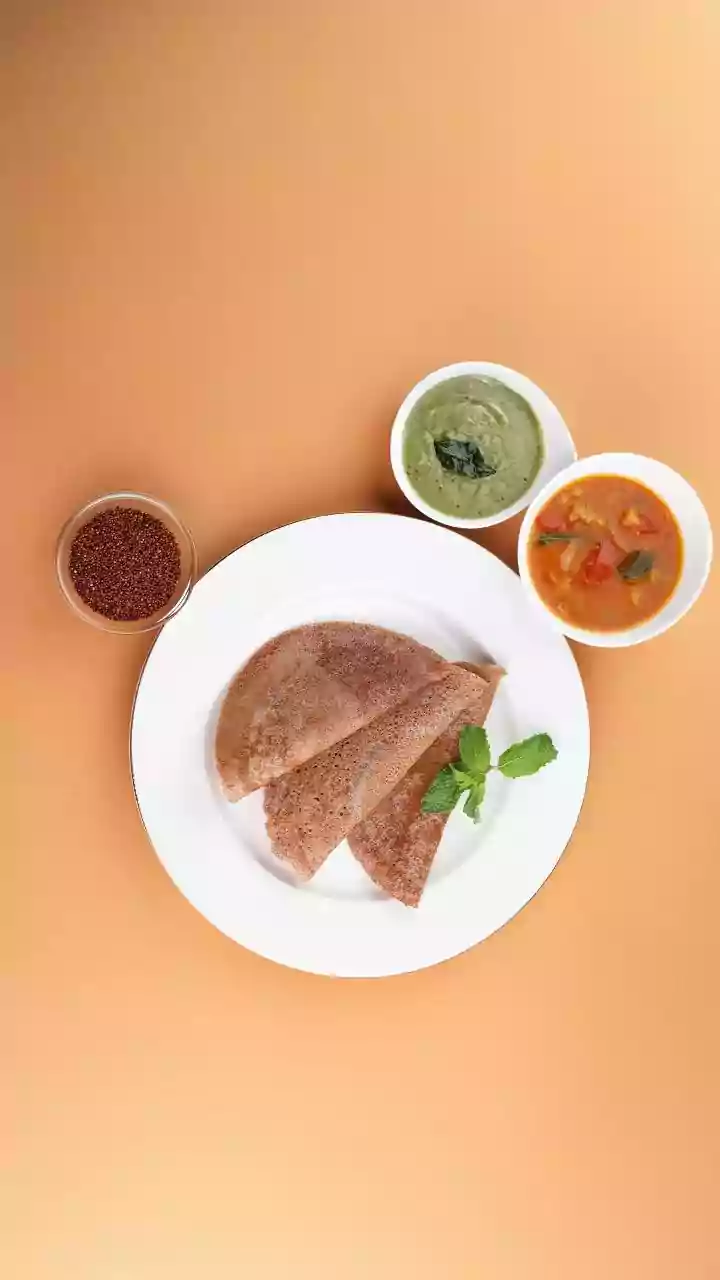



The quest for a perfectly crisp, golden-brown dosa often ends at a restaurant. But the secret isn't a complex recipe; it's the right tool and technique. A cast-iron tawa is your best ally for achieving that coveted crunch right at home.
The Magic of a Cast-Iron Tawa
Unlike modern non-stick
pans, a cast-iron tawa is a heavyweight champion of heat retention. It heats up slowly but holds a steady, even temperature across its entire surface. This consistent heat is crucial for cooking the dosa batter quickly and evenly, creating a lacy, crisp texture that's impossible to achieve on pans that lose heat easily. A well-maintained cast-iron tawa develops a natural non-stick surface, known as a patina, which improves with every use. This means your dosas not only get crispier but also absorb a unique, subtle flavour you can't get from a synthetic coating.
First Things First: Seasoning Your Tawa
Whether your tawa is brand new or a family heirloom, proper seasoning is the foundation of a non-stick surface. If it's new, start by washing it with mild soap and water to remove any factory coating, then dry it completely on a low flame to eliminate all moisture. The process involves applying a thin layer of oil with a high smoke point, like groundnut or sesame oil, across the entire surface. Heat the oiled tawa on a medium flame for 10-15 minutes until it starts to smoke slightly, then let it cool. Wiping off the excess oil and repeating this process two or three times builds a strong initial layer of seasoning, or patina.
Prepping for the Perfect Dosa
Before your first dosa hits the pan, preparation is key. Heat the tawa on a medium flame for several minutes. A common mistake is using a tawa that's either too cold or too hot. The ideal temperature can be tested by sprinkling a few drops of water on the surface; they should sizzle and dance before evaporating. If they vanish instantly with a lot of steam, the tawa is too hot. If they just sit and boil, it's not hot enough. Once hot, reduce the flame to medium-low. Then, create a temporary non-stick layer by rubbing half an onion or a cloth dipped in a little oil over the surface, wiping away any excess. You want a sheen, not a puddle.
Technique for a Crisp Finish
The consistency of your batter is as important as the tawa's heat. It should be smooth and pourable, like thin cream. Pour a ladleful of batter in the centre and, using the back of the ladle, spread it quickly in a single, continuous outward spiral. Don't go back over areas you've already spread. Drizzle a few drops of oil or ghee around the edges. This helps the dosa become crisp and golden. Now, be patient. The biggest mistake is trying to lift the dosa too early. Wait until the edges begin to brown and lift away from the pan on their own. At this point, a thin spatula should slide underneath with no resistance.
Cleaning and Daily Maintenance
Proper cleaning protects the seasoning you've worked so hard to build. The golden rule is to never use harsh soaps or steel scrubbers, which can strip the patina. Also, avoid soaking the tawa in water, as this will lead to rust. Once the tawa has cooled down enough to handle, simply rinse it with warm water and use a soft sponge to wipe away any food residue. For stuck-on bits, you can gently scrub with a paste of coarse salt and a little water. The most important step is to dry it thoroughly. Place it back on a low flame for a few minutes to ensure all moisture has evaporated.
Long–Term Care for a Lifetime Tawa
To keep your tawa in top condition, always apply a very thin layer of cooking oil to the surface with a paper towel after it's been cleaned and dried. This protects it from moisture and prevents rust from forming during storage. Store your tawa in a dry, well–ventilated place. If you stack other pans on top, place a paper towel between them to protect the seasoned surface. It's also a good practice to dedicate your tawa solely for dosas and similar batters, as cooking chapatis can leave behind dry flour that may damage the delicate seasoning. If you ever notice rust, don't worry. Simply scrub it off with steel wool, wash, dry, and re–season the pan to bring it back to life.