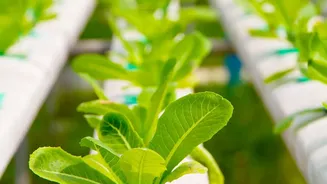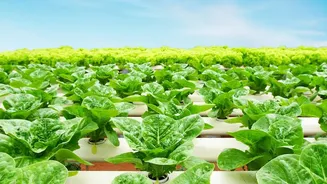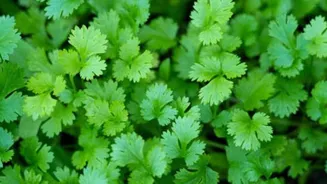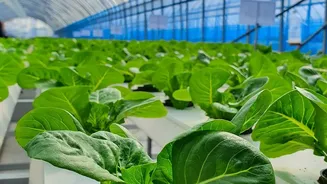



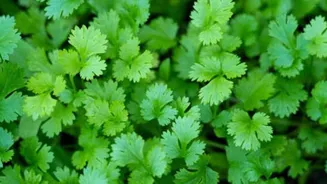
The aroma of fresh dhaniya is the soul of countless Indian dishes. But what if you could have a constant, clean supply right in your kitchen, free from soil and pesticides? Welcome to the world of indoor hydroponics, a modern method to grow your own.
Why Go Soil-Free with Coriander?
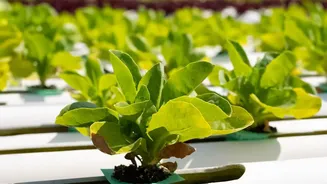
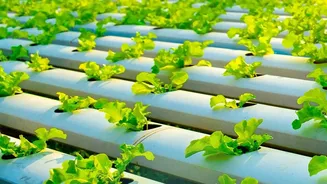
Growing coriander, or cilantro, hydroponically means cultivating it in a nutrient-rich water solution instead of soil. For urban homes and apartments, this method is a game-changer. It eliminates the mess of soil, reduces the risk of soil-borne pests and diseases, and allows for a year-round harvest regardless of the weather outside. You get faster growth and higher yields in a smaller space. Most importantly, you control what goes into your plants, ensuring the coriander you add to your dal, chutney, or curry is as fresh and pure as it gets. It's a rewarding way to bring a piece of the garden into your home, even without a balcony or backyard.
Choosing Your Hydroponic System
The term 'hydroponic setup' might sound intimidating, but beginner-friendly options are readily available. For a leafy herb like coriander, a Deep Water Culture (DWC) or a passive Kratky method system is an excellent starting point. In a DWC system, plant roots are suspended in a reservoir of oxygenated nutrient solution. A simple air pump and air stone keep the water rich in oxygen. The Kratky method is even simpler, using a non-circulating reservoir where the roots grow down towards the water as the level drops, creating an oxygen gap. Many all-in-one hydroponic kits, perfect for kitchen counters, are available online in India and come with everything you need, including a built-in grow light.
The Art of the Nutrient Solution
In hydroponics, the water does the work of the soil, delivering all the essential minerals directly to the roots. You can't just use tap water; you need a balanced hydroponic nutrient solution containing all the necessary macro and micronutrients like nitrogen, phosphorus, and potassium. For coriander, a formula designed for leafy greens or herbs is ideal. You can buy these as pre-mixed powders or liquids. The concentration of these nutrients, measured by Electrical Conductivity (EC), is crucial. For coriander, an EC range of 1.2 to 1.8 mS/cm is generally recommended. Starting with a lower concentration for seedlings and gradually increasing it is a safe approach.
Getting the Water and pH Just Right
Even with the perfect nutrient mix, your plants can't absorb them if the water's pH is off. The pH level determines the availability of nutrients to the plant. For hydroponic coriander, the sweet spot is a pH range between 5.8 and 6.5. If the pH is too high or too low, certain nutrients become locked out, leading to deficiencies. You can monitor this with simple pH testing strips or a digital meter. Using filtered or RO water can be a good starting point as it is a neutral base. You will need to add your nutrients first, let the solution mix, and then test and adjust the pH using 'pH Up' or 'pH Down' solutions, which are widely available.
Light, Temperature, and Preventing Problems
Coriander loves light but dislikes intense heat, which can cause it to 'bolt'—flower prematurely and turn bitter. It needs about 12 to 16 hours of light per day. A sunny windowsill may not be sufficient, so a full spectrum LED grow light is a wise investment for consistent results. Keep the ambient temperature cool, ideally between 18°C and 24°C, to prolong the leafy growth stage. Good air circulation also helps prevent fungal issues like powdery mildew. If your plant does start to bolt, you can pinch off the flower stalk to buy a little more time for leaf harvesting.
From Seed to Harvest
Start by germinating coriander seeds in a starter plug like rockwool or a coir plug. Soaking the plugs in pH balanced water first is a good practice. To improve germination, some growers gently crack the hard outer shell of the seed. Once the seedlings have a few true leaves and roots are emerging from the plug, they can be transferred into your hydroponic system. Harvesting can begin in as little as four to six weeks. Snip the outer larger leaves first, taking no more than a third of the plant at a time. This cut and come again method encourages the plant to become bushier and continue producing fresh leaves for your kitchen.