


Meet Your Fermentation Engine: The SCOBY
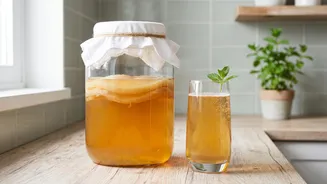
The heart of your kombucha operation is the SCOBY, an acronym for Symbiotic Culture of Bacteria and Yeast. It often looks like a rubbery, beige, disc-shaped blob and might be called a 'mother' or 'kombucha mushroom'. This living culture is what transforms
sweet tea into the tangy, probiotic-rich drink you love. The bacteria and yeast work together: the yeast consumes the sugar in your tea, producing ethanol and carbon dioxide, and the bacteria then convert the ethanol into beneficial organic acids. Every batch you brew requires a SCOBY and some 'starter liquid'—which is just unflavored kombucha from a previous batch. This starter liquid helps to quickly acidify the new brew, protecting it from unwanted microbes.
Gathering Your Simple Ingredients
You don't need much to get started. The essential components are water, sugar, tea, a SCOBY, and starter liquid. For the tea, stick to 'true teas' from the Camellia sinensis plant, like black, green, oolong, or white tea. Black tea is highly recommended for beginners as it is rich in the nutrients your SCOBY needs to thrive. Avoid herbal teas or any teas that contain oils, like Earl Grey, as these can harm the SCOBY. For sugar, plain white cane sugar is the best and most reliable food for your culture. Most of this sugar will be consumed during fermentation, so don't worry about the initial sweetness. As for equipment, you'll need a large glass jar (at least 3-4 litres), a tightly woven cloth cover, and a rubber band.
Step 1: The First Fermentation (F1)
This is the main event where your sweet tea becomes kombucha. Start by boiling about four cups of filtered water and dissolving roughly one cup of sugar into it. Steep your tea (about 6-8 tea bags or equivalent loose leaf) for 10-15 minutes, then remove the tea bags. Pour this sweet tea concentrate into your large glass jar and top it up with about eight cups of cool, filtered water. It is crucial to let the tea cool to room temperature (below 30°C) before proceeding; hot tea can kill your SCOBY. Once cooled, gently add your SCOBY and at least one to two cups of starter liquid. Cover the jar with your cloth and secure it with a rubber band. Place the jar in a warm, dark place away from direct sunlight and let it ferment for 7 to 14 days. The ideal temperature is between 22-26°C. After a week, you can start tasting it every day until it reaches a balance of sweetness and tang that you enjoy.
Step 2: The Second Fermentation (F2)
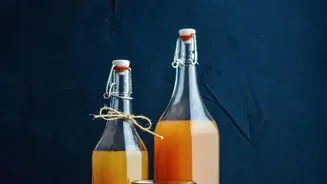
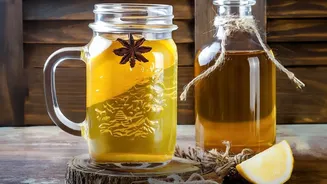
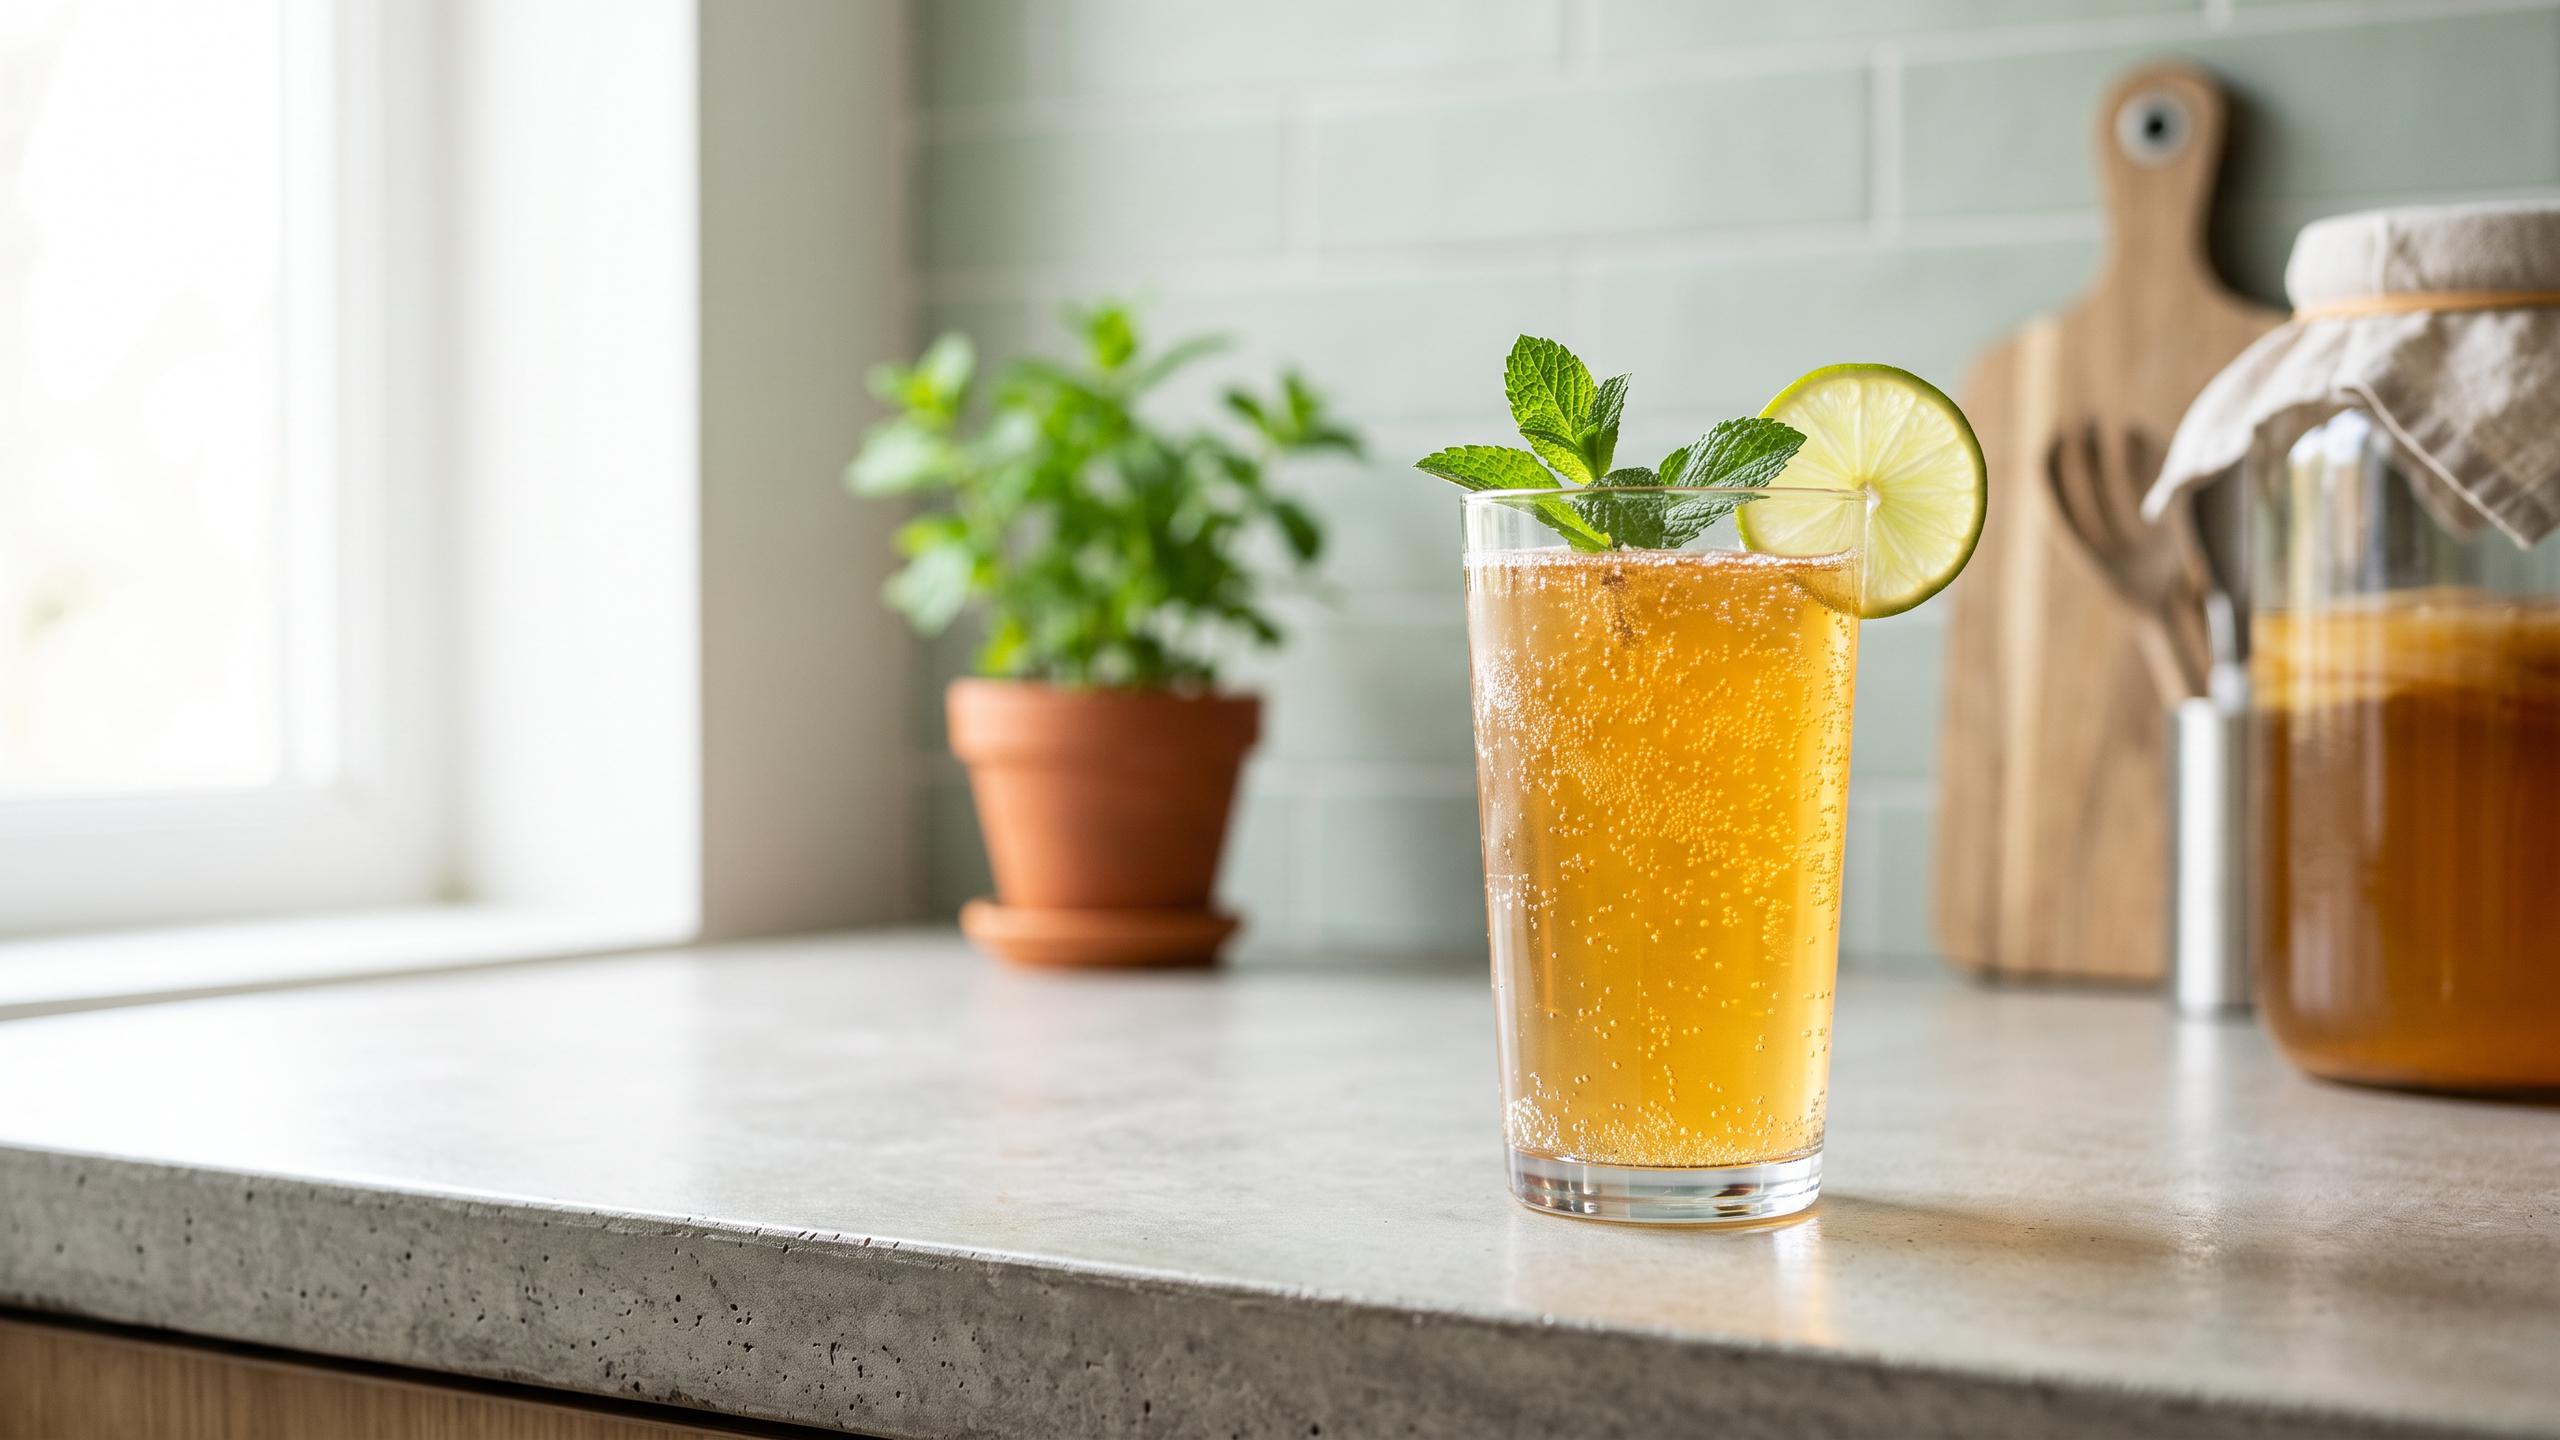
The second fermentation is an optional but highly rewarding step where you add flavor and carbonation. First, gently remove the SCOBY from your jar along with about two cups of the kombucha to use as starter liquid for your next batch. The remaining liquid is your finished kombucha, ready for flavoring. Pour it into airtight, pressure-safe bottles, leaving some headspace at the top. Now, add your flavorings. A great starting point is adding 1-2 tablespoons of fruit juice or puréed fruit per bottle. Popular choices include mango, berries, pineapple, or ginger. The natural sugars in the fruit will provide food for the remaining yeast, which will create carbon dioxide and make your kombucha fizzy. Seal the bottles tightly and leave them at room temperature for another 2 to 5 days. Be sure to 'burp' the bottles daily by briefly opening the cap to release excess pressure and prevent explosions.
Troubleshooting Common Concerns
Is your SCOBY floating, sinking, or sideways? It's all normal. A healthy SCOBY can be anywhere in the jar. What about brown, stringy bits hanging off it? That's just yeast, and it's a sign of healthy fermentation activity. The main thing to watch for is mold, which will look fuzzy and dry, similar to mold on bread. Mold is rare if you use enough starter tea to keep the pH low. If you see mold, you must discard the entire batch, including the SCOBY, and start over with new ingredients to be safe. If your kombucha isn't getting fizzy during the second fermentation, it might be because the location is too cold or there isn't enough sugar from your flavorings for the yeast to eat.