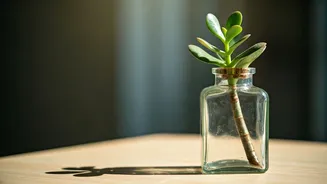


The Charm of Bottled Greenery
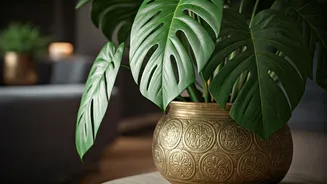
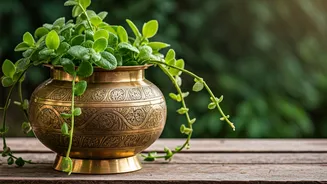
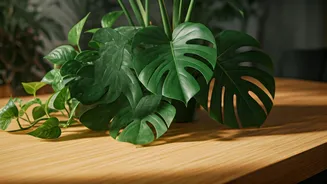
In our compact, often concrete-dominated urban lives, a splash of green on the desk is more than just decor; it’s a mini-retreat. The jade plant, or *Crassula ovata*, is a popular choice for indoor gardening in India, known for its supposed good luck
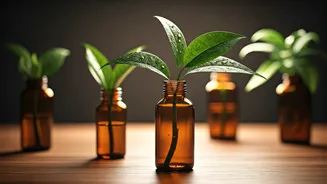
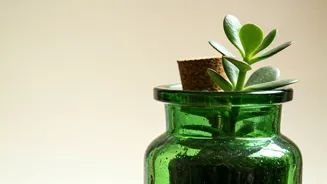
and undeniable resilience. It requires minimal fuss and thrives in the bright, indirect light common in our homes and offices. Combining this hardy succulent with recycled apothecary bottles—those charming old-style glass containers from pharmacies—creates a piece that is both a nod to sustainability and a beautiful, vintage-inspired focal point. This project isn’t just about planting; it’s about creating a tiny, self-contained world of beauty that costs next to nothing and brings lasting joy.
Gathering Your Supplies
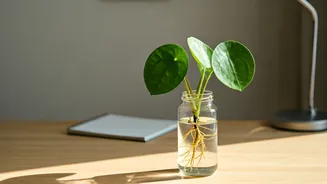
Before you begin, you'll need to collect a few simple items. The success of your bottle garden depends on having the right materials ready. * **An Apothecary Bottle:** Find a clear or lightly tinted glass bottle with a neck wide enough to fit your tools and the plant's roots. A 250-500ml bottle is a great starting size for a desktop. Ensure it's thoroughly cleaned and dried. * **A Jade Plant Cutting:** Choose a small, healthy cutting with a few leaves and a short stem. Ideally, let the cut end dry and form a callus for a day or two before planting to prevent rot. * **Small Pebbles or Gravel:** This will form your crucial drainage layer. Aquarium gravel works perfectly. * **Activated Charcoal:** A thin layer of this (also available at aquarium or garden stores) will keep the soil fresh and prevent odours in the enclosed environment. * **Succulent/Cactus Potting Mix:** This soil is specially formulated to be well-draining, which is essential for a jade plant. * **Tools:** A pair of long tweezers or chopsticks, a small funnel or a rolled-up piece of paper, and a spray bottle.
Creating the Foundation Layer by Layer
The key to keeping a plant alive in a container without drainage holes is to build a false drainage system. This process mimics a terrarium and gives excess water a place to go, protecting the roots from rot. Work slowly and methodically. 1. **Gravel Layer:** Using your paper funnel, pour a 1- to 2-centimetre layer of small pebbles at the bottom of the bottle. This creates a reservoir for excess water. 2. **Charcoal Layer:** Add a thin, half-centimetre layer of activated charcoal on top of the gravel. This will act as a natural filter. 3. **Soil Layer:** Carefully add the succulent potting mix on top of the charcoal. Aim for a layer deep enough to hold the jade cutting's roots, typically about 5-7 centimetres. Don't pack the soil down too tightly.
Planting Your Jade Cutting
This is the most delicate step. Use your long tweezers or chopsticks to create a small hole in the centre of the soil. Gently hold the jade cutting with the tweezers and guide it through the neck of the bottle into the hole. Be careful not to damage the leaves. Once the cutting is in place, use your tool to gently push soil around the base of the stem to secure it. Avoid pressing down hard. The goal is to have the plant standing upright on its own. A light misting of water on the soil surface can help it settle, but do not soak the soil.
Long-Term Care and Maintenance
Your beautiful bottle garden is complete, but proper care is what will make it last. The biggest mistake you can make is overwatering. Because there is no drainage, water has nowhere to go. Wait until the soil is completely dry before watering again. When you do water, do it sparingly. Use a dropper or a syringe to add just a few millilitres of water directly to the soil, avoiding the leaves. This might be as infrequent as once every 2-4 weeks, depending on the humidity and light. Place your bottle garden in a spot where it will receive several hours of bright, indirect sunlight each day, like a north- or east-facing windowsill or a well-lit desk away from the direct sun's harsh rays. Over time, if the plant gets too big, you can carefully prune it with small scissors.