

Signs Your Plant Needs a New Home
Plants are great communicators, and they will tell you when they feel cramped. The most obvious sign is seeing roots growing out of the drainage holes at the bottom of the pot. Another clear signal is how quickly the soil dries out. If you find yourself
watering far more frequently than you used to, it's likely because the pot is filled with more roots than soil, leaving little medium to hold moisture. You might also notice that new leaves are smaller than older ones, or that the plant's growth has slowed down or stopped completely, especially during its growing season in spring and summer. Sometimes, the root ball becomes so dense that you can lift the entire plant out of the pot with the soil and roots in a solid, pot-shaped mass. If you see any of these signs, it is time to consider giving your plant more space.
Choosing the Right Pot and Soil
Before you begin, preparation is key. First, select a new pot. A common mistake is choosing a container that is too large. Opt for a pot that is only one to two inches larger in diameter than the current one. A pot that is too big holds excess soil, which can retain too much moisture and lead to root rot. Ensure the new pot has a drainage hole to allow excess water to escape. Next, and just as important, is the soil. Never use soil from your garden, as it is too dense, compacts easily, and can introduce pests. Instead, purchase a quality soilless potting mix. These mixes are specifically designed for containers and usually contain ingredients like peat moss or coco coir for moisture retention, and perlite or vermiculite for aeration and drainage. Different plants have different needs; for instance, succulents require a faster-draining mix with more sand or perlite, while tropical plants prefer a chunkier mix with bark.
The Gentle Repotting Technique
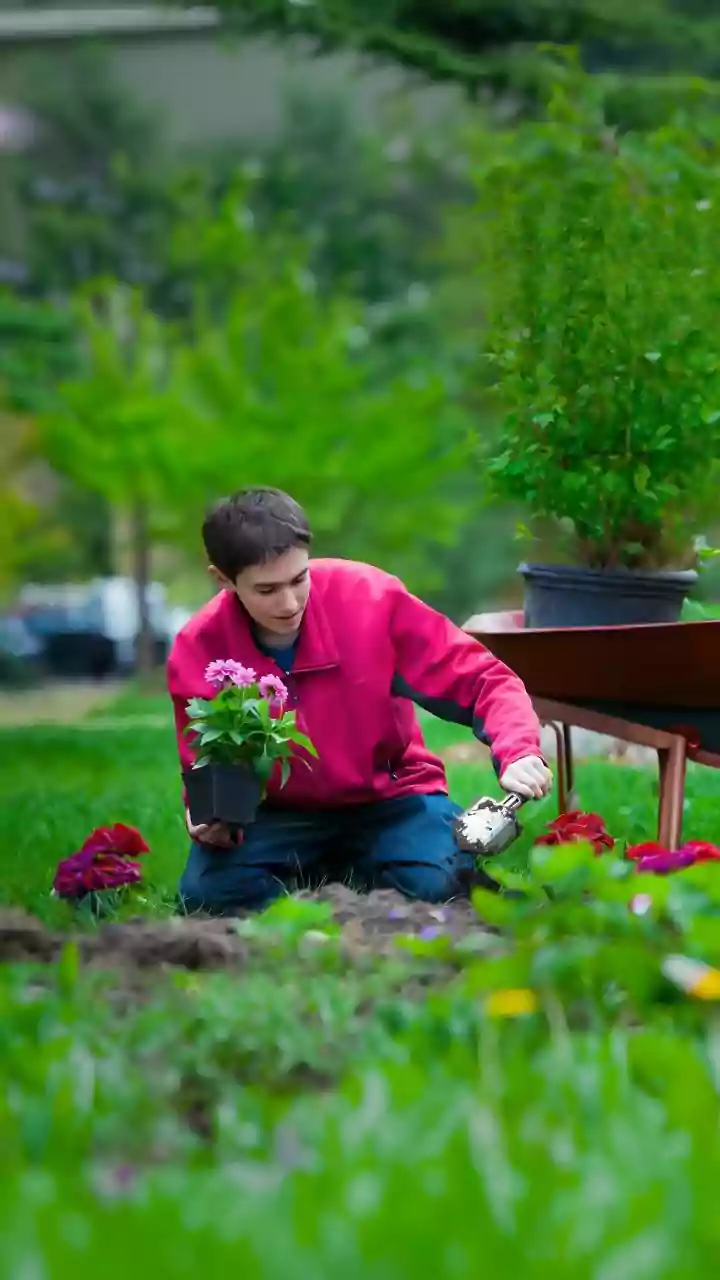
To minimize stress, water your plant thoroughly a day before you plan to repot it. Moist soil helps the root ball hold together. When you are ready, turn the plant's pot on its side and gently tap or squeeze it to loosen the plant. Support the base of the plant with your hand and ease it out; never pull it by the stem, as this can cause damage. Once the plant is out, inspect the roots. They should look firm and light-coloured. Gently 'tease' or loosen any roots that are tightly wound in a circle. This encourages them to grow outwards into the new soil. You don't need to be aggressive; just a gentle unwinding will do. Place a layer of fresh potting mix in the bottom of the new pot. Position the plant in the centre, ensuring the top of its root ball sits about an inch below the rim of the new pot. Then, fill in the space around the root ball with new soil, pressing it down gently to eliminate large air pockets.
Aftercare and Minimizing Shock
The first few weeks after repotting are crucial for recovery. This period of adjustment is often called 'transplant shock', where the plant may look a little wilted or sad as its disturbed root system recovers. Immediately after repotting, give the plant a thorough watering until you see it run from the drainage hole. This helps the new soil settle around the roots. After this initial watering, allow the soil to dry out a bit more than usual between waterings. Place the plant in a spot with the same amount of light it was used to, but avoid direct, harsh sunlight for about a week. This helps reduce stress while it recovers. Finally, hold off on fertilizing for at least a month. Fresh potting mix contains nutrients, and adding more fertilizer can burn the sensitive, newly-settling roots.