




It’s a familiar kitchen tragedy: you buy a container of beautiful leafy greens with the best intentions, only to find a slimy, wilted mess a few days later. This common frustration wastes both food and money. But it doesn't have to be this way.
Understanding the Enemy: Moisture and Ethylene
The two
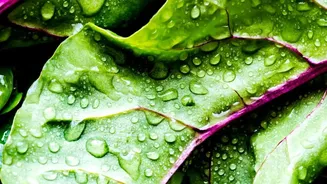
main culprits behind slimy greens are excess moisture and ethylene gas. After greens are harvested, they begin to decay and release water. When trapped in a bag or container, this moisture creates the perfect breeding ground for the spoilage bacteria that cause that dreaded slimy texture. These bacteria break down the plant's cellular structure, leading to discoloration and decay. Compounding the problem is ethylene, a natural gas released by certain fruits like apples, avocados, and pears, which acts as a ripening hormone and rapidly accelerates spoilage in sensitive greens. Storing your greens away from these fruits is a simple first step.
Step 1: The Refreshing Cold-Water Wash
Whether your greens come from a garden or a plastic clamshell, a proper wash is key. For heads of lettuce or bunches of kale, separate the leaves first. The best method is to submerge the leaves in a large bowl of cold water. Swish them around gently to loosen any grit, then let them sit for a few minutes; the dirt will sink to the bottom. Using cold—or even ice—water does more than clean; it helps rehydrate the leaves and makes them crisper. When you're ready, lift the greens out of the water rather than pouring them into a colander, which would just dump the settled dirt back on top. For greens labeled 'triple-washed,' you can generally use them without re-washing, which can help avoid cross-contamination in your sink.
Step 2: The Critical Step of Thorough Drying
Drying your greens properly is arguably the most important step in preventing slime. Any surface moisture left on the leaves will accelerate wilting and decay. A salad spinner is the most efficient tool for this job. Don't overcrowd the spinner; work in batches if necessary to ensure the leaves are spun until they feel dry, not just damp. If you don't own a salad spinner, you can gently roll the leaves up inside a clean kitchen towel or a few layers of paper towels to blot away the water. The goal is to remove all external water while the internal moisture keeps the leaf crisp.
Step 3: The Ideal Storage Environment
Once washed and thoroughly dried, your greens need a new home. The original plastic bag or clamshell is often not ideal, as it can trap moisture and crush delicate leaves. The best solution is a hard-sided, airtight container. Line the bottom of the container with a clean paper towel or a dry cloth to absorb any residual condensation. Place the greens loosely inside—don't pack them down, as they need room to breathe. Lay another paper towel on top of the greens before sealing the container. This simple 'paper towel trick' wicks away moisture as it's released, keeping the leaves dry and crisp. Storing the container in your refrigerator's crisper drawer, which maintains a consistent temperature, is ideal.
Tailoring Your Method for Different Greens
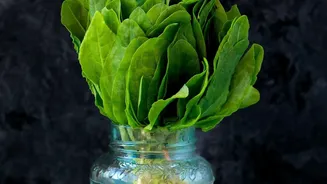
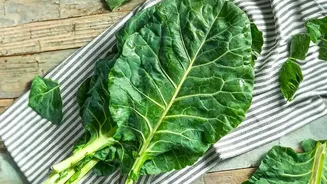
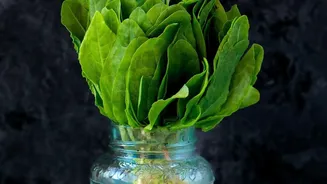
Not all greens are created equal. Delicate leaves like spring mix, spinach, and arugula are more fragile and have a shorter shelf life, making the container-'and'-paper-'towel method essential. For heartier greens like kale, chard, and collards, you have more options. You can store them using the same method, or you can treat them like a bouquet of flowers:' trim the stems and place them upright in a jar with an inch of water in the fridge.' For whole heads of sturdy lettuce like romaine or iceberg,' you can simply wrap the unwashed head tightly in aluminum foil,' which allows it to breathe without trapping excess moisture.