
The Art of the Hunt: Sourcing Your Frames
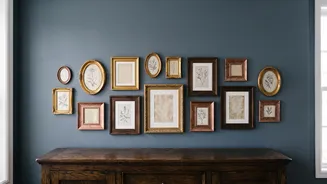
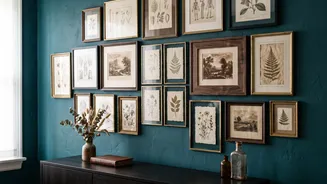
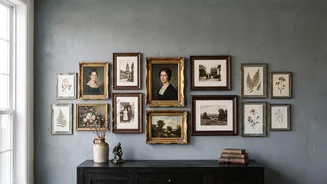
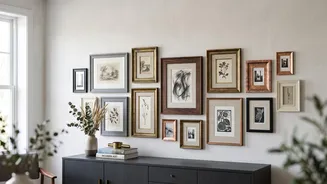
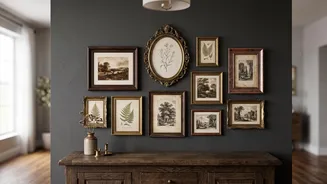
The foundation of a vintage gallery wall is, of course, the frames. The goal is to gather an assortment of styles, materials, and sizes. Think beyond a single matching set and embrace variety: mix ornate gold frames with simple wood, and pair detailed
carvings with clean lines. Local thrift stores, flea markets, and antique shops are excellent, budget-friendly places to find unique pieces. When hunting, focus on the frame's shape and decorative details, not the colour or the art inside it, as both can be changed. Look for solid wood or plaster frames, and don't be deterred by minor imperfections, which add to the vintage charm. Online marketplaces can also be a treasure trove, using search terms like 'vintage frame lot' or 'antique gilt frame' to uncover hidden gems.
Curating Your Collection: What Goes Inside
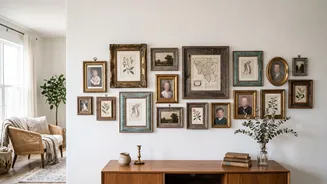
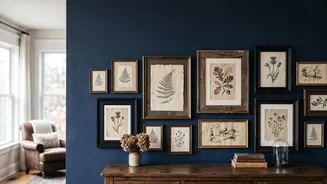
Once you have your frames, the next step is deciding what to put in them. The key to a cohesive look, even with different frames, is to find a common theme in the artwork. This doesn't mean every piece must be identical, but they should feel related. You could choose a consistent colour palette, pulling tones from your room's decor, or focus on a specific subject like landscapes, portraits, or botanical prints. Mixing different types of art, such as photographs, illustrations, and even textile pieces or small mirrors, can add texture and depth. For a truly personal touch, consider framing old family photos, handwritten letters, or vintage postcards.
Creating Cohesion Without Uniformity
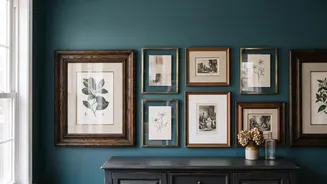
The magic of a non-uniform gallery wall lies in making the eclectic mix feel intentional. To achieve this, stick to a limited colour palette for the frames themselves, such as black, wood, and gold. A good rule is to choose two or three main colours and repeat them throughout the arrangement to create a visual rhythm. Another strategy is to ensure that while the frames vary, they share a similar level of ornamentation or finish. For instance, a collection of muted, antique-finish frames will feel more harmonious than mixing a shiny modern frame with rustic, weathered ones. The goal isn't to match perfectly, but to create a 'conversation' between the pieces.
Mapping Your Masterpiece: The Layout
Before a single nail goes into the wall, planning your layout is crucial. The easiest way to do this is to lay all your frames out on the floor. Start by placing your 'anchor' piece—usually the largest or most compelling artwork—slightly off-centre. Then, build the rest of the arrangement around it, balancing larger pieces with clusters of smaller ones. Mix horizontal and vertical orientations to keep the display dynamic. A helpful trick is to trace each frame onto craft paper, cut out the templates, and tape them to the wall. This allows you to live with the layout for a day or two and make adjustments without creating unnecessary holes. Pay close attention to spacing; keeping a consistent gap of about 2 to 4 inches between frames helps the collection feel unified.
Hanging Your Gallery Wall
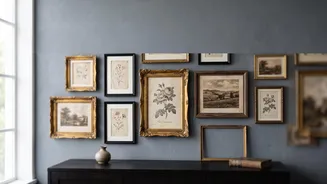
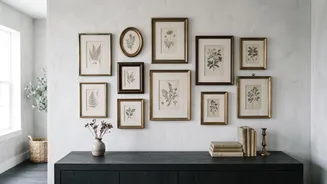
Once you're happy with your paper template layout, it's time to hang the art. As a general rule, the centre of the entire gallery arrangement should be at eye level, which is typically about 57 to 60 inches from the floor. If you're hanging the display over furniture like a sofa or console, leave about 6 to 8 inches of space between the bottom of the lowest frame and the top of the furniture. Use a level for each piece to ensure it's straight. By treating the entire collection as one large piece of art, you create a focal point that feels anchored and intentional, rather than a random assortment of pictures floating on the wall.