



Choosing Your Perfect Match
The key to a natural look is selecting the right clip-in pieces. For a seamless blend, match the extension colour to the mid-lengths and ends of your hair, not the roots. If you're deciding between two shades, it's often better to choose the lighter one.
When it comes to material, 100% Remy human hair offers the most realistic texture and can be styled with heat just like your own hair. Also, consider the weight; sets around 120-160 grams are great for adding volume to fine or medium hair, while thicker hair might require 180 grams or more for a balanced look.
Prep and Application Basics
Proper application prevents slipping and ensures the clips remain invisible. Start with clean, dry hair. Create a horizontal part at the nape of your neck, clipping the rest of your hair up and out of the way. For extra grip, gently backcomb the root area where you'll place the clip or apply a light mist of dry shampoo or texturizing spray. Snap the clips open, slide them into the prepared section close to the scalp, and snap them shut. Always start with the smaller wefts at the bottom and work your way up, using wider wefts for the back of your head. Make sure to leave enough of your own hair on top, especially around your crown and parting, to cover the pieces completely.
The Classic Voluminous Ponytail
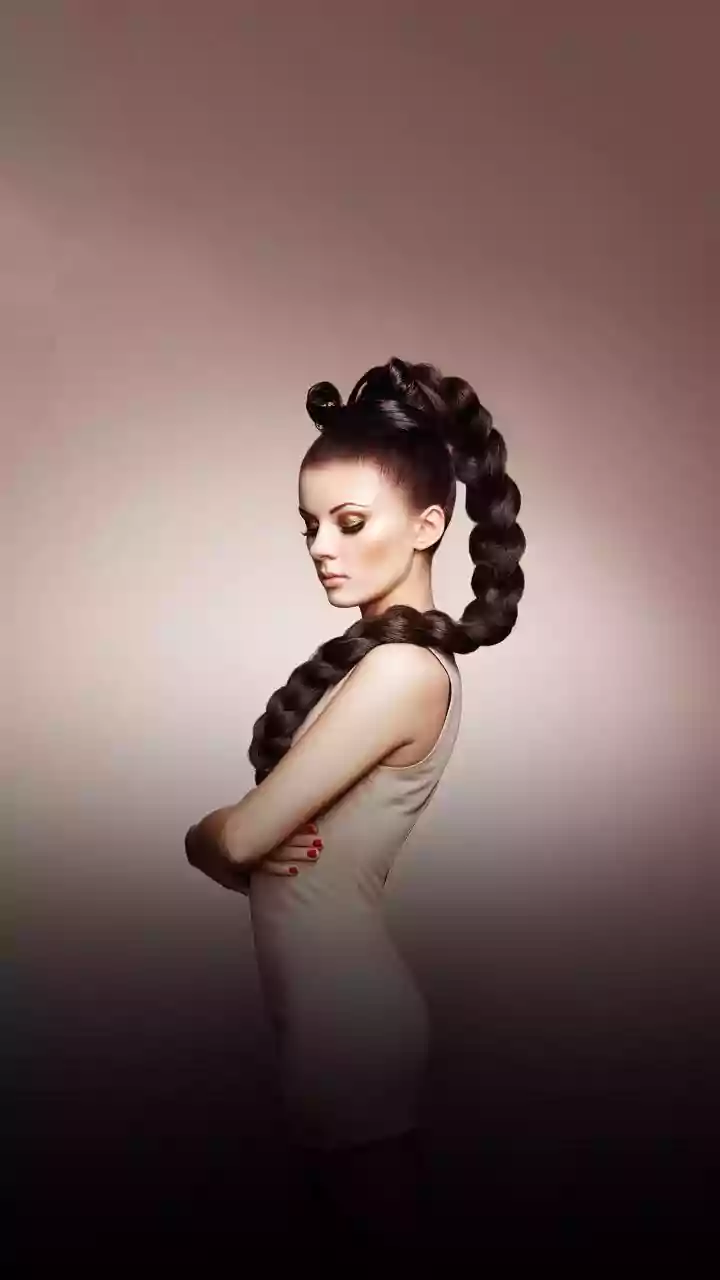
A ponytail is a simple style that gets a major upgrade with clip-ins. To create a full, high ponytail, gather your hair at the crown. You can then wrap a few wefts around the base of your ponytail to add instant length and hide the elastic. Another technique involves sectioning your ponytail and clipping wefts directly into it to build density before styling. For a sleek finish, take a small strand of hair from the ponytail, wrap it around the base to conceal any attachments, and secure it with a bobby pin. A light tease at the top can add even more height and drama.
Effortless Half-Up, Half-Down
The half-up, half-down style is romantic and perfect for showcasing volume. Concentrate on applying the clip-in wefts to the lower half of your hair—the part that will remain down. After securing the pieces, gather the top section of your hair from temple to temple and secure it with a decorative clip or a scrunchie. This method keeps the clips hidden while creating a beautiful contrast between the sleek top section and the full, flowing hair below. For an even more integrated look, add soft waves to both your natural hair and the extensions.
A Fuller, Thicker Braid
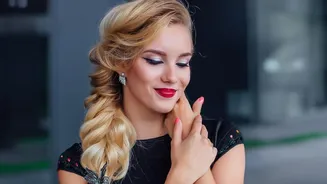
Clip-ins can transform a standard braid from thin to show-stopping. Whether you're creating a classic French braid, a trendy fishtail, or a bohemian side braid, the extra hair provides the necessary bulk for a thicker, more impressive plait. Apply the wefts in horizontal rows before you begin braiding, making sure they are well-covered by your natural hair. As you braid, gently pull apart the sections—a technique called 'pancaking'—to create the illusion of even more fullness and to help blend the extensions seamlessly. This works beautifully for Dutch braids, crowns, and braided ponytails.
The Quick Textured Bun
A skimpy bun can feel underwhelming, but clip-ins provide an easy solution. For a chic messy bun or a polished low bun, start by putting your hair into a ponytail. You can either add the extensions into your hair before creating the ponytail or wrap wefts around its base for extra volume. Once your ponytail is thick and full, simply twist and wrap the hair around the elastic, securing it with bobby pins to form the bun. The added hair from the extensions will result in a fuller, more substantial shape that looks effortlessly elegant.