


From Pretty Pictures to a Real Plan
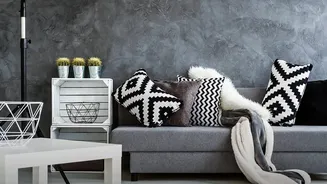
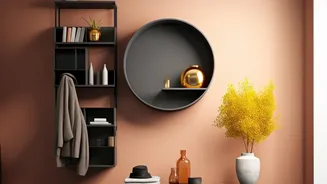
We've all been there: scrolling through Pinterest, saving images of plush sofas, minimalist coffee tables, and perfect colour palettes. Creating a moodboard is a vital first step that helps clarify your style and the feeling you want a room to evoke.
The problem arises when this collection of images remains purely aesthetic. A beautiful moodboard that ignores the real-world constraints of your space—its size, its light, its immovable features like doors and windows—is a recipe for disappointment. The oversized sofa that looked so inviting online can overwhelm a small living room, and the delicate side table can get lost in a large, open-plan area. This is where a moodboard must evolve from a collage of ideas into a practical blueprint.
The Power of Scale and Proportion
Interior design hinges on two critical principles: scale and proportion. Scale refers to how the size of an object relates to the room it occupies. Proportion, on the other hand, is about how the sizes of different objects within the same room relate to each other. Getting these right is what creates a sense of harmony and balance. A moodboard that lacks dimensions can't account for this. You might fall in love with a massive piece of art, only to find it dwarfs your sofa. Or you might pick out a rug that's too small, making the whole room feel disconnected. By thinking in dimensions from the start, you force yourself to consider not just whether you like an item, but whether it will physically and visually fit within the cohesive whole you are trying to create.
Your New Toolkit: Measure Twice, Buy Once
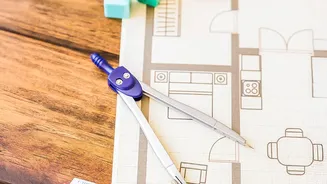
Making a practical moodboard starts with grounding your project in reality. Before you save a single image, measure your room meticulously—length, width, and ceiling height. Note the placement and size of windows, doors, and any architectural quirks. Create a simple floor plan. This can be done with graph paper and a pencil or using one of the many digital tools available. Apps and websites like Canva, Milanote, or even Google Slides can serve as excellent platforms for building your board. Many now allow you to work on a canvas where you can resize images to reflect their relative scale. Some advanced AI tools can even take your moodboard and a photo of your room to generate a realistic rendering.
How to Add Dimensions to Your Board
Once you have your floor plan, start populating your moodboard with specific, shoppable items, not just vague concepts. Instead of an image of 'a blue armchair,' find a specific blue armchair you can actually buy and note its dimensions (width, depth, and height). Place this item onto your floor plan to see how much space it truly occupies. As you add more elements—the coffee table, the rug, the floor lamp—do the same. This process immediately reveals potential problems. You’ll see if walkways are becoming too narrow or if pieces are awkwardly crowded. Remember to account for 'negative space'—the empty areas that give your room breathing space and allow the eye to rest. Don't just consider furniture; think about the dimensions of your rug, the height at which you'll hang art, and the drop of a pendant light.