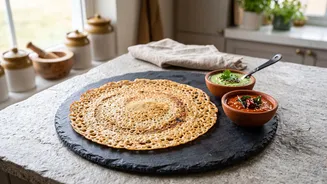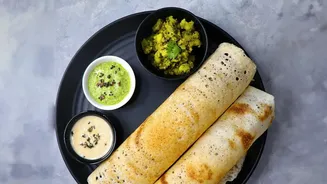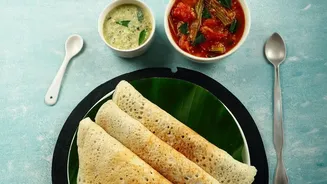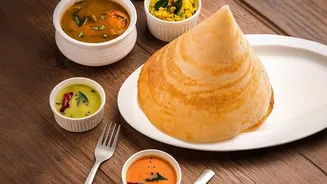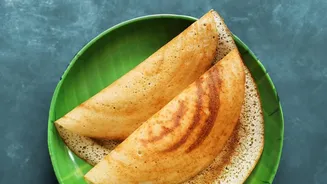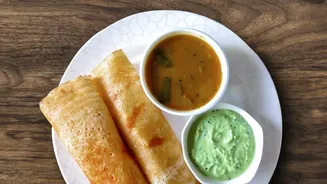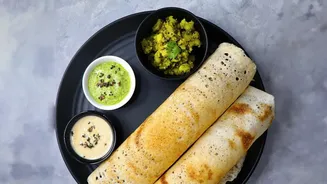


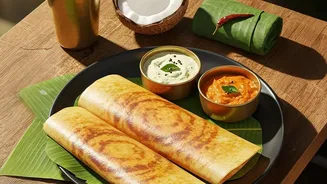

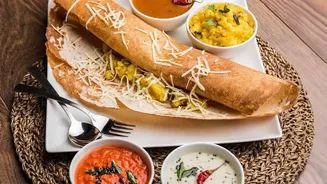
The promise of a healthy, instant oats dosa is tempting, but the reality is often a thick, sticky pancake. The secret to a thin, crispy, and lacy dosa lies in a few key facts about the batter, the tawa, and your technique.
The Batter Is The Boss
The single most important factor
for a thin oats dosa is a thin batter. Unlike traditional dosa batter, instant oats dosa batter should be watery and free-flowing, almost like buttermilk or milk. This is because oats, even when ground, absorb a lot of liquid. If your batter is too thick, the dosa will inevitably turn out soft and dense. Many recipes achieve this by combining powdered oats with rice flour and a smaller amount of rava (sooji/semolina). The rice flour is crucial for providing crispiness, while the rava adds to the classic lacy texture. Always let the batter rest for 15-20 minutes after mixing; this allows the oats and rava to fully hydrate and swell, giving you a true sense of the final consistency before you start cooking. Don't be afraid to add more water if it thickens while resting.
Mastering The Tawa Temperature
Your tawa, or griddle, is the next critical element. It needs to be properly hot before the batter touches it. A common test is to sprinkle a few drops of water on the surface; they should sizzle and evaporate almost instantly. If the tawa is too cold, the batter won't set correctly and will stick. If it's smoking hot, the batter will cook and seize on contact, making it impossible to form a lacy pattern. A well-seasoned cast-iron tawa is often recommended for its superior heat retention, which helps in achieving a uniform, crisp finish. However, a good quality non-stick pan also works well, especially for beginners. For cast iron, rubbing the hot surface with a cut onion dipped in oil can help create a naturally non-stick layer.
Perfect The Pour, Don't Spread
This is where oats dosa technique diverges completely from traditional dosas. You do not spread this batter with the back of a ladle. Instead, you pour it. Stir the batter well from the bottom before making each dosa, as the solids tend to settle. Take a ladleful and, starting from the outer edge of the hot tawa, pour the batter in a circular motion, moving towards the centre. This action creates the characteristic net-like, lacy texture. Let the batter flow to create its own shape and fill in any large gaps with a little more batter, but avoid pouring over the same spot twice. The sizzle sound when the batter hits the pan is a good indicator that the temperature is right.
Patience and The Final Flip
Once the batter is on the tawa, drizzle a little oil or ghee around the edges and in the centre. Now, be patient. Cook on a medium to medium-high flame for a good 2-3 minutes. Resist the urge to peek or try to lift it too early. You'll know it's ready when the edges start to turn golden brown and lift away from the pan on their own. At this point, you can gently use a spatula to loosen the dosa. Many chefs suggest that for maximum crispiness, there is no need to flip an oats dosa at all; simply fold it and serve. If you do flip, it only needs a minute on the other side. A longer cooking time on a single side on a medium flame is a key trick for a perfectly golden and crisp result.