
Why Repurpose? More Than Just Savings
Choosing to repurpose a container for your next plant project is about more than just saving money. It’s a creative act of sustainability that infuses your personal story into your home decor. Every vintage teacup, colourful tin can, or rustic wooden
crate transformed into a planter adds a layer of character that a store-bought pot simply can't replicate. This approach allows you to reduce waste and look at everyday objects with fresh eyes, seeing potential in the unexpected. It's an opportunity to create something truly one-of-a-kind that reflects your style, whether it’s whimsical, modern, or rustic.
Finding a Planter in Plain Sight
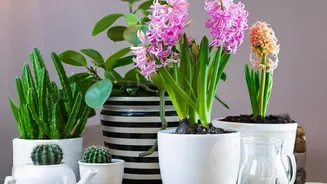
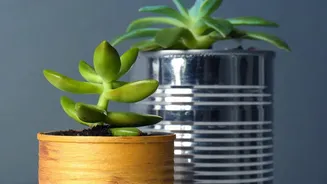
The perfect container might be hiding in your kitchen, garage, or closet. Look for items with interesting shapes, colours, or textures. Old ceramic mugs and teacups are perfect for small succulents. Colourful coffee and tea canisters can become vibrant homes for herbs on a windowsill. Even items like old boots, colanders, glass jars, and wooden boxes can be given a second chance as a planter. Think about the personality of the item: a rustic wooden crate might suit a trailing ivy, while a sleek, modern trash can could be spray-painted to house a larger architectural plant like a Snake Plant.
The Most Important Step: Ensuring Proper Drainage
The single most critical factor for a healthy potted plant is drainage. Without a way for excess water to escape, roots become waterlogged, deprived of oxygen, and susceptible to root rot, which is a common cause of houseplant demise. For many repurposed containers like tin cans or ceramic mugs, this means you'll need to create drainage holes. A drill or a hammer and nail can be used for this, depending on the material. If you can't or don't want to drill holes into a beloved item, there's a workaround. You can place a layer of gravel or pebbles at the bottom to create a reservoir for excess water, keeping it away from the plant's roots. Another popular method is to use the decorative container as a 'cache pot'—simply place the plant in a plain plastic nursery pot (with drainage holes) and set it inside your prettier, hole-free container. Just remember to empty any collected water from the outer pot after watering.
Prepping Your New Pot for Planting
Before introducing a plant, your repurposed container needs a little preparation. First, clean it thoroughly with soap and water to remove any residues, especially from food containers. Ensure the item is made of a plant-safe material. While most ceramics, glass, and untreated wood are fine, be cautious with some plastics and metals that could leach chemicals, or older painted items that might contain lead. If the container is made of a material that could be damaged by water, like untreated wood or certain metals, consider lining it with plastic (like a cut-up plastic bag) to protect it. Once clean and dry, you're ready to add your potting medium.
Matching Plants to Your Unique Planters
The type of container can help you choose the right plant. Shallow containers like teacups or tins are ideal for plants with shallow root systems, such as succulents and some herbs. Taller containers are great for showing off trailing plants like Pothos or String-of-Pearls. Aroids like Philodendrons and Monsteras, which appreciate moisture but still need good aeration, work well in a variety of repurposed pots as long as drainage is handled correctly. For beginners, hardy plants like the Snake Plant or ZZ Plant are very forgiving and can adapt to a wide range of conditions, making them excellent choices for your first DIY planter project.
Styling and Decorating Your Creations
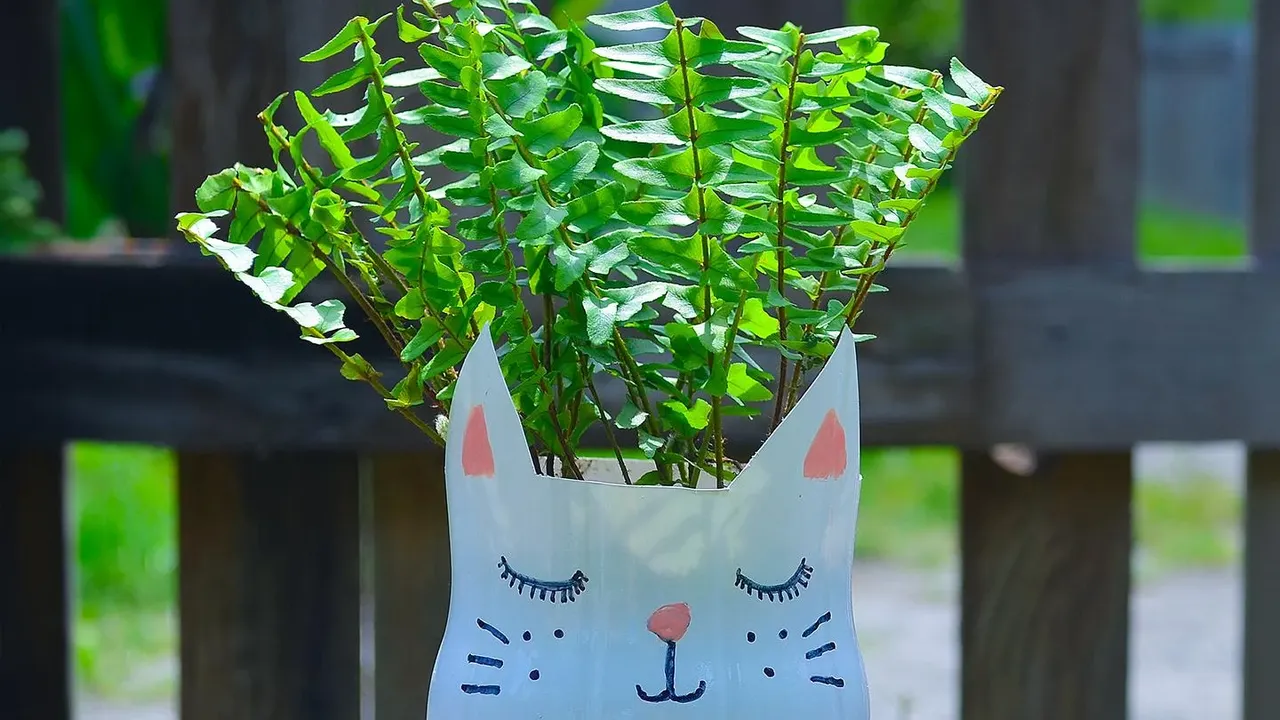
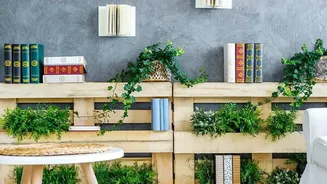
Once your plant is potted, the final step is styling. You can leave your repurposed container as is, celebrating its original character, or you can customize it further. Wrapping a simple can or jar in twine or fabric can create a rustic or boho look. Acrylic paints, spray paint, or even chalk paint are fantastic for adding colour, geometric patterns, or labels for your herb garden. Metallic paints can turn a simple pot into an elegant accent piece. Don't be afraid to group different creations together on a shelf or windowsill to create a 'floating green wall' effect with varied heights and textures for a dynamic, personalized display.