


What Exactly Are Microgreens?
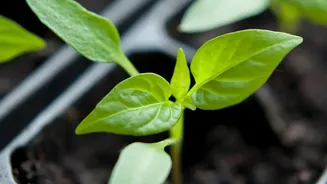
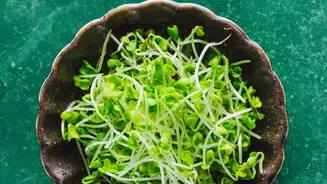
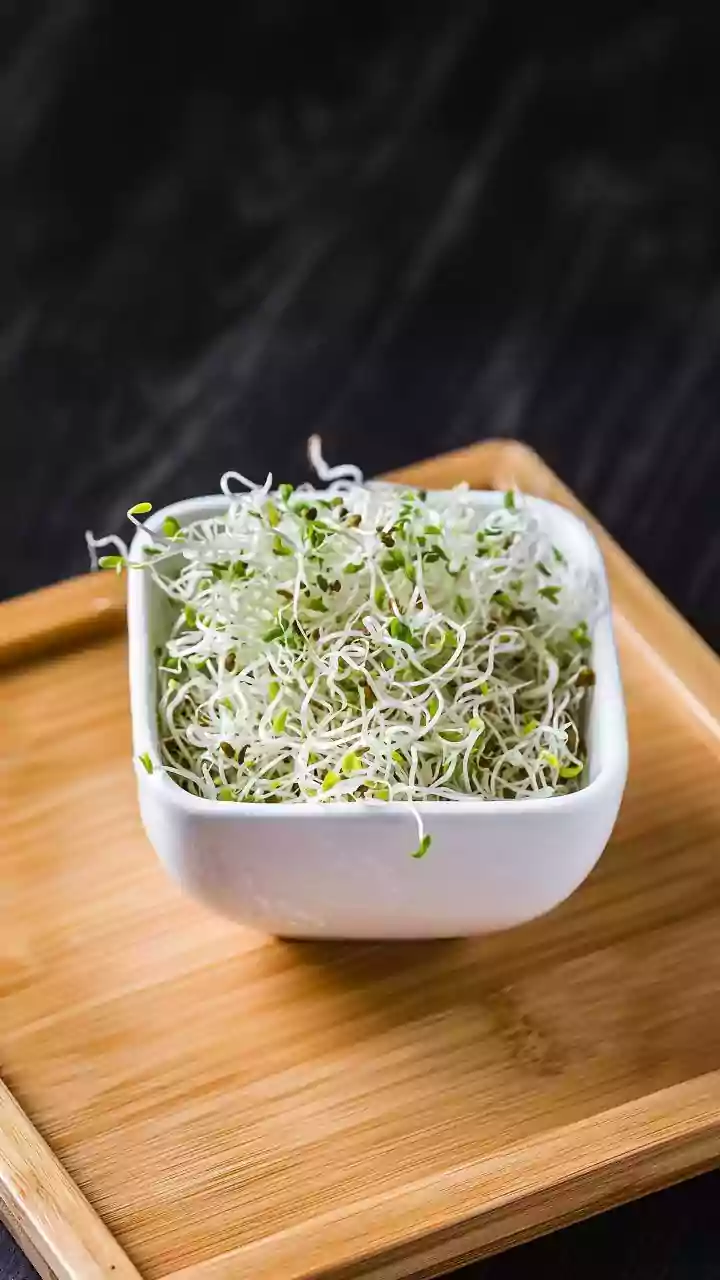
Microgreens are the young seedlings of edible vegetables and herbs, harvested just one to three weeks after germination, when they have developed their first set of true leaves. They are not to be confused with sprouts, which are germinated in water and eaten
whole, root and all. Microgreens are grown in soil or on a growing mat and are cut above the soil line, making them cleaner and often safer to consume. Despite their tiny size, they deliver an intense burst of flavour and a concentrated dose of nutrients, often containing significantly higher levels of vitamins and antioxidants than their mature counterparts.
The Perfect Crop for Urban Living
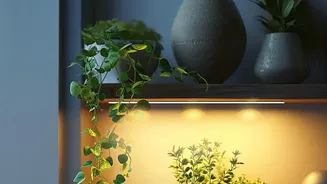
For city residents with limited space, microgreens are a game-changer. They don't require a garden, a balcony, or even much natural light. A simple, sunny windowsill can be enough to get started, though supplemental grow lights can also be used. The entire growth cycle is incredibly fast—many popular varieties are ready to harvest in 7 to 14 days. This rapid turnaround and minimal space requirement make them an ideal project for busy people in small apartments who want to add a touch of green and a boost of nutrition to their diet.
Your Windowsill Starter Setup
Getting started with microgreens is refreshingly simple and inexpensive. You don't need a fancy kit, though many are available. The basic necessities include a shallow container with drainage holes (recycled takeaway containers work well), a tray without holes to catch excess water, a growing medium like potting soil or a coconut coir mat, a spray bottle for misting, and, of course, seeds. It's crucial to use untreated seeds, as any chemical treatments are not meant for consumption on young shoots.
A Simple Guide to Planting
Once you have your supplies, the process is straightforward. Start by moistening your growing medium in the tray, ensuring it’s damp but not waterlogged. Next, sprinkle your seeds evenly across the surface; you want them to be dense but not overlapping. Gently mist the seeds with water and cover the tray to create a dark, humid environment for germination. Check on them daily, misting as needed to keep the seeds moist. After a few days, once the seeds have sprouted, you can remove the cover and move the tray to a sunny spot.
Choosing Your First Greens
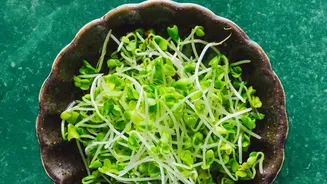
For beginners, it's best to start with easy, fast-growing varieties. Radish, broccoli, and pea shoots are considered some of the most reliable choices because they germinate quickly and grow evenly. Radish microgreens can be ready in as little as five to seven days and have a satisfyingly spicy kick. Broccoli is another quick grower with a milder taste. Other great options for beginners include kale, mustard, and arugula. These varieties are forgiving and provide the quick, rewarding results that build a new grower's confidence.
The Secret to a Continuous Harvest
The key to avoiding the common 'feast or famine' cycle of harvesting an entire tray and then having to wait for the next batch is a technique called succession planting. Instead of planting all your seeds at once, you sow a new tray at regular intervals. A simple schedule for a beginner might be to start a new tray every three to five days. By the time you finish harvesting your first tray, the next one will be ready, and another will be just starting to sprout. This staggered approach transforms your windowsill setup into a small, continuous production line of fresh greens.