





Reading the Signs: When to Repot
Plants give subtle hints when they need more space. The best time to repot is typically in the spring, when plants are entering a period of active growth. One of the most obvious signs is seeing roots peeking out of the drainage holes at the bottom of the pot.
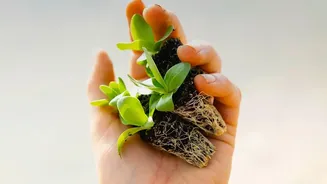
Another key indicator is how quickly the soil dries out; if you find yourself watering much more frequently than before, the roots have likely filled the pot, leaving little soil to hold moisture. You might also notice that growth has slowed down or stopped, or that the new leaves are smaller than older ones. If you gently slide the plant out of its pot and see a dense, tangled mass of roots circling the bottom, it's definitely time for a new home.
Gather Your Supplies
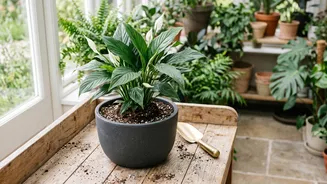
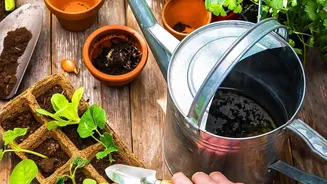
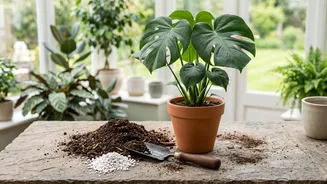
A successful repotting session starts with having the right tools on hand. First, you'll need a new pot. Choose one that is just one to two inches wider in diameter than the current one. It’s tempting to pick a much larger pot to give the plant room to grow, but this can lead to problems like root rot because the excess soil holds too much water. Ensure the new pot has a drainage hole. Next, you need fresh potting mix. Avoid using soil from your garden, which can be too dense and may contain pests. Look for a quality indoor potting mix, which is often a soilless blend of peat moss, perlite, and other organic materials designed for good drainage and aeration.
The Repotting Process: Step-by-Step
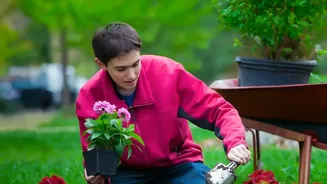
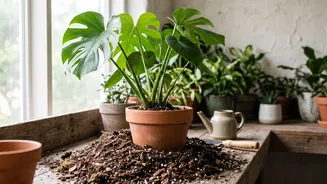
Once you have your supplies, you can begin. It's a good idea to water your plant a day or two before you plan to repot it; this makes it easier to remove from its container. To start, gently turn the plant's pot on its side and carefully slide the plant out. If it's stuck, you can tap the sides and bottom of the pot to loosen it. Once it's out, examine the root ball. Gently loosen any tightly wound or circling roots with your fingers. Don't be afraid to trim any roots that look brown, mushy, or dead. Place a layer of fresh potting mix in the bottom of the new pot and set the plant inside, ensuring the top of the root ball sits about an inch below the rim to leave room for watering. Fill in the space around the root ball with more potting mix, gently firming it down to eliminate large air pockets.
Understanding and Minimizing Transplant Shock
The main concern for many plant parents is 'transplant shock'. This is a period of stress a plant experiences after being moved, which can result in wilting, yellowing leaves, or leaf drop. This happens because the root system may be slightly damaged during the move and struggles to absorb enough water to support the leaves. While you can't eliminate stress entirely, you can minimize it significantly. Being gentle with the roots is key. The steps you've already taken—like choosing a pot that isn't too large and teasing the roots apart gently rather than hacking at them—play a big role. The goal is to make the transition as smooth as possible so the plant can quickly establish itself in its new environment.
Aftercare: Helping Your Plant Settle In
What you do after repotting is just as important. Once the plant is in its new pot, give it a thorough watering until you see water run from the drainage hole. This helps settle the soil around the roots. For the first week or two, place the plant in a spot with indirect light, even if it normally tolerates bright sun. This gives the roots time to recover without the added stress of intense light. Also, hold off on fertilizing for at least a month or until you see signs of new growth. The fresh potting mix has plenty of nutrients to get the plant started.