






Understanding the Microbial Carnage
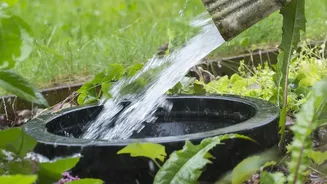
Flooding devastates the microscopic life in your soil. The primary problem is a lack of oxygen. Most beneficial soil bacteria are aerobic, meaning they need oxygen to survive. When water saturates the soil for extended periods, it creates anaerobic (oxygen-free)
conditions, suffocating these vital microbes. This die-off disrupts nutrient cycles and can allow harmful, anaerobic pathogens to thrive. Furthermore, floodwaters can wash away beneficial organisms, compact the soil, and introduce contaminants like sewage or chemicals, creating a hostile environment for a healthy garden.
Patience Before Action: Let it Dry
Your first instinct may be to rush in and 'fix' the mud, but working with waterlogged soil does more harm than good. Treading on or tilling wet soil destroys its structure, leading to severe compaction. This squeezes out the remaining air pockets, further harming any surviving aerobic microbes. The rule of thumb is to wait until the soil is workable. A simple test is to take a handful of soil and squeeze it. If it drips water or forms a dense, slick ball, it’s too wet. If it crumbles when you press it, you can begin the recovery process.
Step One: Gently Aerate the Soil
Once the soil is dry enough, the first priority is reintroducing oxygen. This is crucial for creating a welcoming environment for beneficial bacteria to repopulate. Instead of aggressive tilling, which can further damage the delicate soil structure, opt for gentle aeration. Use a broadfork or a standard garden fork. Push it into the soil as deep as you can, gently rock it back and forth to create air channels, and pull it out. Repeat this process every 12 inches or so across the entire garden bed. This process helps drain lingering water and allows air to penetrate deep into the root zone.
Step Two: Inoculate with New Life
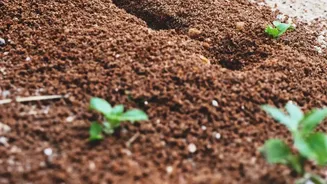
With the soil aerated, it’s time to reintroduce the beneficial microorganisms that were washed away or killed off. This is the most critical step in revitalising your soil's bacterial community. The best way to do this is by adding high-quality, mature compost. Compost is teeming with a diverse range of bacteria, fungi, and other microbes. Spread a layer of compost (2-5 cm) over the soil surface. Manures can also help re-establish microbiota. For a more potent, direct infusion of microbial life, consider using a compost tea. This liquid concentrate is made by steeping compost in water and can be applied as a soil drench to deliver microbes directly where they are needed most.
Step Three: Feed Your New Microbial Workforce
Introducing new microbes is just the start; you also need to feed them. These organisms need organic matter to consume as they establish their new colony. After applying compost, add a layer of mulch, such as wood chips, straw, or shredded leaves. This mulch layer does several things: it provides a slow-release food source for the microbes, protects the soil surface from erosion and compaction, helps retain moisture (once the soil has recovered), and suppresses weeds. Over time, as the microbes break down the mulch, they will build a rich, dark layer of humus, which is the cornerstone of fertile soil.
Step Four: Plant for Recovery
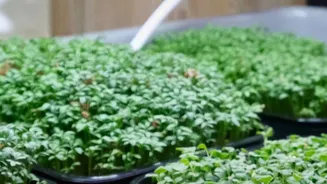
Living roots are a powerful tool for soil recovery. They release exudates (sugary substances) that feed microbial communities and their growth helps to naturally break up compacted soil. Instead of immediately planting sensitive vegetables, consider sowing a cover crop. Plants like clover, mustard, or buckwheat grow quickly, establishing extensive root systems that aerate the soil and add organic matter when they are eventually incorporated back into it. These plants act as a 'living mulch', protecting and actively healing the soil until it's ready for your regular crops. If you suspect heavy metal contamination, it's wise to wait 60-120 days before harvesting any edible produce.