


Why Your Soil Will Love Peanut Shells
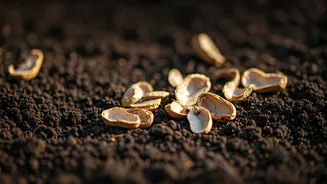
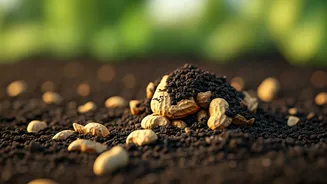
Before you dismiss them as simple waste, understand what makes peanut shells a gardener's secret weapon. Primarily, they are a fantastic source of carbon. [3, 8] As they break down, they add valuable organic matter to the soil. [1] This process improves
soil structure, creating air pockets that help roots breathe and grow more vigorously. [2, 9] The shells also excel at water retention, acting like tiny sponges that hold moisture in the soil, which means you may find yourself watering less frequently, especially during hot weather. [1, 2] Furthermore, they can help regulate soil temperature, keeping it cooler in summer and warmer in winter. [1] This combination of aeration, moisture control, and gradual nutrient release makes them a brilliant, cost-effective soil amendment.
The Tangible Benefits for Potted Plants
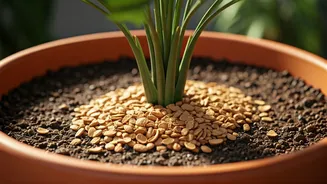
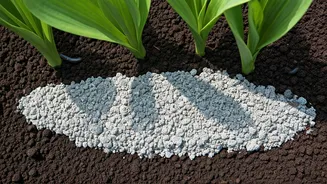
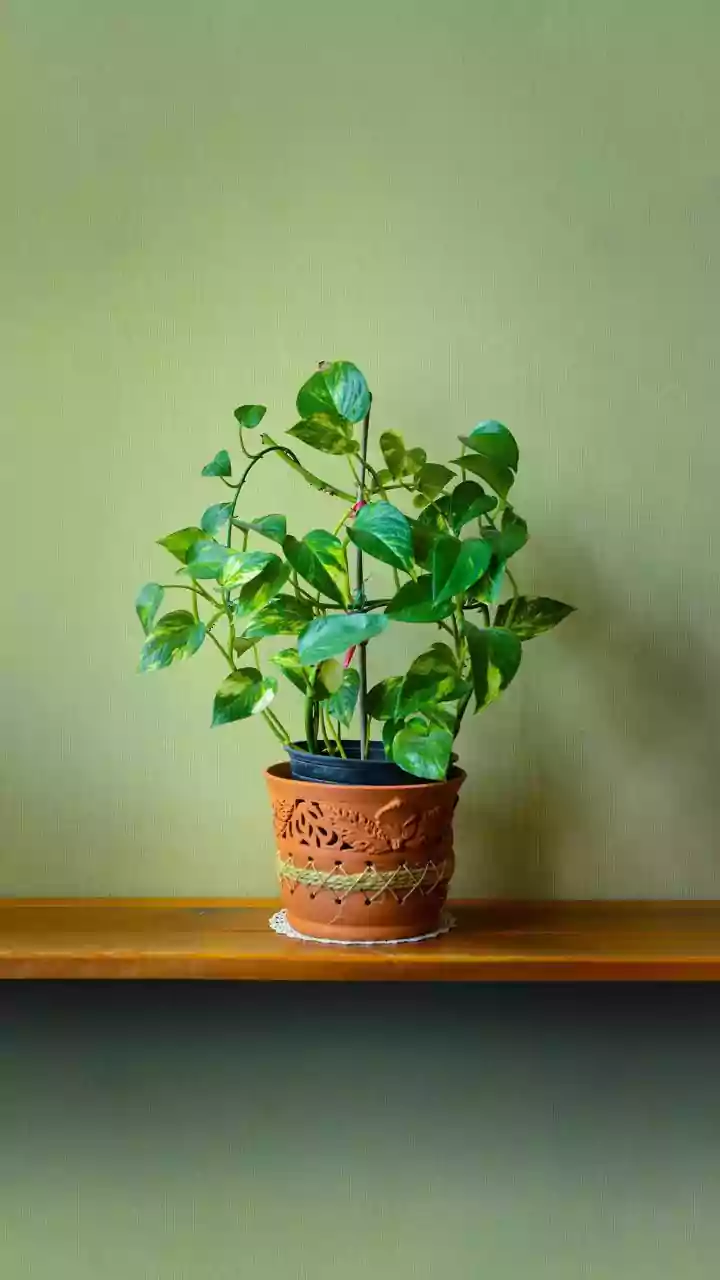
For container gardening, where soil volume is limited, the advantages are even more pronounced. Mixing crushed peanut shells into your potting mix makes the soil lighter. [2] This is a significant benefit for hanging baskets or large pots that are difficult to move. The improved aeration prevents soil compaction, a common issue in planters that can suffocate roots. [9] Good aeration and drainage mean healthier roots that are less prone to rot, which can be a risk in overly damp conditions. [2] As the shells slowly decompose, they release small amounts of nutrients like carbon, potassium, and phosphorus, providing a gentle, long-term feed for your plants. [3, 8] Essentially, they act much like commercially available products such as vermiculite or coco peat, but they come free with every bag of peanuts. [2, 8]
How to Prepare Shells for Your Planters
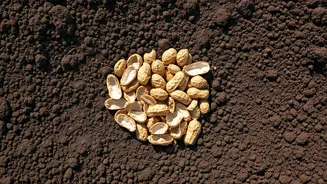
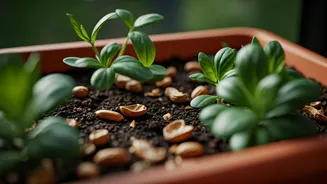
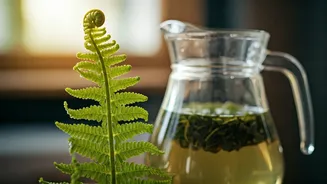
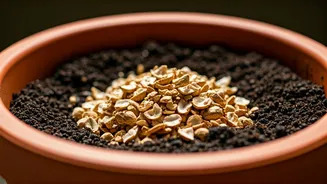
Using peanut shells effectively requires a little bit of prep work, but the process is simple. First, and most importantly, always use shells from unsalted peanuts. Salt can build up in the soil and harm your plants. [1, 6] If you only have salted shells, you can still use them, but you must rinse them thoroughly. Soaking them in water for a few hours, changing the water at least once, will help remove most of the sodium. [3, 7, 8] Once you have clean, dry shells, you need to crush them. [10, 11] Whole shells decompose very slowly and are too bulky. You can crush them by hand, put them in a bag and roll over them with a rolling pin, or give them a quick pulse in a food processor. [3] Then, simply mix the crushed shells into your potting soil at a ratio of about one part shells to two or three parts soil. [2]
Important Things to Watch Out For
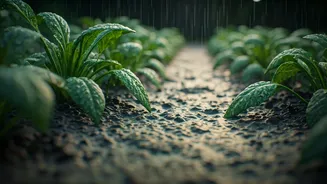
While beneficial, there are a few caveats to keep in mind. As mentioned, never use salted shells directly. [1] In very humid climates or for plants that require constantly moist soil, be mindful that the shells' water-retaining properties could potentially encourage fungal growth or mold if there isn't enough air circulation. [1, 2, 14] Peanut shells are a carbon-rich 'brown' material in composting terms. [5] When mixed into soil, the microorganisms that break down the carbon will use nitrogen from the soil to do so. If you add a very large quantity of shells, this could temporarily deplete the available nitrogen for your plants. A balanced mix is key. [6] Finally, if you or anyone in your household has a severe peanut allergy, be cautious. While the risk is low, it’s wise to be aware, especially if children or sensitive individuals will be handling the plants or soil. [1, 14]