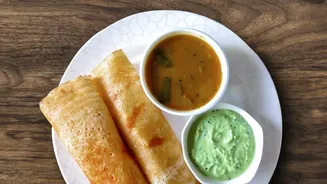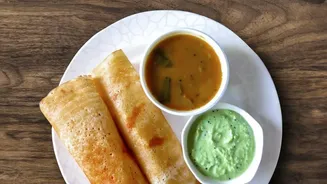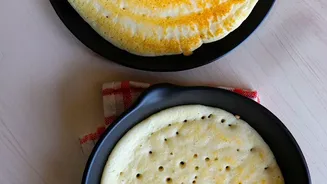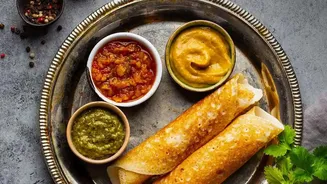

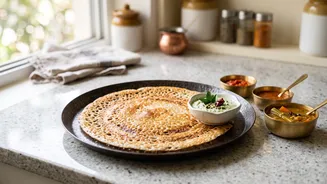


The magic of a paper-thin, golden-brown dosa often lies not in the batter, but in the tawa. A well-seasoned cast-iron tawa is the secret to that perfect crispness, but achieving it can feel daunting. This guide demystifies the process.
Why A Cast-Iron Tawa Is Worth It
Before we begin,
it’s worth understanding why chefs and home cooks swear by cast iron for dosas. Unlike modern non-stick pans, a heavy cast-iron tawa heats evenly and retains that heat for a long time. This consistent, steady heat is crucial for cooking the batter quickly and uniformly, resulting in that signature crisp texture. A properly seasoned tawa develops a natural non-stick surface that not only gets better with every use but also imparts a unique, subtle flavour to the food. It's a durable workhorse that can last for generations.
Understanding the Science of Seasoning
So, what exactly is 'seasoning'? It’s not about adding spices. Seasoning is the process of baking oil onto cast iron, which creates a hard, protective, and non-stick coating. This happens through a chemical process called polymerization. When you heat a thin layer of oil on the cast iron, the fat molecules break down and bond with the metal, transforming into a new, plastic-like layer. This slick surface fills the naturally porous texture of the iron, preventing food from sticking and protecting the pan from rust.
Choosing the Right Oil
The type of oil you use for seasoning matters. You need an oil with a high smoke point, which is the temperature at which it starts to burn and smoke. Common and effective choices in Indian kitchens include groundnut (peanut) oil, sesame (gingelly) oil, and sunflower oil. Canola and grapeseed oil are also excellent due to their neutral properties and high smoke points. While some guides mention flaxseed oil for its hardening properties, it can sometimes create a brittle layer that flakes off. For reliability, stick to the more common high-smoke-point vegetable oils.
Seasoning a New Tawa: Stovetop Method
This method is perfect for most Indian homes and highly effective for flat tawas. Start by washing your new tawa with mild soap and water to remove any factory coating, then dry it completely. Place it on the stove over a low flame to ensure every last drop of moisture evaporates. Once warm, apply a very thin layer of your chosen oil all over the cooking surface with a soft cloth. Increase the flame to medium and heat the tawa until it begins to smoke lightly. This indicates that polymerization is happening. Let it smoke for a few minutes, then turn off the heat and allow it to cool down completely. Wipe off any excess oil. For a robust initial seasoning, repeat this process three to four times.
Cooking the Perfect Dosa
Once your tawa is seasoned, you're ready for the main event. First, preheat your tawa on a medium flame for several minutes. The correct temperature is key: sprinkle a few drops of water on the surface. If they sizzle and dance before evaporating, you're ready. If they disappear instantly, it's too hot; if they just bubble, it's too cold. Before the first dosa, it’s a classic trick to rub the hot surface with half an onion dipped in oil. This cleans the surface and adds a final microlayer of nonstick protection. Pour your batter and spread it in a thin, even circle. Drizzle a little oil around the edges, and be patient. The dosa is ready to be lifted when the edges start to turn golden and lift away from the tawa on their own.
Maintenance Is Key
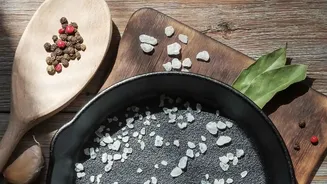
A cast iron tawa gets better with age, but only with proper care. After cooking, let the tawa cool down slightly. Clean it with warm water and a soft sponge; avoid using harsh soaps or steel scrubbers as they can strip away the seasoning you’ve worked so hard to build. For stuck on bits, use coarse salt as a gentle abrasive. The most crucial step is to dry it thoroughly immediately after washing. You can do this by placing it back on a low flame for a minute. Finally, wipe a very thin layer of oil on the surface before storing it in a dry place to prevent rust.