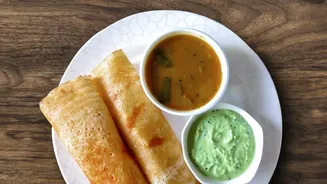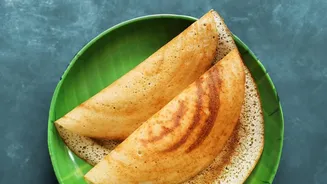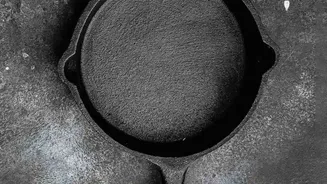







The secret to a perfect, paper-thin, crispy dosa isn't just in the batter—it's in the tawa. A well-maintained cast-iron tawa is a kitchen heirloom that promises golden dosas that never stick. Here's how to care for yours.
The Foundation: Understanding Seasoning
A cast-iron tawa's magic lies
in its 'seasoning'. This isn't about adding salt and pepper; it's the process of baking oil onto the pan's surface, creating a natural, non-stick coating. This protective layer is what prevents food from sticking and shields the iron from moisture, its primary enemy. Every time you cook with oil, you're adding to this seasoning, making the tawa better with age. A new or neglected tawa will have a thin or non-existent seasoning, which is the number one reason dosas stick. A proper seasoning is the cornerstone of cast-iron cooking, turning a simple piece of metal into a high-performance cooking tool.
The First Use: How to Season a New Tawa
If your tawa is brand new or has developed rust, it needs to be seasoned. Start by washing it with mild soap and water to remove any factory residue, which is one of the few times soap is recommended. Dry it completely on a low flame to evaporate every drop of moisture. Now, apply a thin, even layer of a high-smoke-point oil like sesame, groundnut, or vegetable oil over the entire surface, inside and out. Don't use too much; a light coat is all that's needed to avoid a sticky finish. Heat the tawa on a medium flame for 10-15 minutes until it begins to smoke lightly, then let it cool. Repeating this process two or three times will build a solid, foundational layer of seasoning.
The Pre-Dosa Ritual: Getting the Tawa Ready
Before you pour the first dosa, preparation is key. Heat the tawa on a medium flame for three to five minutes. Cast iron heats slowly but retains heat exceptionally well. To check if it's ready, sprinkle a few drops of water on the surface. If they dance and sizzle away, the temperature is perfect. If they just boil slowly, it's not hot enough. Once hot, reduce the flame and rub the surface with half an onion dipped in a little oil. This classic technique not only adds a subtle flavour but also helps create a temporary non-stick surface, preventing the batter from sticking. Wipe away any excess oil before spreading your batter.
The Aftermath: Cleaning and Immediate Care
How you clean the tawa right after cooking is crucial. Never plunge a hot tawa into cold water, as this can cause it to crack. And avoid letting it soak, as prolonged contact with water causes rust. Instead, once it has cooled slightly but is still warm, rinse it with hot water and use a soft brush or sponge to remove any food particles. For stubborn bits, a paste of coarse salt and water works as a gentle abrasive. Most experts agree to avoid using soap regularly, as it can strip away the precious seasoning you've built up. After rinsing, the most important step is to dry it completely. The best way to do this is by placing it back on the stove over a low flame for a minute or two.
Moisture is the arch - nemesis of cast iron. To keep your tawa rust - free between uses, proper storage is essential. Once the tawa is bone - dry from heating on the stove, apply a very thin layer of cooking oil to the surface with a paper towel. This light coating acts as a barrier against humidity. Store the tawa in a dry, well - ventilated place, not a damp cabinet. If you need to stack it with other pans, place a layer of paper towel inside. This simple step absorbs any lingering moisture and prevents the seasoning from getting scratched, ensuring your tawa is always ready for its next use.