


The Telescope’s Role: It’s All About Light
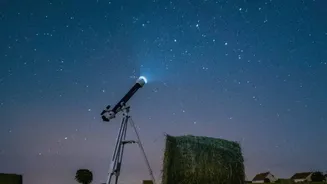
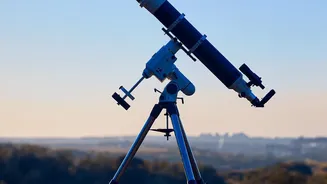
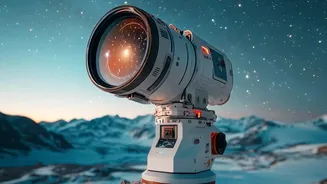
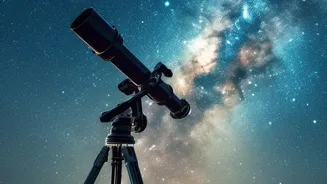
When photographing nebulae, the goal isn't magnification; it's light collection. These celestial clouds are incredibly faint, and your telescope's primary job is to act as a massive light bucket. The most important specification is its aperture—the diameter
of the main lens or mirror. A larger aperture gathers more light, making faint objects appear brighter. However, for photography, what's equally crucial is the focal ratio (f-ratio). This is calculated by dividing the telescope's focal length by its aperture. A 'fast' telescope with a low f-ratio (like f/5 or lower) can capture more light in a shorter amount of time, which is a huge advantage for imaging dim nebulae. While a large aperture is always beneficial, a fast focal ratio is the key to efficient deep-sky imaging.
The Right Mount: Your Foundation for Success
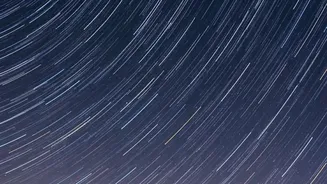
You can have the best telescope and camera, but without a solid, tracking mount, your images of deep-sky objects will be blurry trails. As Earth rotates, stars appear to move across the sky. To counteract this, astrophotographers use an equatorial mount. This special type of mount has one axis aligned with Earth's axis of rotation, a process called polar alignment. Once aligned, a motor (or 'clock drive') rotates the telescope at the same speed as the Earth, but in the opposite direction. This keeps your target perfectly centred in the frame, allowing you to take the extremely long exposures necessary to capture a nebula's faint light without star trails.
Your DSLR: The Camera You May Already Own
You don’t necessarily need a specialised astronomy camera to get started; a standard DSLR or mirrorless camera is incredibly capable. The key is having manual control over its settings. To prepare your camera, you’ll want to shoot in Manual (M) mode and, most importantly, capture images in RAW format. A RAW file contains all the unprocessed data from the camera's sensor, giving you maximum flexibility later in post-processing. JPEGs, on the other hand, are compressed and have much of this valuable data discarded, which makes it nearly impossible to bring out the faint details of a nebula.
Key Camera Settings for the Cosmos
Capturing a nebula requires pushing your camera's settings to their limits. First, open your aperture as wide as your telescope allows to let in the maximum amount of light. Next is ISO, which controls the sensor's sensitivity. You'll need a high ISO, typically between 800 and 3200, to register the faint signal. The final piece is shutter speed. You won't be taking a quick snapshot; you'll be taking long exposures, often lasting anywhere from 30 seconds to several minutes for a single frame. This long exposure allows the camera's sensor to soak in the faint photons of light travelling across thousands of light-years from the nebula to your telescope.
The Magic of Stacking: More is More
One long exposure isn't the final image. The secret to a clean, detailed nebula photo is a technique called image stacking, or integration. Instead of one 30-minute exposure, astrophotographers take many shorter exposures, called 'sub-exposures', often dozens or even hundreds of them. These individual shots are then loaded into specialised software that aligns them perfectly and averages them together. This process has a powerful effect: the consistent 'signal' from the nebula adds up and gets stronger, while the random 'noise' (the graininess in a single dark photo) gets averaged out and reduced. Stacking dramatically improves the signal-to-noise ratio, revealing faint details and smooth colours that would be invisible in any single frame.
Post-Processing: Where Art Meets Science
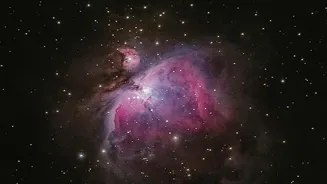
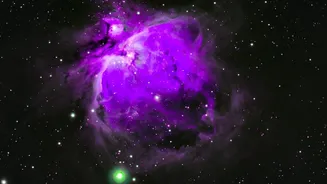
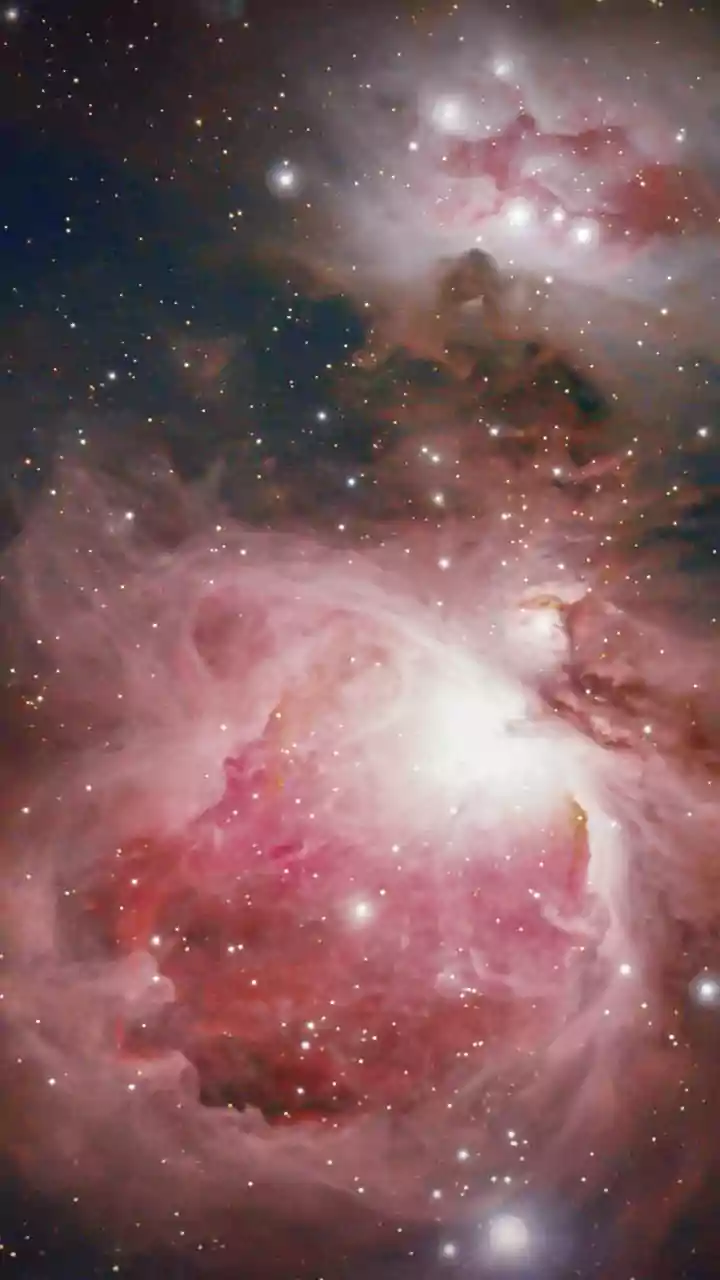
The final step is post-processing. The stacked RAW image that comes out of the integration software will often look dark and underwhelming. Using programs like Adobe Photoshop or dedicated astrophotography software, you carefully 'stretch' the data. This involves adjusting levels and curves to brighten the faint nebulosity while keeping the background sky dark. This is also where colour balance is corrected and details are sharpened. This final stage is as much an artistic interpretation as it is a technical process, allowing the photographer to bring the hidden colours and structures of the nebula to life in a way that is both scientifically grounded and visually spectacular.