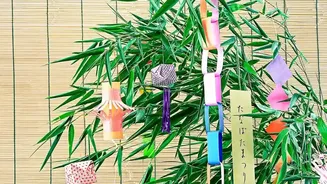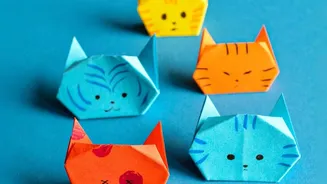






Looking to refresh your walls without the mess and commitment of paint? Origami wall art is an affordable, creative, and mindful project that adds a bespoke touch to any room. It's a simple way to turn paper into a stunning 3D installation.
Why Choose an Origami Project?
Beyond being
a paint-free alternative, creating origami art is a uniquely rewarding experience. It is an incredibly budget-friendly craft, often requiring little more than paper and glue. The process itself is a form of mindfulness, demanding focus and presence as you turn a flat sheet into a three-dimensional object. The true beauty lies in its customisability. You control the colour palette, the scale of the design, and the complexity of the shapes. From a simple cluster of butterflies over a desk to a large geometric installation in a living room, you can create a piece that perfectly matches your personal style and space.
Gathering Your Simple Supplies
You don't need a dedicated art studio to get started. The basic toolkit is minimal and easy to find. Your most important supply is paper. While you can start with standard printer paper, using dedicated origami paper, or 'kami', will yield better results. This paper is thin, holds a crease well, and comes in countless colours and patterns. For more durable, structural pieces, consider slightly thicker paper or cardstock, around 120-170 gsm. You will also need a pair of scissors or a craft knife, a ruler, and a clear-drying craft glue to hold the final shapes. For mounting, have some damage-free options on hand, like removable poster putty or double-sided adhesive strips.
Choosing Your Origami Model
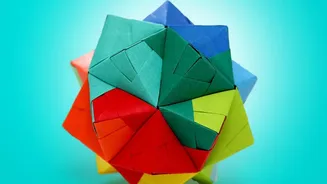
The key to a successful wall art project is choosing a model that is both beautiful and achievable for your skill level. For beginners, classic and simple shapes are a great starting point. Models like butterflies, hearts, cranes, and simple flowers are all very easy to fold and look wonderful in groups. Many tutorials for these can be found with a quick online search. If you’re feeling more ambitious, you could try modular origami, where you fold multiple identical units and join them together to create a larger geometric shape, like a sonobe unit pyramid. The repetition is meditative, and the final 3D result can be truly spectacular.
The Art of the Crisp Fold
The secret to professional-looking origami is the quality of your folds. Take your time with each crease. Ensure your corners and edges line up perfectly before you press down. To get a really sharp, crisp fold, run your fingernail or a bone folder along the crease. Consistency is crucial, especially for modular designs where multiple pieces need to fit together perfectly. If you're making many of the same unit, create the first one as your master template and compare subsequent pieces to it. Don't be discouraged if your first few attempts aren't perfect; folding is a skill that improves with practice.
Designing Your Wall Layout
Before you attach anything to the wall, plan your composition. A great trick is to lay out your folded pieces on the floor to experiment with different arrangements. You could create a flowing, organic pattern that sweeps across the wall, a structured geometric grid, or a cascading waterfall effect. Consider the colours and how they interact. You might opt for a monochromatic scheme with different shades of one colour, a rainbow gradient, or a pattern of alternating complementary colours. Once you have a layout you love, take a quick photo with your phone so you can reference it during installation.
Mounting Your Masterpiece Without Damage
The final step is to bring your creation to the wall. To avoid any damage to your paint or wallpaper, steer clear of nails and pins. Reusable adhesive putty is an excellent choice for very lightweight paper models. Simply roll a small piece into a ball, press it to the back of your origami, and then gently stick it to the wall. For slightly heavier pieces or for a more secure hold, use removable adhesive strips. These provide strong support but can be removed cleanly by pulling the tab downwards. Another option is to first mount your origami onto a piece of foam board or canvas and then hang the entire panel. This creates a framed look and only requires a single point of hanging.