


Gather Your Tools and Materials
The foundation of a great DIY project is having everything you need before you start. For this terracotta lamp, you will need a few key items. First, select one or more terracotta pots and a matching saucer, which will serve as the base. You'll need an electric
drill, but the crucial component is the correct drill bit; a diamond-tipped or masonry bit is essential for drilling through clay without cracking it. For the lighting itself, you have two main options. A simple “make-a-lamp” kit is a great choice for a classic table lamp and includes a socket, cord, and harp. These kits are widely available and make wiring straightforward. Alternatively, for a simpler, no-wire approach, you can use battery-operated puck lights or rechargeable LED bulbs. For decorating, grab some acrylic paints, a primer or sealer, and brushes. Painter's tape can help create clean lines for geometric designs.
Prepare the Pot for Transformation
Before you can assemble your lamp, you need to prepare the pot. Start by cleaning it thoroughly to remove any dust or debris. If the pot is old, give it a good wash and let it dry completely. The next, most critical step is drilling a hole for the electrical cord. Most terracotta pots have a drainage hole, but you will need an additional hole on the side near the bottom for the cord to exit discreetly. To prevent cracking, apply masking tape to the spot you want to drill. Begin drilling slowly, at a 45-degree angle to create an initial groove, then straighten the drill to a 90-degree angle. It's important to keep the surface wet by spraying it with water as you drill; this cools the material and reduces the risk of shattering. Do not apply heavy pressure—let the drill do the work. If your pot is glazed, a glass and tile bit is recommended. Once the hole is drilled, you're ready to paint.
Painting and Personalising Your Lamp
This is where you can truly make the lamp your own. First, apply a coat of sealer or primer to the pot. This prevents the porous terracotta from absorbing your paint and helps the finish last longer. Once the primer is dry, apply two to three thin coats of your chosen base color using acrylic or latex paint. White is a great starting point, as it makes other colors pop. Allow each coat to dry completely before adding the next. You can create countless designs. Use painter's tape to craft geometric patterns, or try an ombré effect by blending shades of a single color. For a rustic, aged look, you can try dry-brushing layers of different neutral colors like gray, black, and white to create a faux patina. You can also use stencils for more intricate designs or draw freehand patterns with paint pens. After your design is complete and fully dry, apply a final coat of matte or gloss varnish to seal and protect your work.
Assembling the Lighting Components
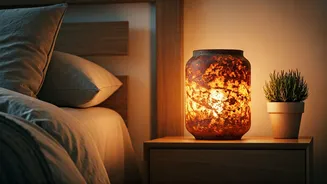
With your pot beautifully painted and prepared, it's time to install the lighting. If you're using a lamp kit, the process is quite systematic. Feed the lamp cord through the side hole you drilled and up through the drainage hole at the top. Following the kit’s instructions, attach the hardware (like the nipple and socket cap) to secure the socket assembly at the top of the pot. Wiring the socket is the most technical part. Lamp cords have two wires: a neutral wire (usually identified by ribbing on the insulation) and a hot wire (smooth insulation). The neutral wire connects to the silver screw on the socket, and the hot wire connects to the brass screw. Tying an underwriter's knot before connecting the wires provides a crucial safety measure, preventing the cord from being pulled out of the socket. If this sounds daunting, the no-wire option is much simpler: just place a battery-powered puck light or a rechargeable magnetic bulb inside the pot.
Final Touches and Styling
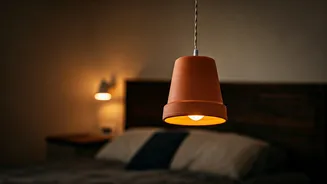
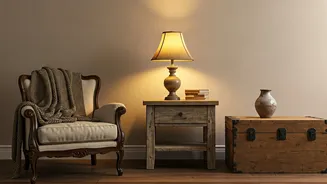
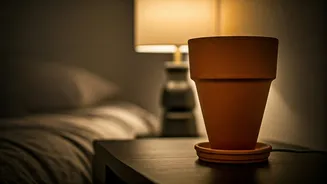
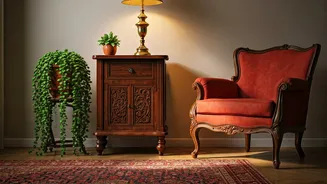
Once your lamp is assembled, the final step is to put it all together and find the perfect spot for it. If you used a lamp kit, attach the harp, which is the metal frame that holds the lampshade. Choose a lampshade that complements both the base you've created and your room's decor. A general rule of thumb is that the shade's height should be slightly shorter than the lamp's body, and it should be wide enough to cover the socket and hardware when viewed at eye level. Screw in a warm-toned light bulb to achieve that cozy, aesthetic glow the headline promises. Place your new creation on a bedside table, a dresser, or a corner shelf. This handmade piece will not only provide soft, ambient lighting but will also serve as a unique decorative object that reflects your personal style.