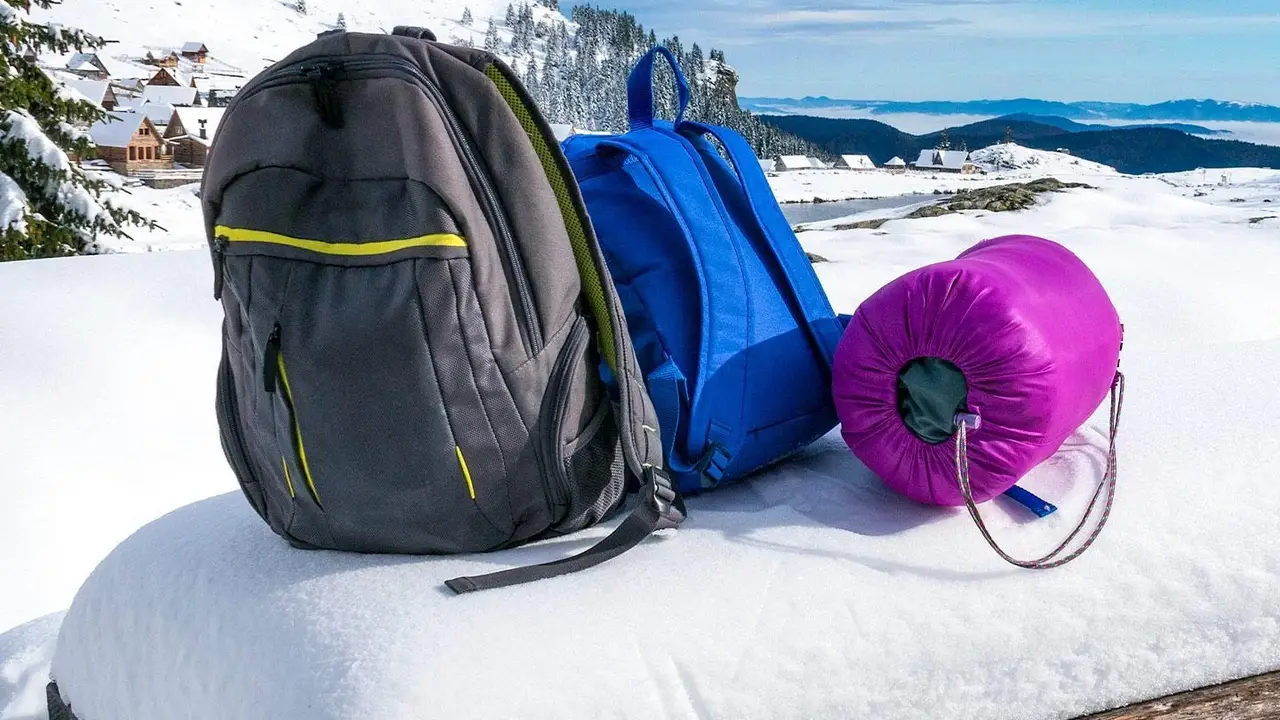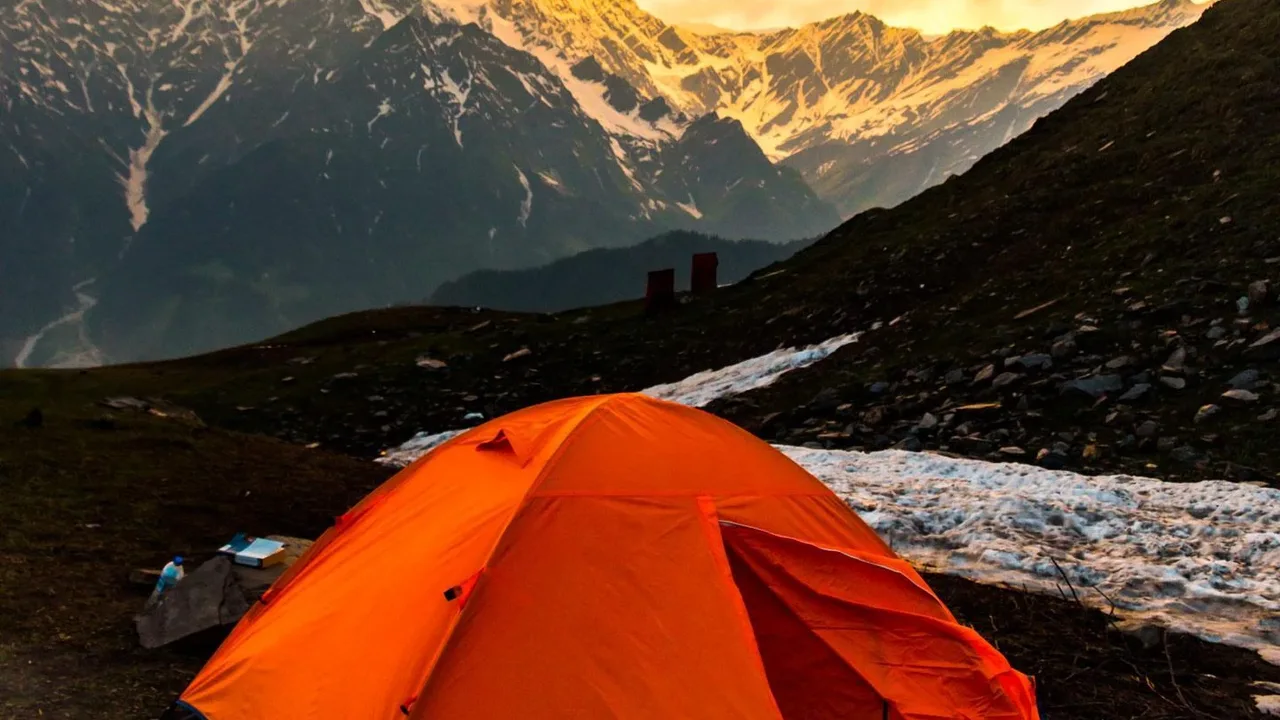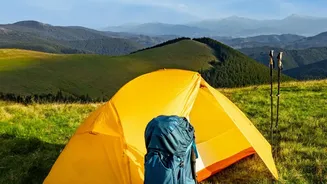


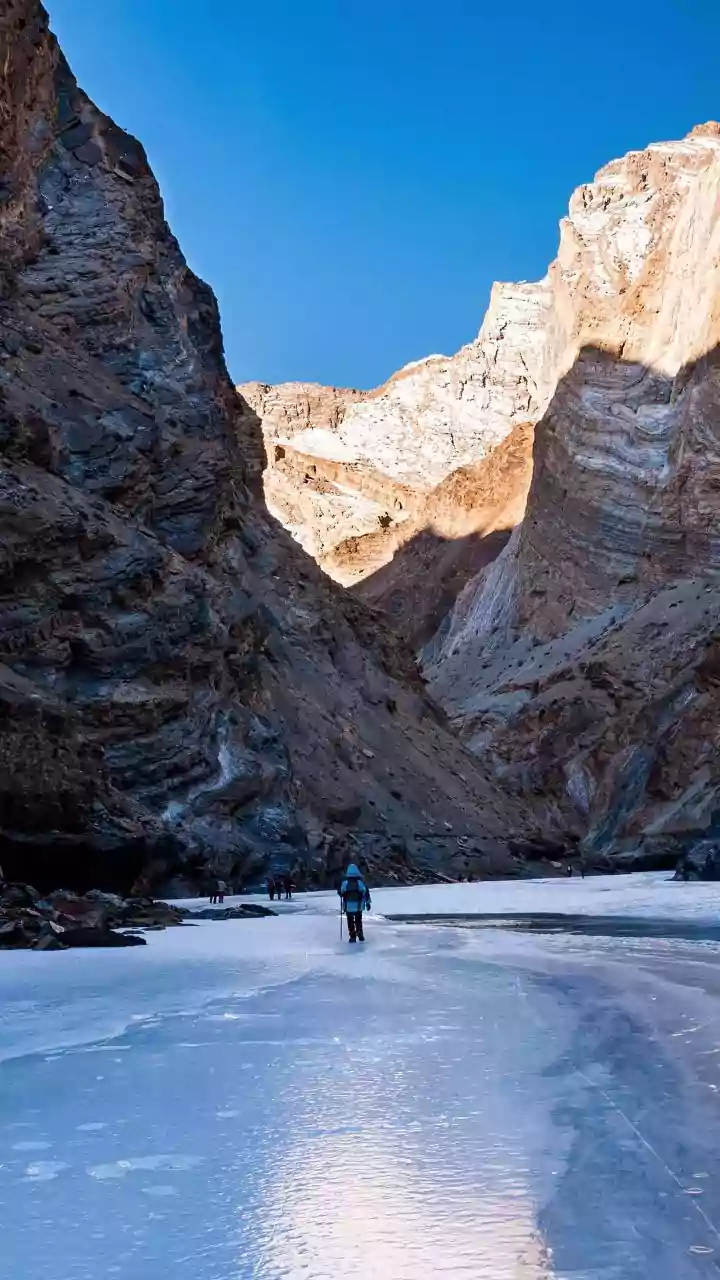

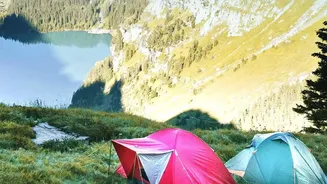
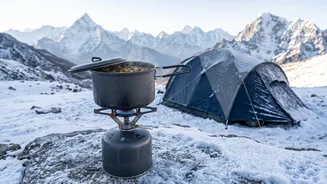
The raw beauty of a Himalayan winter is unforgettable, but so is the bite of its wind. Successfully pitching a tent isn't just about shelter; it's a strategic battle against the cold where knowledge of wind patterns is your greatest asset.
Understanding Mountain Winds
In the mountains,
wind isn't just wind; it's a predictable pattern of air movement. During the day, solar radiation warms the slopes, causing warmer, less dense air to rise. This is called an anabatic wind, a gentle upslope breeze. After sunset, the process reverses. The slopes cool rapidly, chilling the air in contact with them. This colder, denser air then flows downhill into the valleys under gravity, creating what is known as a katabatic wind. These nocturnal winds are often stronger and carry a significant chill, especially in snow-covered landscapes, making them a primary concern for campers. They are the cold currents that can turn a peaceful night into a struggle to stay warm.
Campsite Selection is Your First Defence
Before you even unpack your tent, the first strategic decision is where to pitch it. The ideal location uses natural features to your advantage. Look for a spot sheltered from the prevailing wind, such as the leeward side of a large boulder formation or a dense cluster of hardy trees. Avoid exposed ridges and saddles, which often act as funnels, intensifying wind speeds. Also, be wary of camping in the very bottom of a valley. While it may seem sheltered, this is where cold air pools at night due to katabatic flow, creating a 'cold sink' that can be significantly chillier than areas slightly higher up. Aim for a flat spot on a slight rise, about 50 feet above the valley floor, to escape this intense cold pocket.
The Art of Tent Orientation
Once you've chosen your spot, orienting the tent correctly is crucial. The fundamental rule is to present the smallest, most aerodynamic profile to the wind. For most tunnel and dome tents, this means pitching the narrowest end—typically the foot of the tent—directly into the wind. This allows the wind to flow over and around the shelter with minimal resistance, reducing fabric flapping and stress on the poles. Setting up a tent sideways to the wind creates a large 'sail' that can catch powerful gusts, risking damage or even collapse. Also, consider your door placement. Facing the main door away from the wind makes getting in and out much easier and prevents gusts from blasting into your living space.
Anchoring in Snow: Your Lifeline
In winter, standard tent pegs are often useless in soft or deep snow. This is where you must rely on specialised anchoring techniques. The most effective method is the 'deadman anchor'. This involves burying an object horizontally in the snow and attaching your guyline to it. You can use dedicated snow stakes, which are longer and wider than normal pegs, or improvise with trekking poles, ice axes, or even skis. Another excellent option is to fill stuff sacks or reinforced ziplock bags with snow, bury them, and let the snow compact and refreeze around them to create a solid anchor point. It's crucial to use every single guy-out point on your tent; in high winds, there is no such thing as an over-secured shelter.
Build a Wall for Extra Protection
For multi-day camps or when severe weather is forecast, building a snow wall is a time-tested mountaineering technique. Using a shovel, you can cut blocks of compacted snow and build a wall on the windward side of your tent. The wall should be positioned a few feet away from the tent—roughly its own height—to prevent snow from drifting and piling up directly against the fabric. A wall that is about the height of the tent can dramatically reduce the wind load on your shelter, minimise flapping noise for a better night's sleep, and create a calmer micro-climate around your camp.