


The Joy of Infinite Mint
Mint is famously one of the easiest herbs to grow, known for its vigorous and often aggressive spreading nature in a garden. [1] This same quality makes it incredibly simple to propagate, which is the process of creating new plants from an existing one.
Using the water method is not only practically foolproof but also a visually rewarding process. [3, 5] You can watch the roots develop right on your windowsill, making it a perfect project for beginner gardeners or even a fun activity to do with kids. [5] Best of all, it requires no special equipment—if you have a mint plant and a jar, you’re ready to start.
Step 1: Choose and Cut the Perfect Sprig
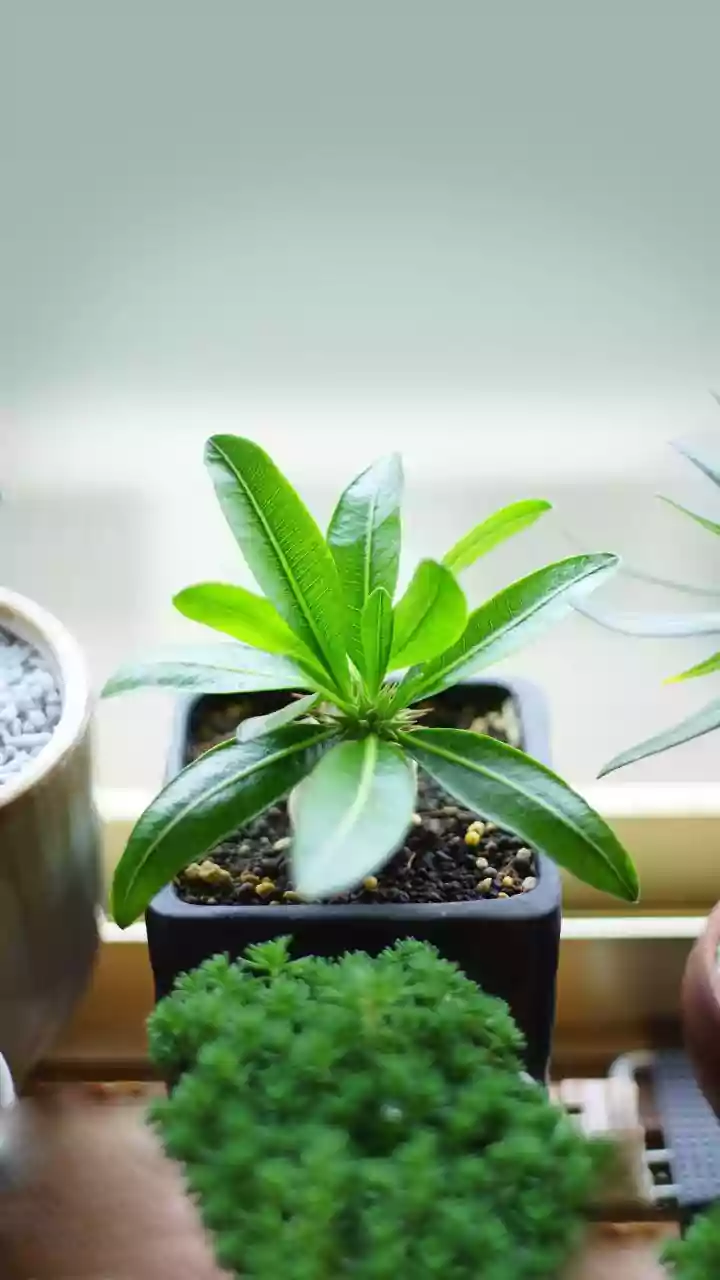
The first step is selecting a healthy stem from a mature mint plant. Look for a vibrant, green stem that is about 4 to 6 inches long. [2] It’s important to choose a non-flowering stem, as the plant's energy will be focused on growing leaves and roots rather than producing seeds. [1, 3] Once you've picked your sprig, take a clean, sharp pair of scissors or a knife and make your cut just below a leaf node—the small bump on the stem where leaves emerge. [2, 6] This node is where the new roots will sprout from. [3]
Step 2: Prepare the Cutting for Water
After you have your cutting, you need to prepare it for its new home. Gently remove the leaves from the bottom half to two-thirds of the stem, leaving just a few pairs of leaves at the very top. [2, 4] This step is crucial because any leaves left submerged in water will begin to rot, which can introduce bacteria and foul the water, potentially killing the cutting. [2, 3] A clean stem ensures that the plant's energy is directed entirely toward root production.
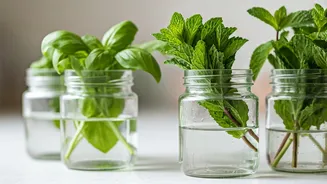
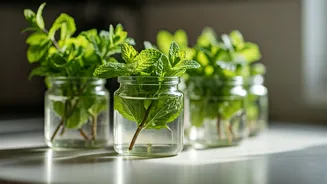
Step 3: Set Up Your Water Jar
Now, simply place your prepared mint cutting into a clean glass or jar. [2] A clear container is ideal as it allows you to monitor root growth easily. [3] Fill the jar with enough fresh water to submerge the bottom one or two nodes of the cutting, ensuring the remaining leaves stay well above the waterline. [3, 9] Place the jar in a spot that receives bright, but indirect, sunlight, like a kitchen windowsill. [2, 7] Direct sunlight can be too intense and may scorch the delicate leaves. [9]
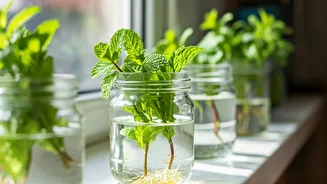
Step 4: Patience, Care, and Watching Roots Grow
Your main job now is to be patient and keep the environment clean. Change the water every two to three days to prevent it from becoming cloudy and to stop bacterial or algae growth. [3, 8] Within about one to two weeks, you should start to see tiny white roots emerging from the submerged nodes. [3, 6] It might start with hair-like threads that gradually become thicker and more branched. [3] While it's exciting to see the first signs of life, don't be too hasty to transplant.
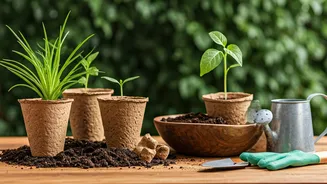
Step 5: Transplanting Your New Mint Plant
Wait until the roots are at least a few inches long and look strong and healthy, which typically takes another two to three weeks after they first appear. [3, 7] This gives the cutting the best chance of surviving the transition to soil. [7] Fill a small pot that has a drainage hole with a quality potting mix. [7] Gently place the rooted cutting into the soil and water it well. Keep the soil consistently moist for the first couple of weeks as the plant adjusts to its new environment. [3, 10] A word of caution: mint is famously invasive. [11] It's highly recommended to keep it in a container to prevent it from taking over your entire garden. [1]